by VioletLeBeaux | Apr 6, 2011 | Craft, Hair-Accessory-Tutorials, Tutorial
Last winter berets with little pearls were everywhere in shops at crazy prices and now that it’s getting colder I’ve started seeing them in stores again. They are really cute but paying $30 for a pearl studded beret is out of my budget especially when you can get a plain one for like $6 and diy it ^_^

I had this pink one that I never really used anymore, I picked it up at a Portman’s clearance outlet a couple of years ago so I spent a few minutes jazzing it up.

![]()
|
What you need:
- Beret
- Plastic fake pearls
- Thread and needle
Before I started I laid all of the pearls out so I could get the correct spacing. I started from the outside and worked in. Once I get the pattern section of the blog up I will add in a diagram. |
With the beret laid flat I spaced out 10 pearls around the outside.

Then working in I added another row, spacing them between the first ones. It’s important to use plastic pearls on a project like this so it doesn’t weight the hat down. Also rather than stitching them on using one long thread sewn throughout the hat I tied each pearl on individually. This means that if one came loose the rest would be fine and also a lot less effort in the stitching/making sure the stretch of the knit was maintained.
This is what it looked like after the top was done:

Then it was time to turn over and do the other side…

I toyed with the idea of a row of pearls around the very edge but decided to keep it more subtle instead.

And here I am wearing it at a the Melbourne Flower show on the weekend!

I love projects like this that add a lot of small details to an outfit. Tiny little touches that just give something an extra level of depth make me very happy ^_^
by VioletLeBeaux | Apr 4, 2011 | Craft, Storage/Utility-Tutorials, Tutorial
Another one of these crafts that we all do as kids and seem to forget about… Cute egg cosies! Ok personally I think egg cosies are completely pointless other than for decoration in this day and age XD The point is to keep your soft boiled eggs warm until you are ready to eat them but I have never once sat down to eggs and thought “Damn! My egg is so luke warm, if only I had someway to keep it warm… other than eating it straight away”. Of course it could be that if I lived in a colder climate I would think these are the best thing ever invented XD
Either way, they are insanely cute and are actually useful if you plan on taking hardboiled egg in a lunch box as they add some padding to prevent cracks. I’m planning some patterns for knitted versions as well but in the mean time here is the way I’m pretty sure everyone made them as a child: felt!

What you need:
- Felt in various colours, as I’m making a bunny I went with white and pink for the nose
- Needle and thread
- Scissors
- Small piece of elastic.
- Egg (for measuring)
![]()
|
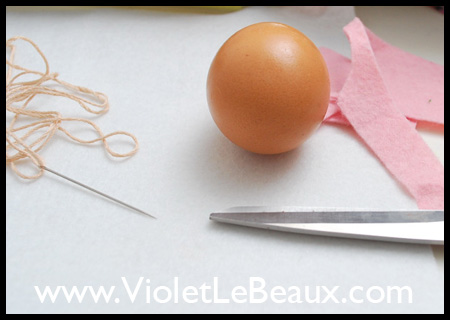 First thing is to measure around your egg to see how much felt you will need. Make sure to leave enough room so that it is easy to slide on and off the egg and still has room for the seam down the back. Also measure how tall you want it, It will need to be tall enough to cover the egg completely as leave room for the gathering at the bottom as well as the ears up the top. First thing is to measure around your egg to see how much felt you will need. Make sure to leave enough room so that it is easy to slide on and off the egg and still has room for the seam down the back. Also measure how tall you want it, It will need to be tall enough to cover the egg completely as leave room for the gathering at the bottom as well as the ears up the top.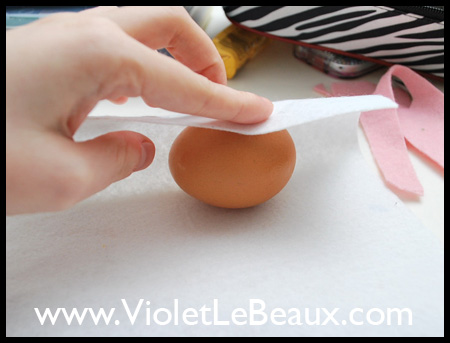 |
Once you’ve measured and cut the felt into the correct size rectangle, fold the sides inwards to the middle like so:
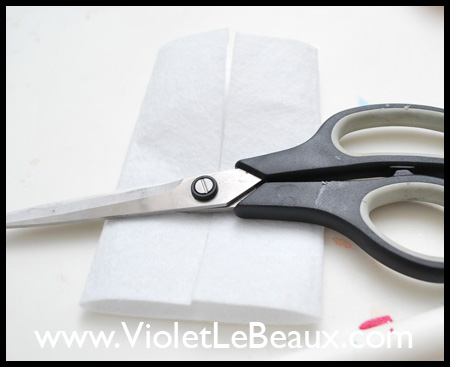
It’s a bit hard to see in this photo because of the colour of the back ground but the next step is to cut the shape of ears into the top. I started with 2 points and later cut them to be more rounded.
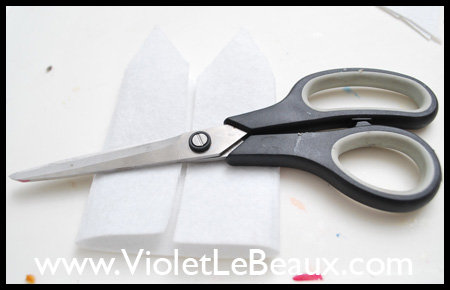
Once you unfold, you should have 4 ears up top.
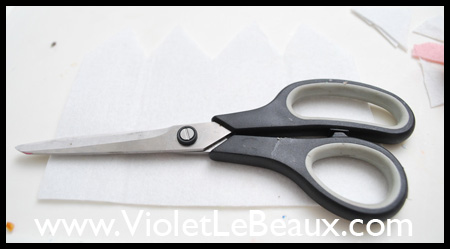
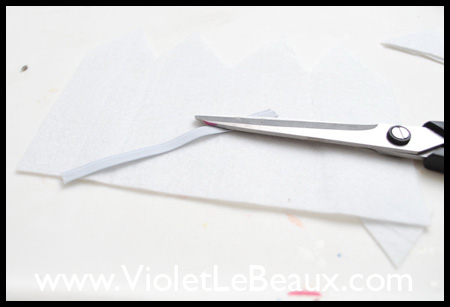
Now cut a piece of elastic which can stretch easily to fit around the widest point of the egg…
And stitch it to the bottom of the felt, leaving a small gap at the bottom for a frill. Make sure that the elastic is stretched out when you sew it and stitch loosely so you don’t restrict it otherwise you’ll find it hard to get the egg in!
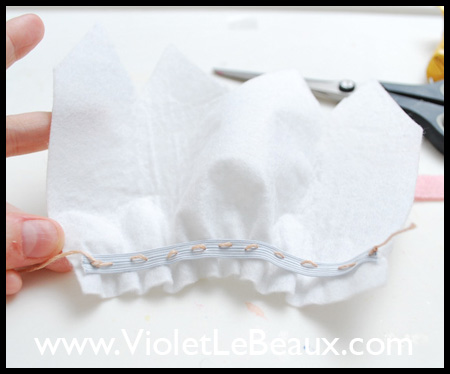
From the front it looks like this….
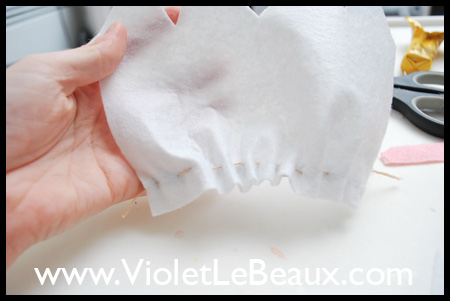
Now fold it all in half with the seam at one side…
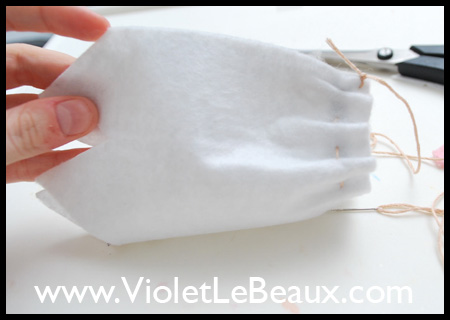
… and stitch up using a blanket stitch.
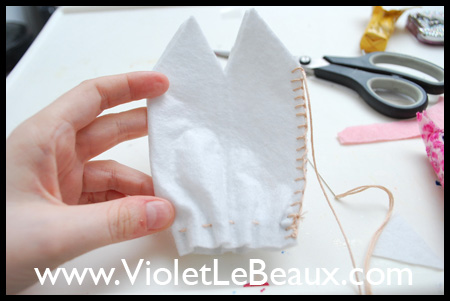
Once you flatten it out it should look something like the picture below. This was the point that I decided to round out my ears a bit.
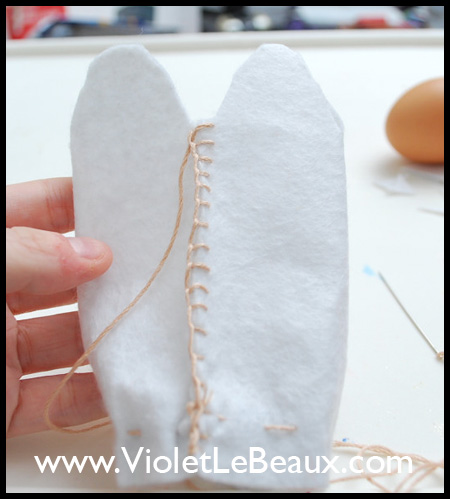
The next step is to stitch around the tops of the ears in the same blanket stitch.
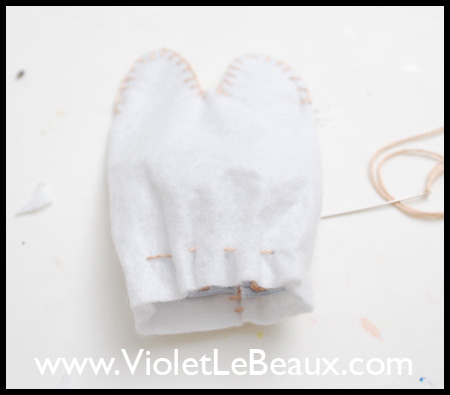
After that’s done it’s just a matter of cutting out a little nose…
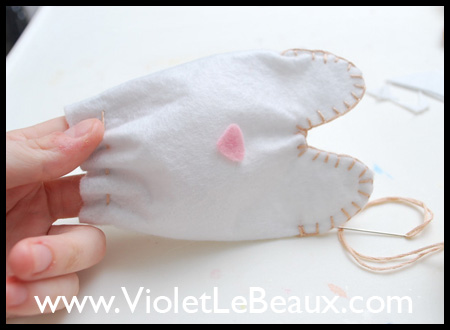
And stitching on it’s face!
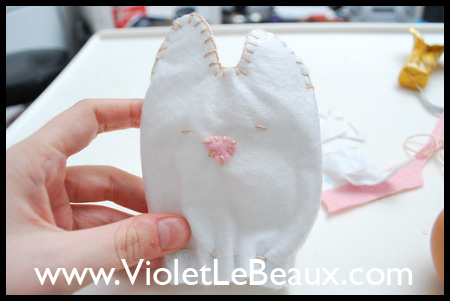
Pop and egg in and he’s finished! Ready to keep your egg toasty warm or safe in your lunch box.
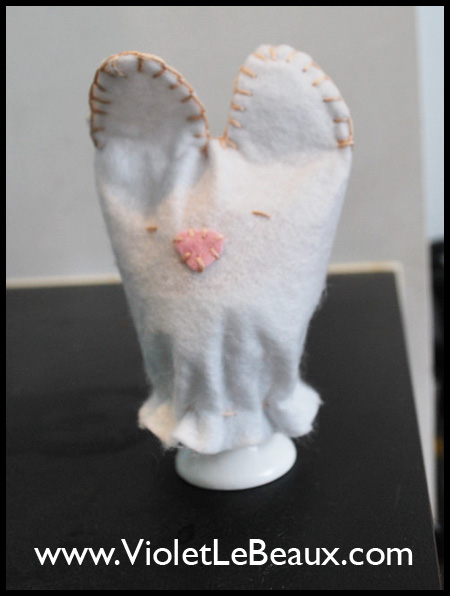
The pattern itself is very easy to change into any shape you like because really it’s just a rectangle of felt XD These kinds of projects also make nice customisable quick presents for people that have everything especially because you can personalise it so much. Try stitching on their name of using their favorite animal ^_^
by VioletLeBeaux | Apr 2, 2011 | Outfit Of The Day
Outfit time! This post is a bit of a mixed bag out outfits because some are nice and dressed up while some are super casual!

![]()
|
This is what I wore to an Illamasqua event more on that in tomorrow’s post. I love these stockings!Dress- Made by me Cardigan- Ice Bow- Made by Uncaring Kitty Stockings- Some tiny sock shop at the bottom of Melbourne Central Shoes- Bodyline |

So irritating, all of the photos in this post that actually show the outfit well are bad photos of me and all of the photos of me that don’t suck are no good for the outfit >_< Clearly I’m just having one of those months!

Dress- Paige Flynn Jeans- Cotton On Jacket- Dotti (many many years ago) Shoes- Payless or Spendless, can’t remember Bag- Angelic Pretty Bow- Present from Louise
This was my outfit for a yummy double date dinner with Celina from Fables in Fashion and her boyfriend. We had an awesome time!

Earlier that day I had lunch with the MBBE girls and I was much more casual.
Dress- Valley Girl (modified by me) Jeans- Cotton On Bag- Angelic Pretty Shoes- Target with shoe clips made by me

The weather has been nice and chilly lately so I’ve been rugging up a bit more to go out. It’s been overcast for weeks but it never seems to rain… of course when Celeste came back to Melbourne for a visit it was the first day it actually did rain!! Typical >_< And being clever I of course didn’t take outfit photos that day until after we walked home in the rain which is why I’m looking particularly soggy and bedraggled here XD

Socks- Black over the knee stocking socks from tiny shop at the bottom of Melbourne Central Dress- Paige Flynn Bag- AP Shoes- Bodyline
This is one of the comfiest pieces of clothing I own, it’s like wearing big wooly pajamas 😀

This outfit was for another MBBE lunch earlier this week. I only got photos on my phone but oh well!
Jacket- Forever New (modified by me) Bow- Junk store Scarf- Forever New Socks- Sock shop in Melbourne Central Shoes- Bodyline

I’ve been searching for a nice trench coat for so long so I was ecstatic when I found this one! Especially because it was 30% off XD I’ve started modifying it a bit and I’ve got bigger plans as well so I’ll post once it’s finished!
Under the jacket: Cardigan- Ice Cream Dress: Paige Flynn Floral Dress: Forever New (there was a big sale hahaha!)

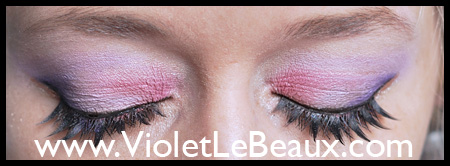
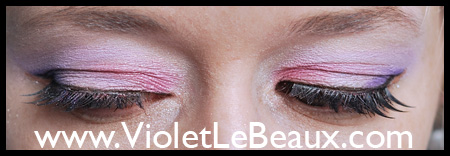
Lastly this how I’ve been wearing my make up recently. I’ve had a bit of an obsession with Illamasqua’s Dab cream pigment so I’ve been trying to find los of different ways to use it.
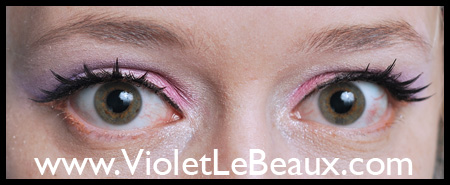
This is currently be favorite ^_^
This week I’m hoping to do some more video tutorials so let me know if there’s any think specific you would like to see here!
Hope you’re all having a great weekend!


