Violet’s Big Hair FAQ

It’s been a long time since I’ve updated my hair FAQ so I thought it was high time to make it a bit more comprehensive!

Violet-LeBeaux-Hair-FAQ80293

For the record: I really couldn’t care less what hair trends are, I’ve had my hair a LOT of different colours and styles over the years. The first time I did different colour tips was in 2003, I started doing gradient/ombre colours in around 2009ish and have been doing it consistently since. You are welcome to voice an opinion about my hair (and many people have clearly voiced them!) but please don’t think that leaving me negative comments will some how convince me to changing my hair, that is just a bit silly -_-’

How do you do your hair?

Here’s a video on how I dye it. I touch it up once every few weeks and bleach once a month.

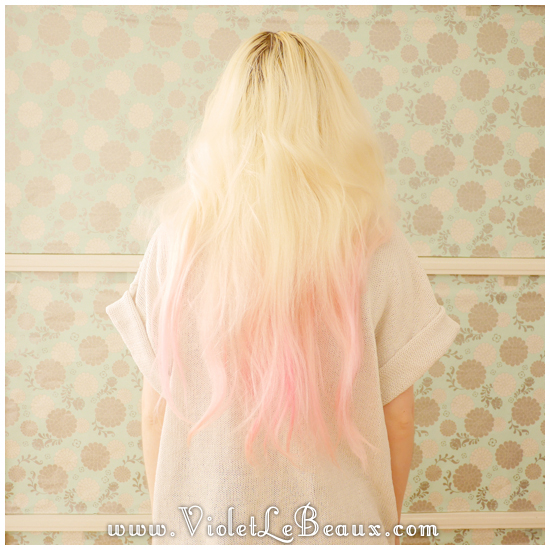
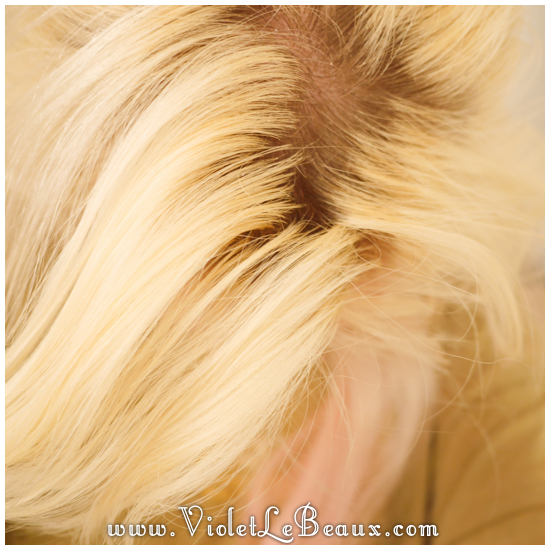
This is what it looks like before dying:

Violet-LeBeaux-Hair-FAQ80044

During dying I usually look a little like a crazy person.

Violet-LeBeaux-Hair-FAQ80181


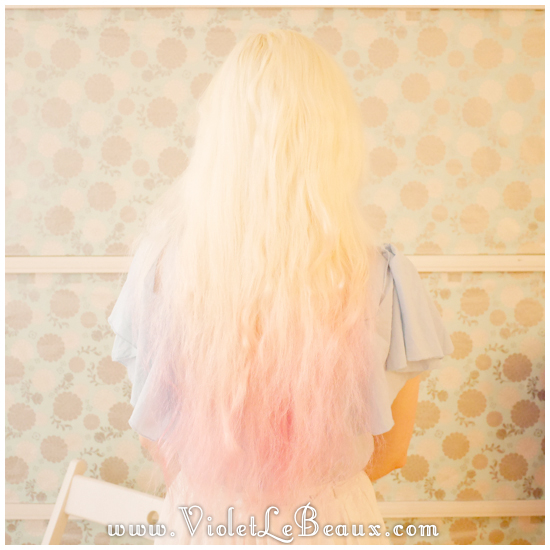
After dying and sleeping on it damp:

Violet-LeBeaux-Hair-FAQ80197


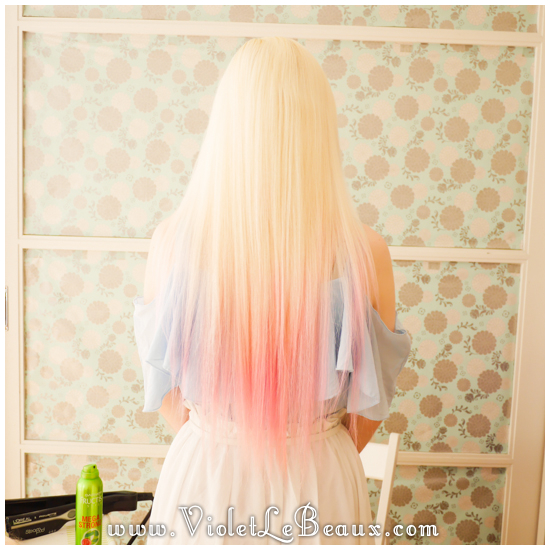
After using the L’Oreal Rowenta Steam Pod on it:

Violet-LeBeaux-Hair-FAQ80289


What brand of dye do you use?

Violet-LeBeaux-Hair-FAQ80020


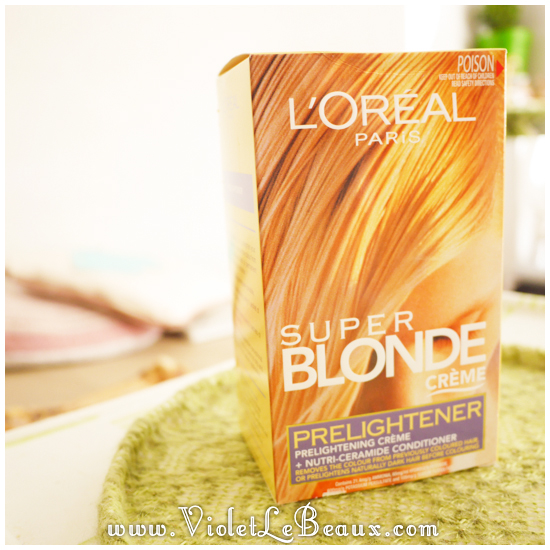
For bleaching I use L’Oreal Super Blonde Creme Prelightener. It’s basically a colour stripper. Generally one would add other dye after using this bleach or use a toner. I like the orange shades it leaves so I do not.

Violet-LeBeaux-Hair-FAQ80021

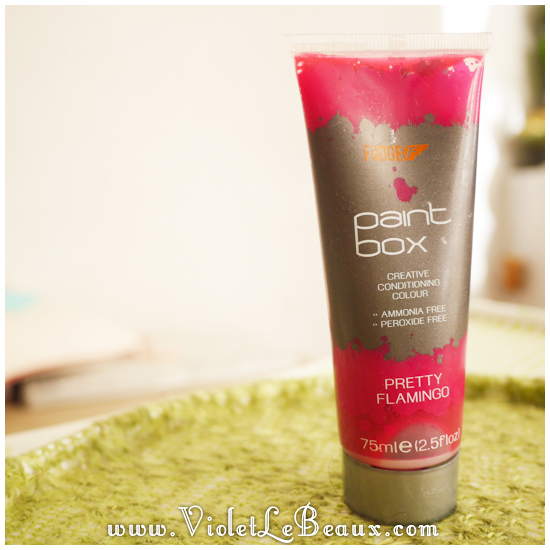
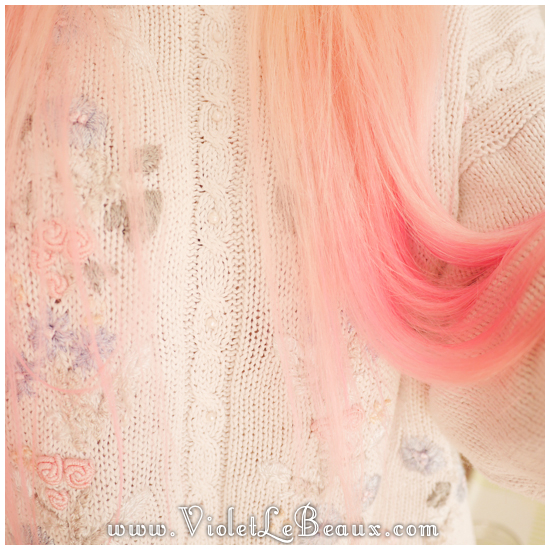
For the pink I use Fudge Paint Box. I mix and dilute the pink with conditioner to make my own shade. There’s a review of them here with an explanation on how I achieve the gradient. Note that I just use Pretty Flamingo these days rather than adding copper etc too. I did use Pink Moon but it doesn’t have as much staying power as Pretty Flamingo.

Violet-LeBeaux-Hair-FAQ50314

You used to use Wakk Stain dye, where can I buy that?

Yes I did, it was great. Unfortunately it’s no longer being produced so I can’t tell you. If you find any, let me know!

Do you get it done at a salon?

No. I cut and colour my own hair due to financial constraints and a general distrust of people who wield sharp pointy things near my face.

How often do you do you dye your hair?

Around once a month I bleach and every second wash I add a little more pink while I’m conditioning to keep it bright.

What other colours have you done?

Black, blue, green and various shades of red and orange, blonde to black/brown gradient, bright red with blonde tips and the current combination. Here is a post on my hair history.

What colour is your hair naturally?

This one:

Violet-LeBeaux-Hair-FAQ80013

How can your hair withstand so much torture and damage?

My natural hair is really thick and frizzy so it could always take a lot. I think the really important answer though is that I’ve been dying my hair since 2001 so I have experience, I know what works with my hair and what doesn’t. I always read and follow instructions fully and I avoid things like heat and bleach as much as possible. I tend to film all of my hair tutorials on the same day every few months so there’s really not that much damage actually going on here.

Can you advise me on how to dye my hair like yours? Or give me any tips on doing this myself?

Nope! It’s not because I don’t want to help but I have no idea about your hair and I don’t want to give you any bad advice. I don’t suggest you try any of the things that I do because your hair might be dramatically different to mine. I really can’t give you any advice so I suggest that you seek it from a professional stylist. A professional stylist can touch and feel your hair to make a judgement on whether the colour you want to go is realistic to expect without frying your hair. Stylists usually offer  advice sessions for a small fee so you can always ask advice even if you are planning to do the dying yourself. For nice hair it’s well worth the expense!!

Can you do my hair for my prom/event/whatever?

Sorry this isn’t the kind of thing I do, I don’t have any hair related qualifications and am not comfortable doing other people’s hair.

Where did you learn how to do all of these hairstyles?

Trial and error! The best way to become good at something is to do it over and over again. There are 365 days in a year so you’ve got at least that many chances to practice each year ;D

Why don’t you do you hair in *INSERT STYLE* anymore?

I get bored very easily 🙂

I didn’t understand *INSERT TUTORIAL STEP*, can you re-film it, explain it, or take more detailed photos of it?

I can certainly try to explain things more clearly but keep in mind that my schedule is very tight so I don’t generally re-film or re-take photos, I will sometimes update the text with more information if many people have problems with a part.

Can you please make a tutorial on how to do *INSERT PHOTO I FOUND ON THE INTERNET*?

I can certainly add it to my to do list but it’s quite a long list!

Why don’t you do tutorials for people with short hair/no fringe/other things you don’t have?

Well mostly because I don’t have those attributes myself so I can only work with what I’ve got. I do try to find friends or models to work with me so I can do a bigger variety but most people I know prefer to be off camera and at this point I’m not going to cut my hair just to film short hair tutorials. Maybe in the future if I feel like a change it will be a possibility.


What shampoo/conditioner/treatments do you use?

Violet-LeBeaux-Hair-FAQ80023


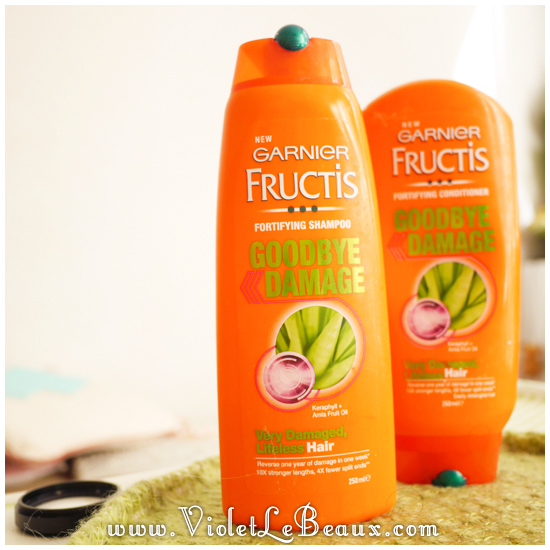
Previously I used baking soda instead of shampoo and I really liked that. Unfortunately because my hair is so long and easily damaged from filming hair tutorials after around a year I found that I needed something stronger to fix the damage. I switched to the Garnier Goodbye Damage range. There is a review here.

Violet-LeBeaux-Hair-FAQ80024

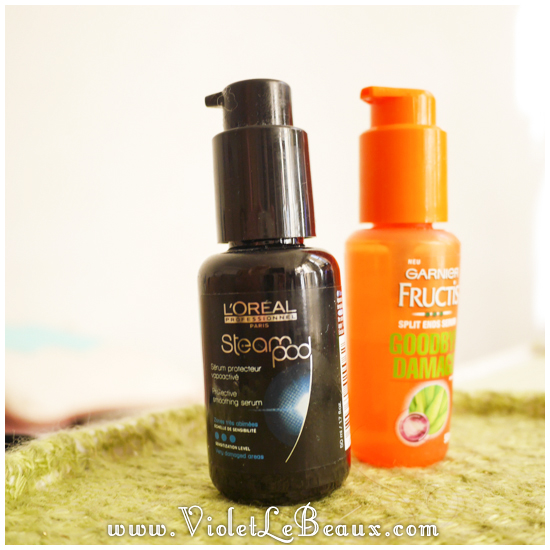
In terms of serums I use the Goodbye Damage serum on my split ends and the L’Oreal Steam Pod one on the rest of my hair after showering to protect it from heat damage.

Violet-LeBeaux-Hair-FAQ80039


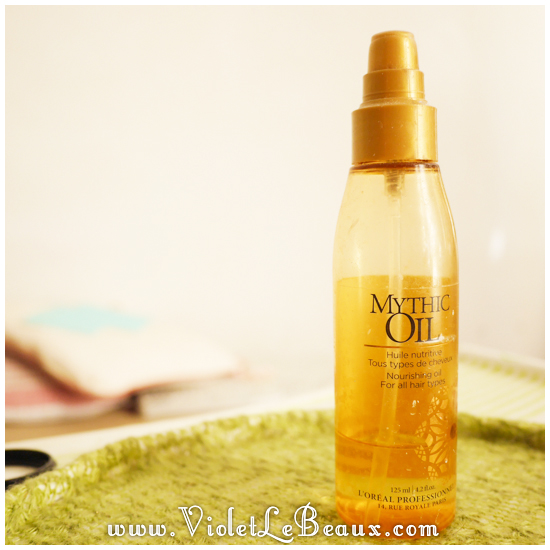
I use some kind of hair oil (currently L’Oreal Mythic oil but they are basically all the same) to protect my hair while I’m bleaching.

In terms of hairspray I haven’t found a perfect one since my favourite black Cedel was discontinued. I’ve gone through several bottles but nothing is quite as good so I will update this when I find a good one again.

That’s it, I don’t usually use treatments, masks etc.

What appliances and styling tools do you use?

Violet-LeBeaux-Hair-FAQ80031

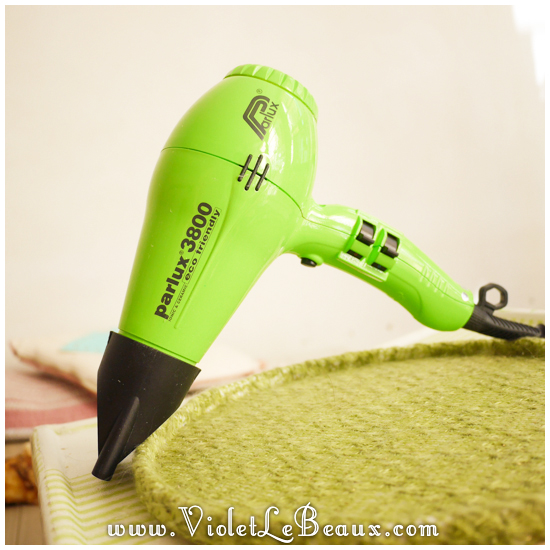
I use a Parlux 3800 hairdryer if I have to dry my hair. I hate using a hairdryer though so I air dry if possible.

Violet-LeBeaux-Hair-FAQ80026

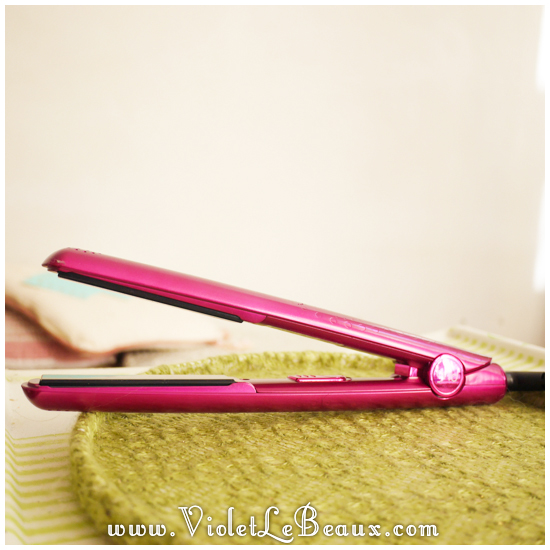
I use a GHD occasionally to curl my hair. I think they are quite expensive though so previous to the GHD I used a VS Sassoon travel curler.

Violet-LeBeaux-Hair-FAQ80033

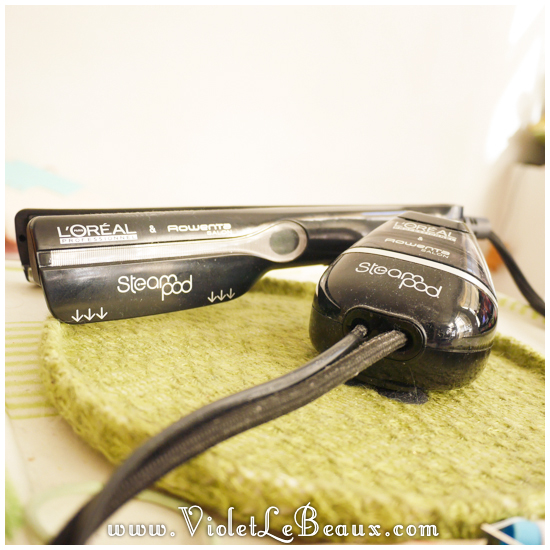
I use the L’Oreal Rowenta Steam Pod to straighten my hair and do my fringe. I also use it for basic curls sometimes. It’s expensive as hell but it’s an amazing product and I was lucky enough to win one as a door prize.

Violet-LeBeaux-Hair-FAQ80040

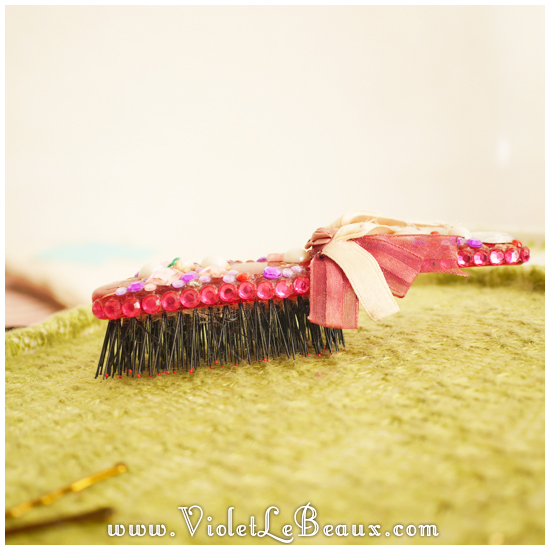
I’m not sure what brand this brush is but I prefer brushes with thicker nylon bristles. No particular reason, they just feel nice.

I also occasionally use a teasing comb if my styles require more volume or staying power. The teasing comb I use was from Takuya but any old one will do.

What did you use to keep *insert hairstyle* up?

Violet-LeBeaux-Hair-FAQ80034

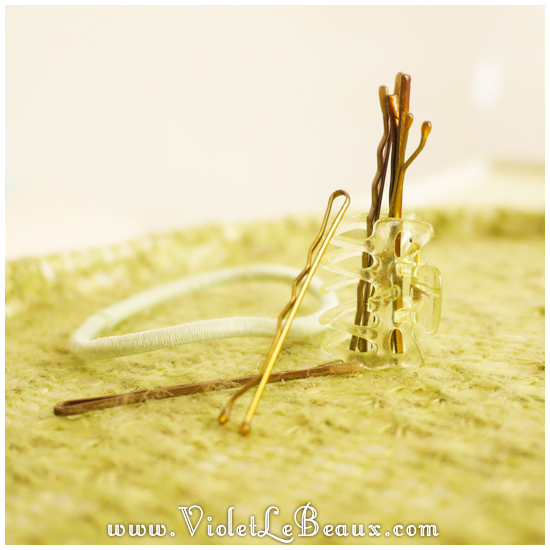
Most likely bobby pins and hair ties. I don’t generally use anything other than these unless it’s a really specialised style because it’s not needed. You can really achieve pretty much anything with hair ties, bobby pins and a good dose of hair spray.

Can I bombard you with questions even though you already answered them here?

Sure thing. You’re always welcome to email me and I’ll do my best to help but keep in mind that I get a LOT of emails so I can’t always reply.

Hope that answers all of your questions! Let me know if you have any others and I’ll include them here 🙂

Yay hair!

Violet-LeBeaux-Hair-FAQ80292


Yummy Microwave Lemon Curd Recipe

Easy-Lemon-Curd-Recipe529


So James is obsessed with lemon curd and lemon flavoured things in general. We decided to try our hand at actually making it because we thought it would be cheaper… turns out lemons are like $2 a piece at the moment and we used 2.5 lemons so really this was probably the most expensive lemon curd ever. It was still totally yummy though.

This recipe is a combination of this recipe and our own experiences.

Easy-Lemon-Curd-Recipe461

We used:

  • 1 cup of white sugar
  • 3 eggs
  • Juice of 2.5 lemons (around 1 cup)
  • Lemon zest
  • 125g of butter, melted in the microwave

Firstly squeeze the lemons into a cup. It works better if you have one of those fancy lemon juicing cone things, but failing that use a strong hubby.

Easy-Lemon-Curd-Recipe467

Put the eggs and sugar into a bowl and mix well. Add the lemon juice, zest, butter and mix again.

Easy-Lemon-Curd-Recipe

Mix thoroughly for a few minutes. Microwave for 1 minute at a time, every minute mix it so anything that’s stuck to the bottom is distributed evenly. We ended up microwaving for a total of 4 minutes on our crappy old microwave but I get the feeling it would only take around 3 minutes in our new powerful one. The mixture will thicken up every time you put it in, James wanted something runny that could go on toast and cheesecake, but you might want it more solid.

Push the mixture through a sieve to get rid of the zest and any lumps then put it into a really cute sterile container to cool.

Easy-Lemon-Curd-Recipe2

Alternatively, spread on something and just eat it warm. Just don’t burn yourself!

Easy-Lemon-Curd-Recipe531

I enjoyed it spread on waffles in the morning, James enjoyed it on everything… especially a spoon ^_^

How To Tie A Silk Scarf Into A Rose

Quite some time ago I posted  about this silk scarf that I had made to wear as a rose on my bag. A lot of the comments asked how to tie it in the rose shape so here we go!

How-To-Tie-A-Scarf-Into-A-Rose350


First, you need to actually tie it around something, when I’m putting it on my bag I use the handle but in this tutorial I’m using a lamp because it was the right height. You could also do this using your hair as the part to tie it to or anything really.

So start by grabbing one corner of the scarf.

How-To-Tie-A-Scarf-Into-A-Rose352

Tie it in a knot around your item leaving the corner hanging out to form a leaf. This will be tied one more time at the end so make the leaf a little longer than you want the end result to be.

How-To-Tie-A-Scarf-Into-A-Rose353

Take the rest of the scarf and twist it fairly tightly.

How-To-Tie-A-Scarf-Into-A-Rose355

Wrap it around the centre knot to form a spiral.

How-To-Tie-A-Scarf-Into-A-Rose356

When you have wrapped most of it and only have a little left, tie the end in a knot with the first leaf you made so it forms the second leaf.

All done!

How-To-Tie-A-Scarf-Into-A-Rose358

But how does this work on a scarf which wasn’t specifically designed to be the colours of a flower?

How-To-Tie-A-Scarf-Into-A-Rose338

Again start with the corner.

How-To-Tie-A-Scarf-Into-A-Rose339

Tie in a knot around the bag handle/hair/whatever

How-To-Tie-A-Scarf-Into-A-Rose340


Twist the end.

How-To-Tie-A-Scarf-Into-A-Rose341

Twist into a spiral to form the rose. This scarf was huge so I had to twist it tightly in the middle and a little looser to make a nice rose.

How-To-Tie-A-Scarf-Into-A-Rose342

Looser towards the ends.

How-To-Tie-A-Scarf-Into-A-Rose343

And knot the ends together so it stays in place.

How-To-Tie-A-Scarf-Into-A-Rose344

Rose done! It still looks really cute! This style works the best with scarves that are one colour along the edges and one in the middle as it forms the leaves better but plain or patterned silk scarves still looks great.

How-To-Tie-A-Scarf-Into-A-Rose347

There you have it! You could also use this to decorate gifts, for example if you are giving someone a bottle of something you could tie a scarf to the neck and now it’s two gifts in one!

How-To-Tie-A-Scarf-Into-A-Rose348

Let me know if you give it a try and what you wear it on!


Bright Summer Spots Nail Art Tutorial

Next in the series of lazy nail art is summer spots! I know it’s winter where most of you are but it’s fricking hot here so I want to enjoy the sun while we actually have it!

Simple-Summer-Spot-Nail-Art-Tutorial-Violet-LeBeaux-11

All you need for this manicure is a white base and some bright colours to bring in the sun! Essie sent me their 2013 summer collection  and I thought they would be perfect for this tutorial!

Simple-Summer-Spot-Nail-Art-Tutorial-Violet-LeBeaux54

Paint a clear base coat then a white base over the top.

Next paint a line of dots, I went diagonal but you can go any direction or vary it each nail. To get even dots either use a dotting tool or use the thick end of a toothpick.

Paint another line of dots above the first in another colour.

Simple-Summer-Spot-Nail-Art-Tutorial-Violet-LeBeaux-12

Continue painting lines of dots until the entire nail is full. Top coat once you’re finished and you’ve got a fun summer manicure!

Simple-Summer-Spot-Nail-Art-Tutorial-Violet-LeBeaux-13

I feel like I should also do a corresponding winter version of these for you guys who aren’t having the best weather at the moment!

New Crafting Desk- Home Sweet Home

I finally cleaned up and organised my crafting area so now I have a really pretty space!

New-Craft-Desk-30162
I covered the table in contact that was left over from the kitchen.

New-Craft-Desk-20312New-Craft-Desk-20316

I’m going to do something about those lights too because I don’t think I need them anymore.

New-Craft-Desk-20313


New-Craft-Desk-20318


I took the large mirror from the bathroom and painted it white too. I also got rid of the lampshades, instead I stapled paper into tubes to diffuse the light more.

New-Craft-Desk-30165

I covered the craft shelves in decoupage using the same paper as my bedroom door and I bought some more storage boxes from Daiso. I think I want to get rid of some of the little shelves there but not sure the best way to do it. Maybe at least covering them with white paper would be better. Not sure!


New-Craft-Desk-30163

So it’s starting to come along! There are still things that need to change like the mini shelves, the yarn box and the fact that I have far too many supplies for the space they’re in >_< But yay progress anyway!


Easy Striped Nail Art Tutorial

Another lazy nail art tutorial today! Today we’re doing the easiest way to do even stripes without having to use a striping brush.

Simple-Stripe-Nail-Art-Tutorial1

You need two colours I’m using lilac and pink.

First paint a base coat of the lilac.

Once it’s dry, paint pink over the top but leave a gap on the side as wide as you want your stripes to be.

Paint the lilac over the top leaving another small gap so there is a stripe of pink showing through.

Continue alternating colours until you have no more room on the nail. By layering the polishes you create the striped finish.

Once everything is completely dry you can top coat which will even out the surface.

Simple-Stripe-Nail-Art-Tutorial2


Easy! and a great alternative if you don’t have a striping brush.

Simple-Stripe-Nail-Art-Tutorial3

By continuing to use the site, you agree to the use of cookies. more information

The cookie settings on this website are set to "allow cookies" to give you the best browsing experience possible. If you continue to use this website without changing your cookie settings or you click "Accept" below then you are consenting to this.

Close