Adventure Time Costumes and Halloween Decorations

Halloween!! This is the first year we’ve ever decorated our house. And the first year I’ve put much effort into my costume. Halloween is getting more popular in Aus though we still didn’t have any trick or treaters.

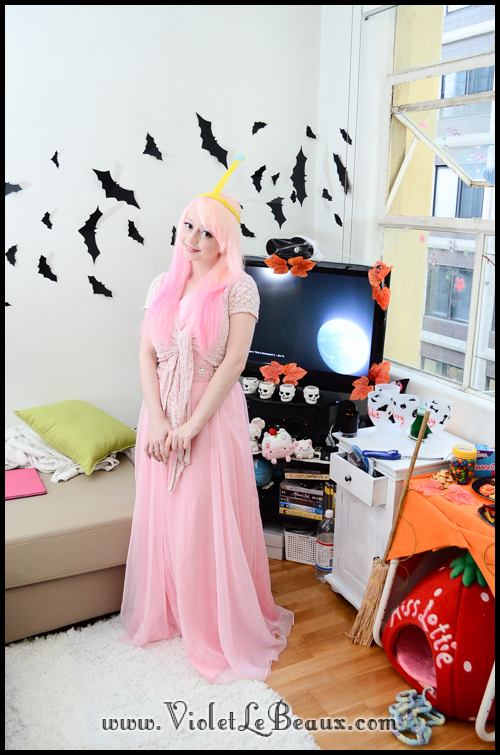
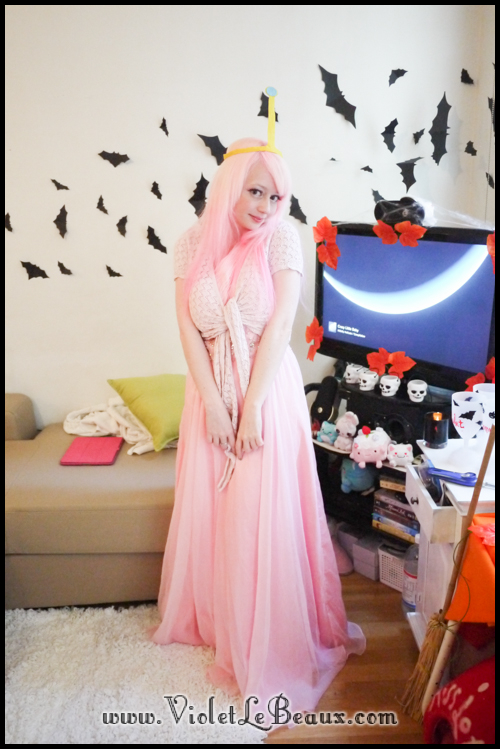
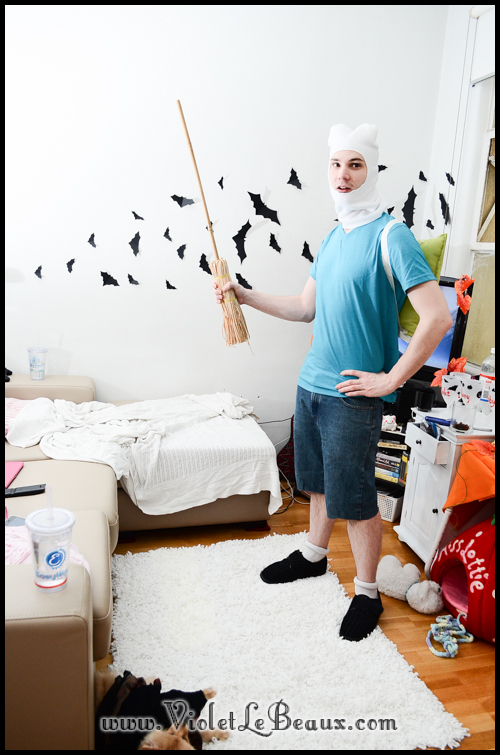
We decided to do a family theme of Adventure Time! I was Princess Bubblegum, James was Finn and Lottie was Jake because I didn’t want to put her in her witch costume for very long.

Princess-Bubblegum-Costume494

We didn’t do much for our costumes, most of it we already had but I made James’ hood and my crown.

Princess-Bubblegum-Costume496

I coloured my hair pink for the night using some pastels, I’ll show you how I did it in an upcoming video.

Princess-Bubblegum-Costume471

Very happy with the costumes! I kind of wanted to change outfits into her other ones throughout the night XD
Princess-Bubblegum-Costume492Adventure-Time-Halloween-Costume-Cosplay899

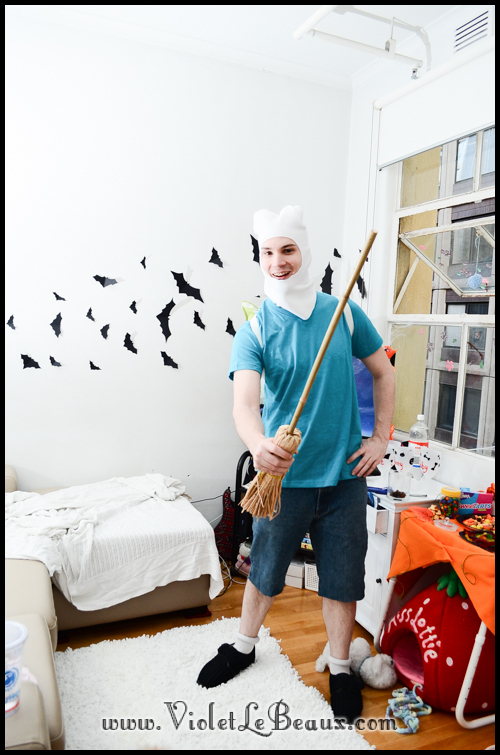
James made a very good Finn, I think they are the same mental age XD
Adventure-Time-Halloween-Costume-Cosplay880

He couldn’t find a sword so he borrowed Lottie’s broom. I made his hat in around 10 minutes by hot gluing some polar fleece together and his backpack is a green pillow with tape for straps XD Super dodgy!
Adventure-Time-Halloween-Costume-Cosplay876

Now on to the spoooky decorations we had XD

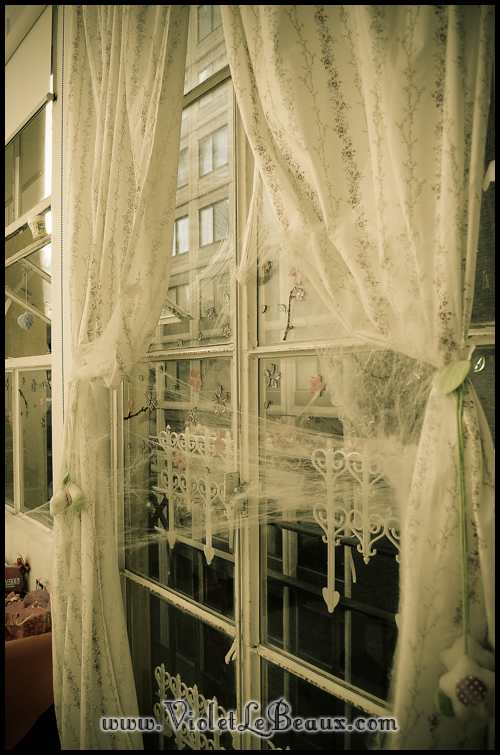
Personally I hate fake spider web but it’s a staple of Halloween so I covered all of the windows in it.
Adventure-Time-Halloween-Costume-Cosplay886

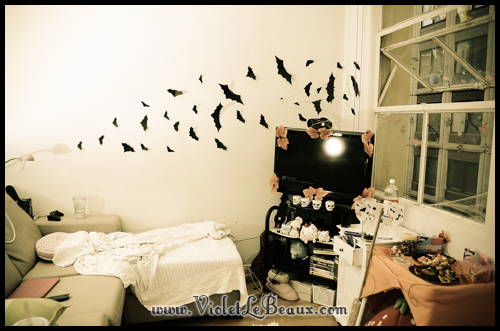
The lounge area had a flock of bats flying out the window, you can’t see very well but on the corner they actually come off the wall on wires.
Adventure-Time-Halloween-Costume-Cosplay881

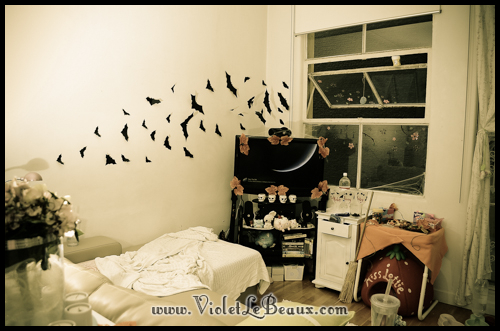
We had skull candle holders and Autumn leaves everywhere.
Adventure-Time-Halloween-Costume-Cosplay890

The most important part: candy table 😀
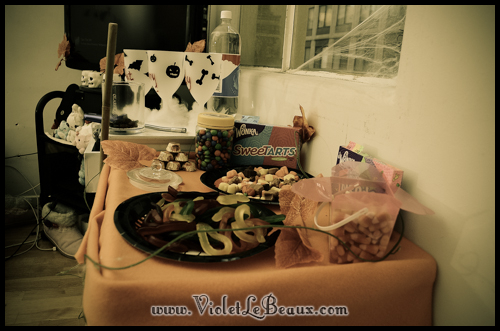
Adventure-Time-Halloween-Costume-Cosplay883

The real food table and more Autumn leaves.
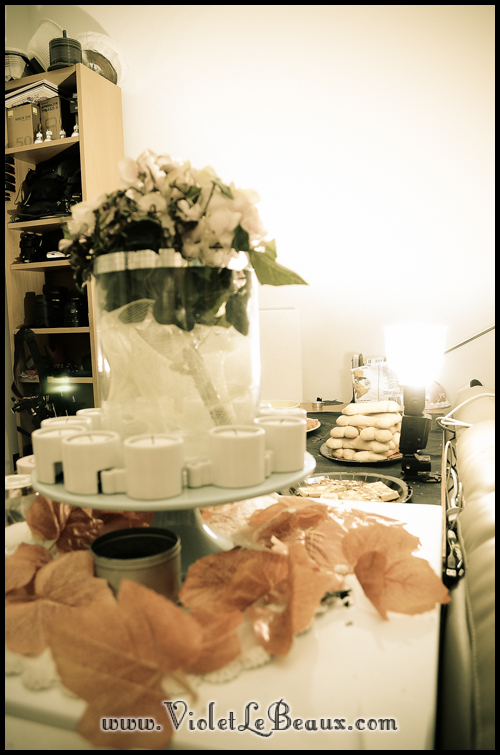
Adventure-Time-Halloween-Costume-Cosplay874

My new message board (tutorial soon) was covered with a black cat, spider web and even more Autumn leaves. I really like Autumn leaves.Adventure-Time-Halloween-Costume-Cosplay860
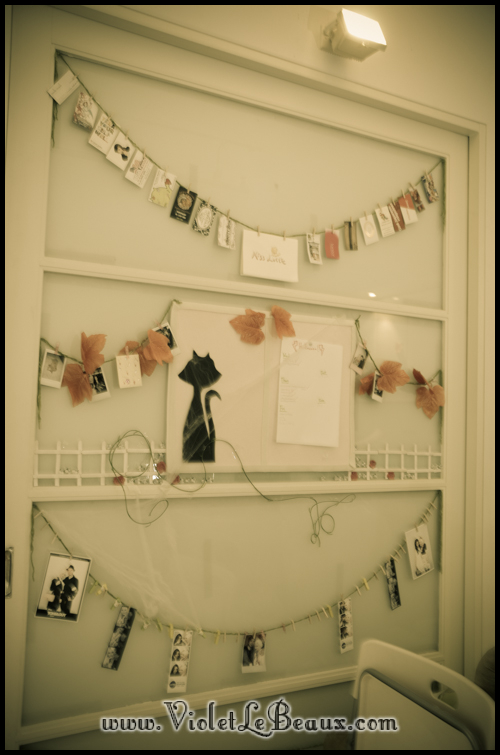
So much so that the same was put on the kitchen cupboards.
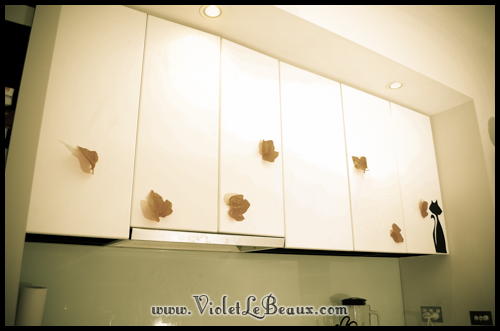
Adventure-Time-Halloween-Costume-Cosplay871

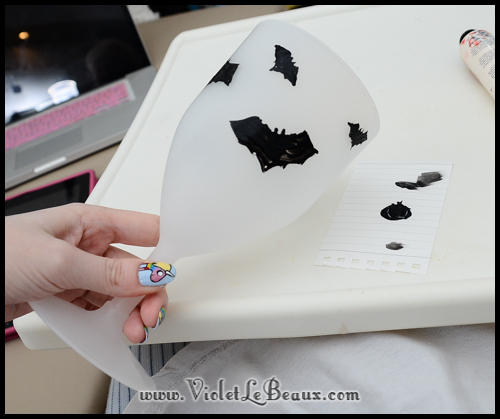
I made some very quick custom goblets too, these plastic cups were $3 at Big W.
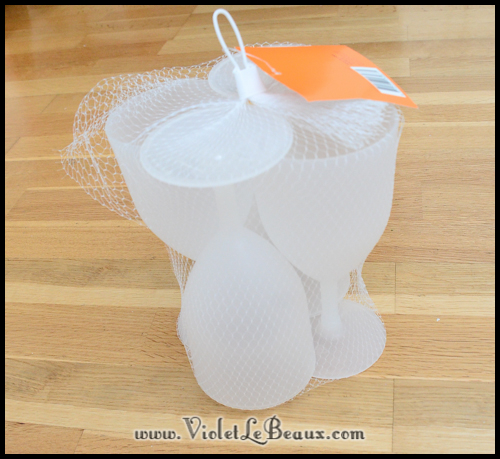
Adventure-Time-Halloween-Costume-Cosplay845

All it took was a bit of acrylic paint and a small paintbrush.
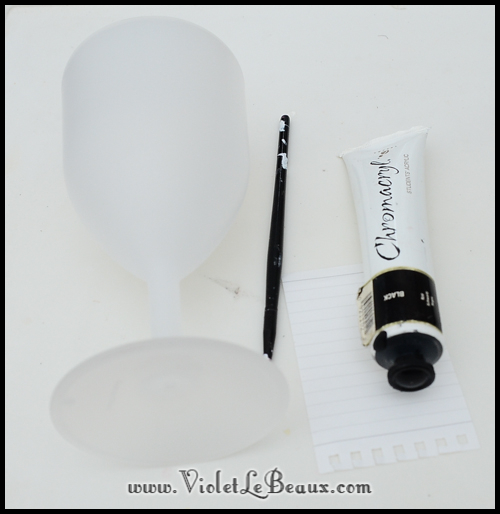
Adventure-Time-Halloween-Costume-Cosplay848

A few coats and they were done.

Adventure-Time-Halloween-Costume-Cosplay851

Easy, effective and after the night they just wash clean. Make sure not to get the outside wet during the party though or else you’ll have bats coming off on your fingers XD
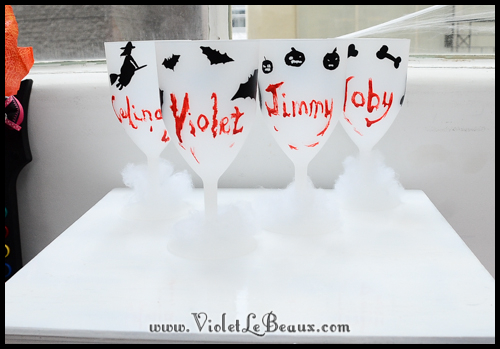
Adventure-Time-Halloween-Costume-Cosplay852

And a bonus shot of James being measured for his hood. Classy! Maybe I should have kept it that way…
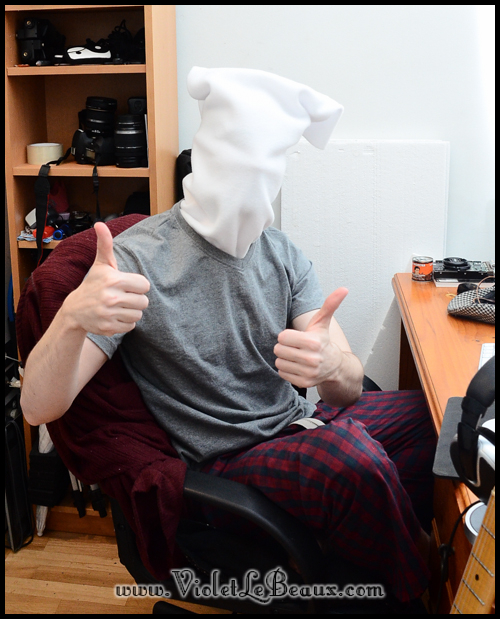
Adventure-Time-Halloween-Costume-Cosplay820

What did you guys do for Halloween? Did you get dressed up?

How To Make An iPhone Charge Tail

A few weeks ago I did a tutorial on how to make headphone jack accessories, this is kind of a companion piece to that because now I’m seeing power cord jack accessories everywhere! The most popular ones I’ve seen have been little fur tails that clip in, again quite expensive but extremely easy to make if you have an old broken power cord. I had a first gen ipod so I have quite a few broken power cords XD

The end result!

iphone-tail-cute-diy450

What you need:

  • Old broken power jack
  • Faux fur
  • Hot glue
  • Pliers

iphone-tail-cute-diy105

Cut the cord off the power cord. While I was working the case cracked off my power cord, not a big deal because it will be covered but it would have been cleaner if it had stayed on.

iphone-tail-cute-diy106

Cut out a a triangle of faux fur twice as wide as you want the tail to be.

iphone-tail-cute-diy108

Fold it in half and glue the edges together. Keep the glued part on the inside so the fur strands hide it.

iphone-tail-cute-diy109

Now glue the power cord into the end of the tail.

iphone-tail-cute-diy111

Make sure it’s secure and not going anywhere.

iphone-tail-cute-diy113

Wait until it’s dry and then you’re done! You can add some strings of pearls or a cute bow for extra decoration.

iphone-tail-cute-diy114

It looks a bit less OTT on James’ phone XD

iphone-tail-cute-diy118

I personally probably wouldn’t use one because I am always strapped for handbag space as it is but it was a fun project to do and very easy! I like this kind of thing because you can dress up your phone easily and remove it if you need to go somewhere it’s not as appropriate!

How To Secure a Silicone Keyboard Cover -Quick Craft

For my birthday earlier in the year my Dad gave me his old laptop. Very happy because it was was a big step up from my old laptop, Sophie! I named this one Turnip 😀 Aaanyway I decided not to make the same mistakes I did with my old laptop (not putting on a protector and never actually get around to decoing it). First step was to make the keyboard pink with a keyboard cover! I ordered mine from ebay for $1.50 but it didn’t quite fit, but for $1.50 I didn’t expect much XD

Violet-LeBeaux-Keyboard-Cover134

The cover:Violet-LeBeaux-Keyboard-Cover135And how it bubbled in the middle:

Violet-LeBeaux-Keyboard-Cover136
It fit when smooshed down but not just sitting on top like it was supposed to. Thin double sided tape to the rescue! Violet-LeBeaux-Keyboard-Cover138 Step #1. Wipe it down so there’s no dust. Violet-LeBeaux-Keyboard-Cover139 Step 2. Cut out small pieces and stick them down to the keys. You could do all of them but I just picked strategic keys. Violet-LeBeaux-Keyboard-Cover141 Step 3. Peel off the tape backing and then place the silicone cover over the top. Violet-LeBeaux-Keyboard-Cover144 Press each key into place. Violet-LeBeaux-Keyboard-Cover145 Done!! Violet-LeBeaux-Keyboard-Cover146 Cuter and also more protected! Now I just need to actually finish the deco around the lid >_< I swear I’ll finish it soon! Soooooooooooon!

How To Make Fabric Roses

Let’s make some little fabric roses! I made these ones to decorate a top now it’s a bit warmer 😀 I’ll show you the top as soon as it’s finished too.

Chiffon-Rose-Tutorial-VioletLeBeaux-0898

You need:

  • Fabric (gauze, chiffon or anything of a similar floaty texture)
  • Needle and thread
Chiffon-Rose-Tutorial-VioletLeBeaux-0886
Cut a long strip of fabric. It should be triangle shaped so it’s thin at one end and thick at the other.

Chiffon-Rose-Tutorial-VioletLeBeaux-0888

For best results cut it on the bias, this means that all the threads in the fabric are diagonal to the edges not straight. You can kind of see what I mean below but here’s a better explanation.

Chiffon-Rose-Tutorial-VioletLeBeaux-0887

Fold the strip of fabric in half along the length.

Chiffon-Rose-Tutorial-VioletLeBeaux-0889

Start at the thin end and roll it into a spiral.

Chiffon-Rose-Tutorial-VioletLeBeaux-0890

You want it to be pretty messy as you roll and you can gather the bottom slightly to make the top puff out more like petals. Stitch in place as you go.

Chiffon-Rose-Tutorial-VioletLeBeaux-0891

As you roll the edges will become a little ragged so they will look like ruffled petals:

Chiffon-Rose-Tutorial-VioletLeBeaux-0894

Once you reach the end of the fabric stitch it all in place and tie off. The fabric being cut on the bias means that the edges will frey a little but not so much that the fabric comes apart completely. The more the frey the prettier the roses get anyway.

Chiffon-Rose-Tutorial-VioletLeBeaux-0895

And from the side:

Chiffon-Rose-Tutorial-VioletLeBeaux-0896

You can make larger or smaller flowers depending on how big the original piece of fabric is. I like to group them in threes and put them on shirts or hair bands.

Chiffon-Rose-Tutorial-VioletLeBeaux-0898

Pretty and great for trimming dresses too.

Chiffon-Rose-Tutorial-VioletLeBeaux-0899

You can of course just buy these ready made but I prefer to do them by hand if I have time because you can completely colour match them to your individual project ^_^

I really like making them, what else do you think I could put them on?

How To Make An Iphone Headphone Jack Decoration

These headphone jack decorations seem to be really popular lately! They can be pretty expensive too considering they really do nothing useful. Here’s a quick way to make your own in any design you like.

Iphone-Jack-Decoration-Tutorial-444

What you need:

  • Old broken headphones
  • Scissors
  • Decorations
  • Glue
Iphone-Jack-Decoration-Tutorial-081
So the decoration basically sits in the top here in the headphone jack spot.

Iphone-Jack-Decoration-Tutorial-080

First step is to decide which decoration you want to use. I went through a few options before deciding on the bow.

Iphone-Jack-Decoration-Tutorial-084Iphone-Jack-Decoration-Tutorial-083Iphone-Jack-Decoration-Tutorial-082

Take the jack end on your old broken headphones.

Iphone-Jack-Decoration-Tutorial-085

Cut it off with the scissors. Get as close to the end as you can without having to cut metal. You can strip off the plastic if you prefer. Or if you want something even closer you could probably use heavy duty pliers to get a closer cut. Be careful if you try it though, in fact be careful when modifying any electrical equipment like this especially if it’s very old.

Iphone-Jack-Decoration-Tutorial-086

See it still fits in there nicely. I needed to double check the height was ok when using my case too so keep that in mind.

Iphone-Jack-Decoration-Tutorial-087

Now just glue it to your decoration. I glued it to the bow.

Iphone-Jack-Decoration-Tutorial-089

Then I glued another bow to the other side so it looked good both ways.

Iphone-Jack-Decoration-Tutorial-092

Once it’s dry it’s done. Yep, seriously that’s it.

Iphone-Jack-Decoration-Tutorial-094

It’s probably a bit of overkill on my phone…

Iphone-Jack-Decoration-Tutorial-093

But on James’ phone it makes a bit more sense!

Iphone-Jack-Decoration-Tutorial-100

I’ve seen some very cute crown ones too which would be equally easy to make if you could find some crown charms.

Iphone-Jack-Decoration-Tutorial-102

So there you have it, next time you have some broken headphones don’t throw them out!

Blinged Vaporub – Comfort For Being Sick

When I’m sick I tend to sulk a lot. I drink a lot of tea and sulk XD Sometimes you need something little to lift your spirits like something sparkly and pretty!

Glitter-Vaporub-458

I usually use this Breathe Easy ointment from Perfect Potions to clear my nose and throat. I bought it for my hayfever when I was like 14 and have had it ever since. When I went to decorate it a bit I looked at the label for the first time…Glitter-Vaporub-233

It expired 6 years ago *________________*

Serious fail, I can’t believe I didn’t see that earlier or even think about it!!

Glitter-Vaporub-235

Long story short I decided to keep the nice jar and fill it with some generic chest rub. I’ll have to find a Perfect Potions and rebuy one but now I’m too busy being depressed thinking about how long ago buying that was!!

Glitter-Vaporub-232

To make your own glittery chest rub you need:

  • Bottle
  • Chest rub
  • Glitter
  • PVA Glue
  • Paper
First remove any labels and the sticky residue they leave.

Glitter-Vaporub-236

Place the piece of paper on the table (makes clean up a lot easier!) and place a layer of glitter on it as wide as the bottle.

Glitter-Vaporub-237

Cover the bottle with PVA glue.

Glitter-Vaporub-238

Roll the bottle gently along the glitter.

Glitter-Vaporub-239

Keep going until it’s covered.

Glitter-Vaporub-240

Wipe off any stray pieces and leave it to dry. Once it’s one you can paint it with another layer of PVA to hold it all in or you can give it a very good brush off into the sink and hope for the best! You could also give it a blast with some non sticky hairspray to hold it in place, I used to do that with shimmer and glitter on drawings to hold them all in place ^_^

Glitter-Vaporub-459

I added a little charm at the top too.

Glitter-Vaporub-460

Now breathe easy and enjoy feeling slightly better!

Glitter-Vaporub-464

Being sick really sucks so I hope none of your managed to catch anything during this cold season!

By continuing to use the site, you agree to the use of cookies. more information

The cookie settings on this website are set to "allow cookies" to give you the best browsing experience possible. If you continue to use this website without changing your cookie settings or you click "Accept" below then you are consenting to this.

Close