Bee And PuppyCat Crochet Coffee Cup Cozy Tutorial

I know how many of you guys have been waiting for this one haha! Look at me doing this in a timely way for a change! Today let’s make a Puppycat coffee cup cozy ^_^

Now you can download the full pattern by clicking here.

I love Bee and Puppycat so much, if you’ve not watched the first 10 minute episode you should definitely check it out here. I can’t wait for the whole series!

Ok enough gushing, let’s get started ^_^ You are going to end up with a cozy that looks something like this:

You will need:

  • 4mm crochet hook.
  • White, pink, yellow, brown and black yarn. I’m using an 8ply DK weight and holding it doubled for extra thickness. My yarns were from different brands and slightly different thicknesses.
  • Scissors
  • Yarn needle

We will make the pink bottom collar section first and will only be working with just 1 strand of yarn for this section which will help give it the right shape for the coffee cup later.

For this part we will work from the top down.

Chain as many as you need to wrap around your mug. I was using a large mug so I chained 54 total.

Join the chain into a circle and make sure it’s not twisted around.

Chain 2 and then sc (single crochet) around the entire ring.

Once you reach the end of the round, join with a slip stitch and slip stitch 3 more. SC into the next stitch. DC (double crochet) around the row until you have 4 stitches left. SC into the next stitch and then slip stitch to the end of the row and tie off.

This will form Puppycat’s rounded Peter Pan-ish style collar.

Next let’s make the yellow bell. For the bell, use two pieces of yarn at the same time.

Make a magic ring with 6 stitches. Chain 1.

2 SC into each stitch for 1 round. 2 SC into the next stitch.

Chain 1 and turn work.

Alternate SC and 2SC until you reach the other side. Stop when it looks like this:

Slip stitch across the top of the bell, tie off and stitch it to the front of the collar.

I suggest weaving the ends in as you go using a yarn needle because it’s super tedious to do later!

Next we’ll make the main part of the coffee cozy.

Beginning at the back of the piece of work and working with 2 strands of yarn at once, tie on.

SC around the entire circle.

When you get to the back again, continue up and up until it’s as tall as you want the cozy to be. I needed 11 rows for a large cup. When you get it as tall as you need, continue to the back above where you joined on, slip stitch into the next stitch and tie off.

Next the ears, use pink and just 1 strand of yarn. In terms of placement, I did mine 4 stitches away from the edge of the bell.

Tie the pink yarn on and SC 3 stitches. Turn work, chain 1 and SC the next row.

Turn work, chain 1, SC into first stitch, skip the next one and SC into the last one.

Turn work, chain 1, skip the first stitch and SC into the next. Tie off yarn.

Repeat for the other ear!

Now we need to go around the edges of the ears in the brown. Again using 1 piece of yarn.

Tie on and slip stitch 1 stitch away from the edge of the pink ear. SC into the same stitch. SC up the side of the pink ear, when you reach the top do 3 SC into the same stitch to turn the corner.


SC down the other side and into the first white stitch. Slip stitch into that same white stitch, tie off.

Repeat with the other ear.

Next we need to make 2 grumpy eyebrows out of the brown.

Again these are with 1 piece of yarn. They are basically just little oval shapes.

Chain 6, SC down one side of the chain. When you get to the end, SC 3 times in the same stitch to turn the corner. SC down the other side. When you reach the end of the row, slip stitch into the previous round and tie off.

Repeat for a second eyebrow.

Now stitch the eyebrows onto the face and use some black yarn to embroider the eyes, nose, mouth and bell.

I used 2 strands of black yarn held together. The eyes are just 2 stitches into the same hole so they form a rounder shape.

The nose and mouth were each 1 stitch. The bell was a basic “Y” shape.

Once you weave all of the ends in you’ve officially got yourself a new friend to adventure with!

Now fill up on coffee and report to Fishbowl space for temp work!

I hope you enjoyed the tutorial, let me know if you have any questions and have fun 😀

Covered External Hard Drive Tutorial – Home Sweet Home

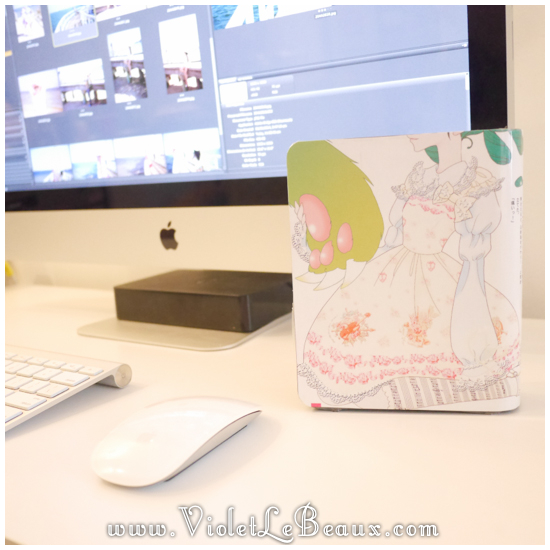
Time for another Home Sweet Home tutorial! Today I’m recovering my external hard drive so it matches my desk more!

For this tutorial you will need:

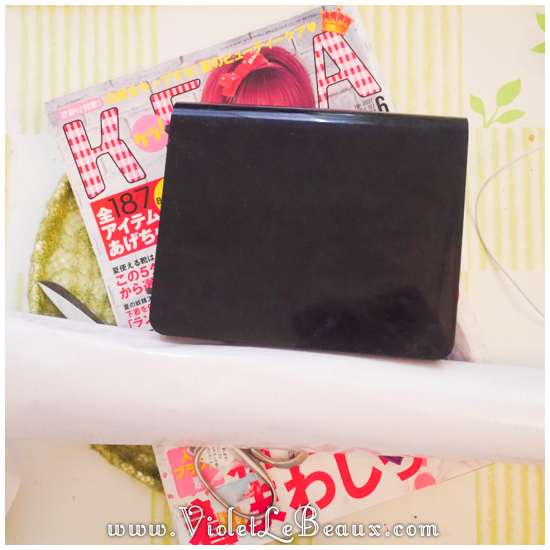
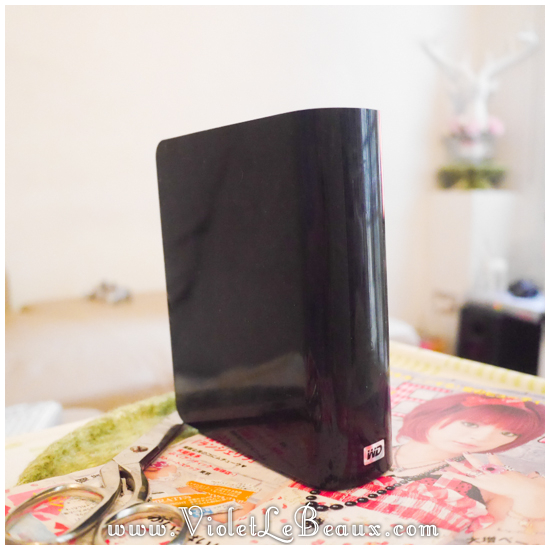
  • Hard drive
  • Old magazines or pretty paper
  • Book covering contact
  • Glue
Clean the outside of your hard drive to make sure that you have a nice smooth surface.
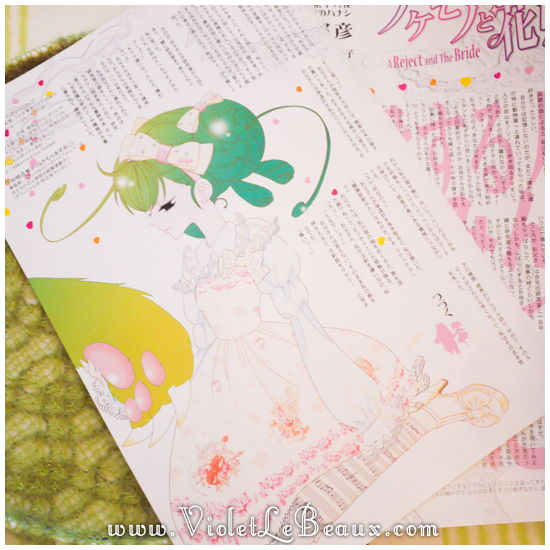
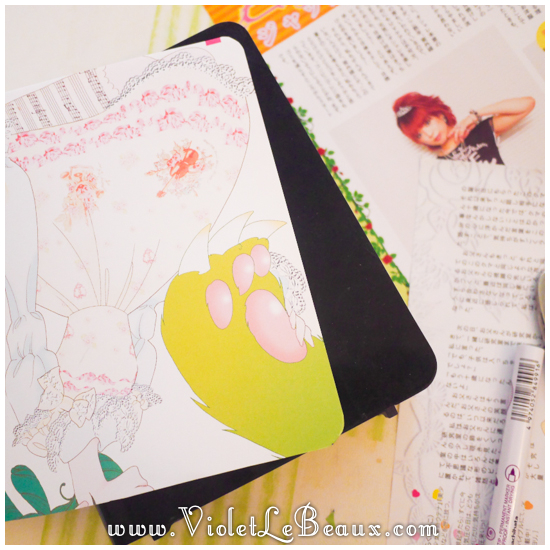
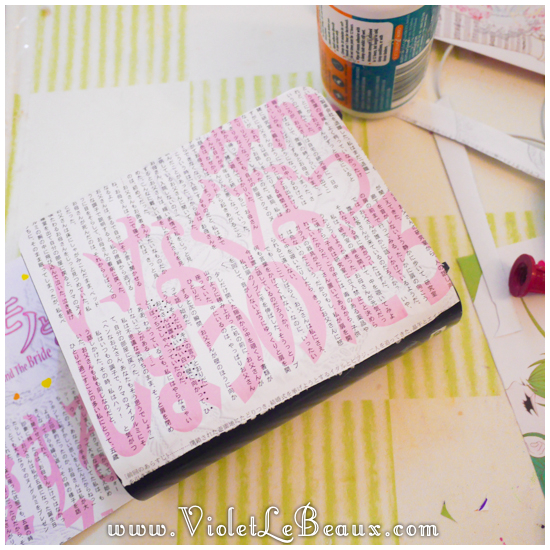
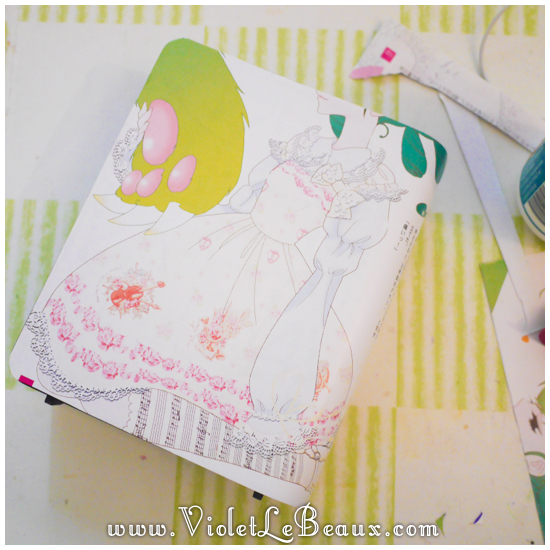
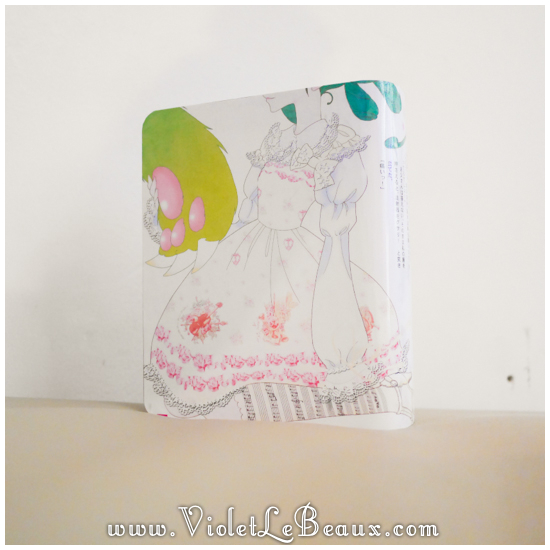
I used pictures from an old fashion magazine. You can use whatever you like. Cut out some pretty paper in the shape of the hard drive. Mine wasn’t big enough so I had to do it in 2 pieces.
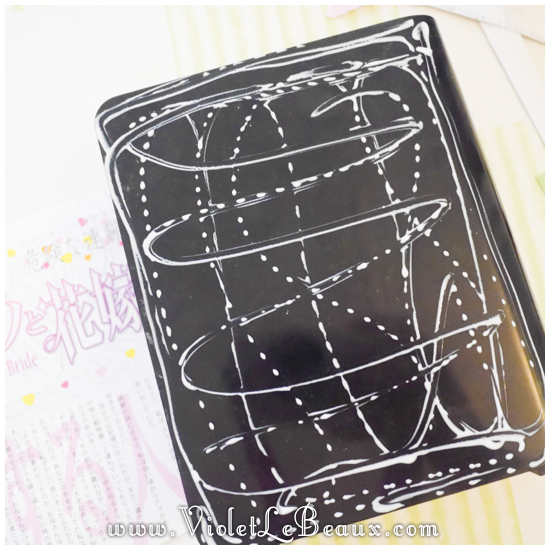
Glue the paper to the hard drive. Don’t use too much glue or the paper will go soggy. Just use enough that it won’t move around.
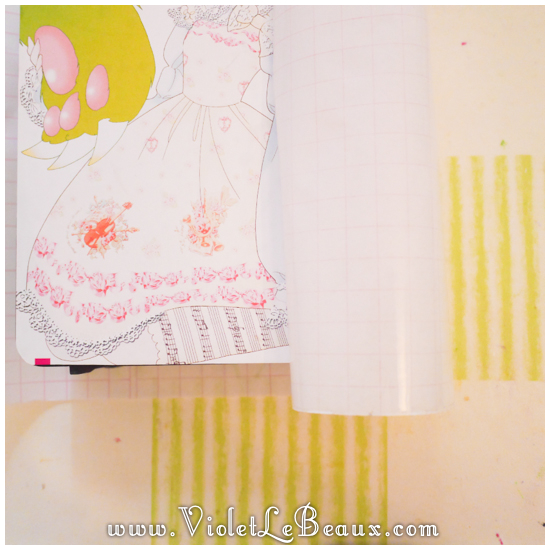
Now cut out contact which is slightly larger than the paper.
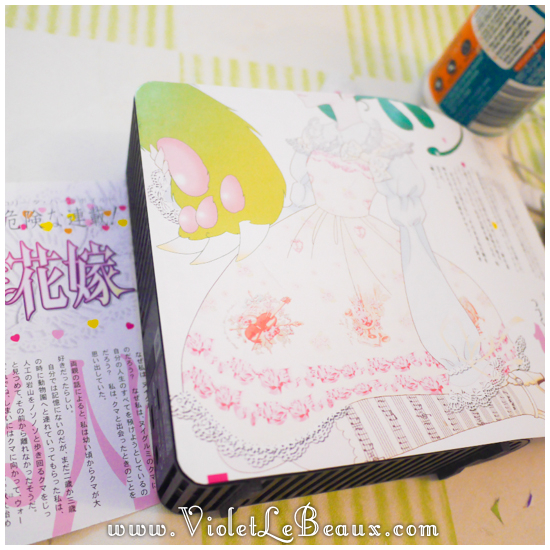
Lay it out over the entire hard drive and smooth to make sure there are no bubbles.
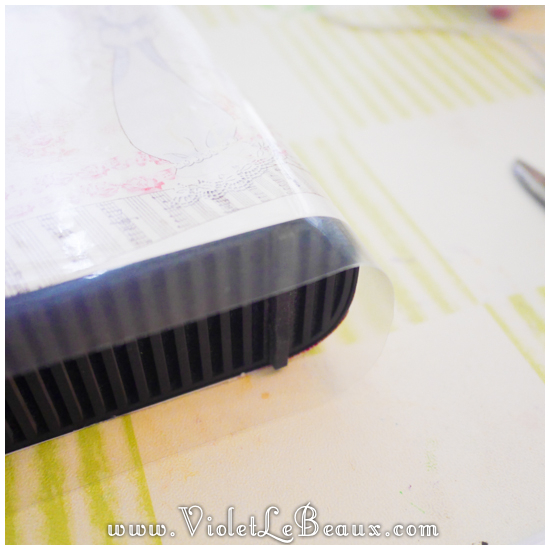
Snip off the edges and fold the contact around the corners so it all has something to stick to. You can use a scalpel or art knife if you’re good with them, but I just used scissors.
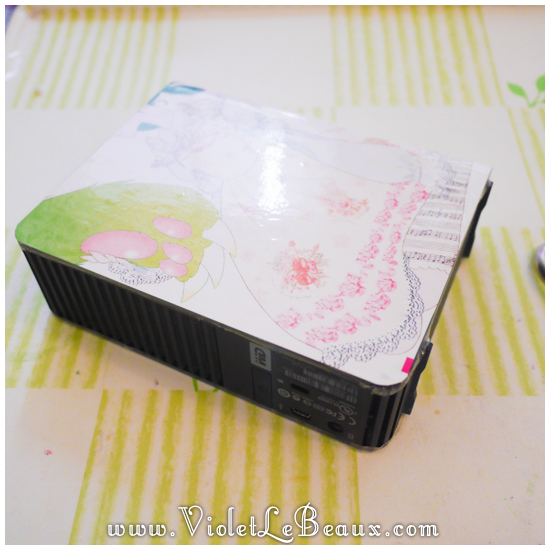
Done! Easy! Now to do the 102938029384 other hard drives >_<
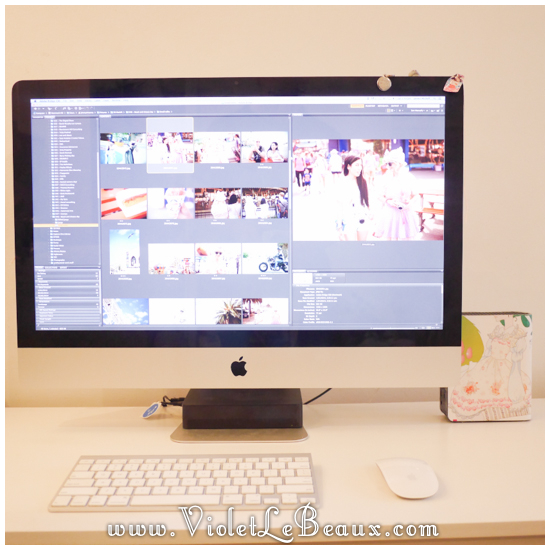
Much cleaner and it actually matches the house!
Hope you enjoyed the craft and let me know if you give it a try!

No Sew Draped Cardigan Tutorial

Another no sewing tutorial, this time I made an easy draped cardigan!
I think the real key to all of these draped clothes is using the right fabric. I am using a really stretchy fabric which is also thin so it flows really well.

Stretch is much more forgiving if you’re just experimenting too! It’s really important to use a fabric which isn’t going to fray like stretch cotton if you’re not planning on hemming anything.
Of course you need a good little helper dog to do this even if she is really not very helpful.
To begin with I draped the fabric over my mannequin as if it was a wrap. Most of the fabric was bunched around the neck.
I pulled it tight so that the back looked more fitted.
I then cut out some arm holes.
Even this just by itself looks quite cute with a belt!
I wanted to have a few different ways to wear it though so I cut a slit on either side
Now to close it all I needed to do was take the corners and wrap them around to the back.
The underneath one pokes through the slit inside so you can tie them at the back.
It only took around 10 minutes to “make” if you can really call it that. And quite a few ways to wear it!
I could see this being really good in cooler months with a long sleeve shirt under it.

Now this is definitely a quick craft! Let me know if you give it a try!

How To Sew Lolita Style Wrist Cuffs – Sew Fun

Today’s tutorial is a reader request: how to make your own Lolita style wrist cuffs.

I really haven’t followed Lolita fashion in years but a lot of the things I post here could cross over easily so many of the reader requests I get are about how to diy Lolita items. I usually steer fairly clear of that because it doesn’t match with my style anymore (and I have no idea what’s even fashionable in those circles now) but this request was interesting to me because I made a lot of these when I wore the fashion!

For this tutorial you will need:

  • Thick lace
  • Thin eyelet lace and ribbon to go in it
  • Needle and thread
This is the most basic of these style of cuffs and it is going to be hand stitched. You could easily machine stitch them, use elastic or any other kind of embellishments you want.
Begin by cutting a piece of the large lace which is at least 3 times the length around your wrist. Ideally you would like it to be even longer than that because more ruffles = cuter.
Cut a piece of the eyelet lace which is around twice the length of your wrist. My pieces below are a bit shorter than I would usually use because I didn’t have much of either of these left. I would also suggest using a longer piece of ribbon so it’s easier to put into a big bow.
Fold the edges of the thick lace over twice and the running stitch up it to seal in the edge.
Now loosely running stitch down the long side so it gathers into a ruffle.
Pull it tightly so the thick piece is the same length as the eyelet lace.
Fold and stitch the edges of the eyelet lace over.
Place the eyelet lace over the gather in the thick lace. I like to leave it a little lower so the top of the thick lace ruffle can be seen on the other side. Stitch it in place all of the way across and then stitch another row under the ribbon so it’s very secure and even.
You should have something along these lines…
You can just put them on like this but I prefer to move the ribbon through the eyelets so it sits on top with the split in the lace at the bottom.
Like this:
Tie the ribbon into a cute bow and you’re done!
Wearing my old clothes makes me wish it was 2007 and I was in Japan again!
You can vary these easily by adding another layer of the thick lace.
Hope that answers the request and make sure you let me know if you have any others!

DIY Tea Cup Candle Tutorial

I’ve seen so many of these tea cup candles in fancy shops but the prices are just exorbitant. You can buy tea cups in thrift shops for like $1 and candle making supplies are quite cheap too. Even cheaper?  Recycling old tea light candles. Cute result!

.

So for this tutorial you will need:

  • Old candles or candle making supplies to melt down
  • Something to melt them in (I’m using a fondue set)
  • Chopstick
  • Twine
  • Tea cup
To begin, pull the tea light out of the metal casing and remove the wick and the metal part at the bottom.
Once you have enough of them, put them into a melting pot. I’m using a mini fondue set but you can also do the on the stove top which is a lot quicker.
Melt all of the wax.
Measure a piece of twine which is long enough to reach the bottom of your tea cup and tie it to the chopstick.
Once all of your wax is melted it should look similar to this. You can see that all of the crappy burnt parts and dirt sink to the bottom and you can easily pour the wax while leaving them behind.
Pour the wax carefully into the tea cup. Be careful, it’s very hot! Try not to get too many bubbles in there too.
Now dip the twine into the wax and position it so it hangs all the way down into the middle. It can be easier to use a toothpick to poke it in there so it’s straight. Ideally you want to dip it a bit further than you need to so the top part of the wick is covered with a little wax too.
Now allow it to dry completely and you’ve got a candle! If the surface isn’t perfect you can remelt it with a lighter to smooth it out.
Don’t forget to cut the wick so it’s not super long!
Taadaa candle! Cute as home decor and really cost effective to make 😀 I shouldn’t need to say this… but don’t drink it. Seriously.
Hope you enjoyed the tutorial, let me know if you give it a try!

How To Make A Triple Ribbon Bow

Ok so I originally made this as just a regular bow so I could show a different kind of bow in a tutorial… but it looked so cute on Lottie that now it’s an adorable doggy bow. Come on, she looks so fancy and proud!

.

For this tutorial you will need:

  • 2 kinds of ribbon
  • Needle and thread


Cut a piece of your first ribbon and form it into a loop with the split in the middle. Thread your needle, I’m using white so you can see what I’m doing.
Stitch down the middle and gather it. Tie it off so it’s secure. Repeat with a second piece of ribbon so you now have two bows.
Tie the two loops together so they form a big super bow with 4 mini loops.
Now create another gathered bow loop with your second kind of ribbon and tie it to the middle as well.
Then add some long tails to the gather as well.
Tie one last piece of the second ribbon around the middle of the bow. Make sure it wraps around everything completely.
Now if you’re going to attach this to your dog’s collar, stitch a loop on to the back of the bow.
Taadaa, a gigantic monster bow!
Just thread it through your puppy’s collar and she’ll be as fancy as Lottie.
… ladies?
I’m so glad my dog is as big of a camwhore as I am. She makes the funniest expressions… and puts up with a lot from me XD

.

By continuing to use the site, you agree to the use of cookies. more information

The cookie settings on this website are set to "allow cookies" to give you the best browsing experience possible. If you continue to use this website without changing your cookie settings or you click "Accept" below then you are consenting to this.

Close