How To Make A Tulle Pearl Collar

|
You need:
 You will need very long strips of tulle. I used around 1.5m of it but honestly, the more the better because the frills will be more impressive.
Fold it in half length-wise and then fold the crease so it sits around 1/3rd of the way in. You can see what I mean below:
 Thread your needle and tie it securely to one end of the tulle at the folded edge. Start a very small running stitch from there to the other end. Gather it as you go by pulling tightly to create the ruffle.
 You should have something along the lines of this when you reach the other end:
 Decide how long it needs to be to go around your neck and then tie off the thread. Measure out some ribbon which is as long as the gathered tulle but also has enough on either end to tie into a bow. This is how we will tie the collar on.
Stitch the ribbon to the tulle around 5mm from the folded edge.
 Once you go all the way around it, you will end up with something like this:
 You won’t be seeing this side so it doesn’t matter how neat you are.
Now cut a length of pearls which is as long as the tulle. I’m using pre-strung pearls but you could just sew them on individually.
 Sew the pearls on to the non-ribbon side of the tulle.
 I find it easiest to get them perfectly even by putting one stitch between each pearl.
 Done!
 Now just find a cute shirt with a round neckline and tie it on!
     Cute!!
 Looking good! You can use the same technique with just about any fabric for a variety of collars. You could even cut the tulle into a Peter Pan collar shape for another version!
Hope you found it useful and let me know if you give it a try 😀
|
Make Luck Happen – Melbourne Snapshots
This random footpath drawing is something that I believe in above all other things. Luck doesn’t just happen, it’s something you control!

|
How have you guys been this week? I’ve been good, just plodding along with work. I did manage to take a little time to stop and enjoy things though!
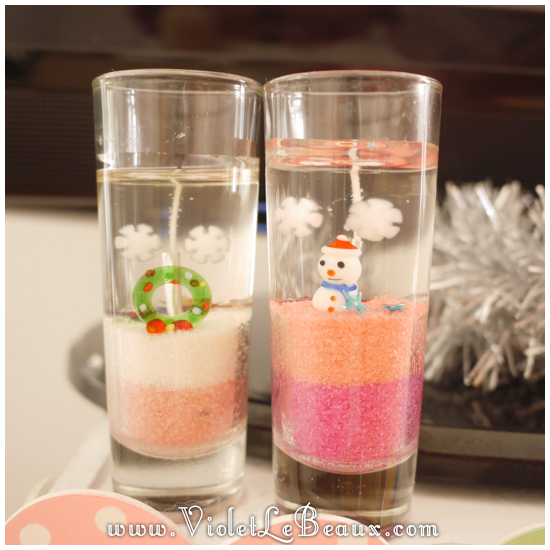
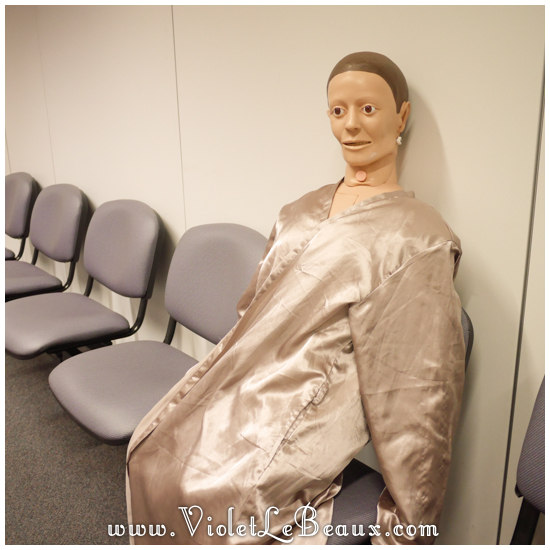
I’ve done so much work this month! I’ve planned out all of my posts this year in advance so I can actually be ahead of schedule and make more awesome things! I may have bought these candles just to get the cute little trinkets inside them >_> I wanted one of these cute little trees but they were sold out before I could get one! I managed to drop a tripod on my foot >_< Bonus photo which will scar you for life: One of James’ photography clients is a school where people learn about aged care nursing. They have the scariest mannequins EVER!!
|
How To Do A Bear Ear Hairstyle
Hair tutorials are back! This time I’ll be doing a lot of the reader requests that have been sitting on my list for ages!
So let’s get started, today we’ll be doing a bear ear style while was popular for a while in Japan.

Start with clean, brushed hair and part in the middle. This style works best if your hair has been straightened up the top as it forms loops more easily.
|
Take a small section at the top on one side.  Tease it a little bit around the roots. This will give the finished style a nicer shape.
 Hairspray the area a little bit.
 Fold the section upwards and back down so it forms a loop. Put the tail of it in front of the loop, this will help it look a bit more natural rather than something just stuck on the side of your head.
 Pin it at the base. You can use one pin or two in an X shape to hold it in place.
 Now repeat on the other side too!
 Yay! Ears!
 This calls for your best bear impression… Yeah this was apparently the best I had >_>
 I like to add some bows to the bottom of the loops as an added point of interest.
 Hope you enjoyed it and let me know if you try it out!
|


