Basic Men’s Ribbed Beanie Pattern


|
He seems to think no one notices when he wears them inside out… but I do.
So anyway this project was actually quite a quick one to do because it’s so basic. James doesn’t like fancy designs so even though I wanted to do some cool cabling he ended up with plain old ribbing.
Obviously this will vary with head size etc so doing a test swatch is important etc. For James’ head size I cast on 100 stitches. For this kind of ribbing, really you just want double the number you would need for straight stockinette.
 Then knit 2, purl 2 until you’ve got around 15cm of ribbing. I used circular needles because it was easiest for this size.
 This was the amount of ribbing I did, it ended up being around 20 rows.
 At the end of the ribbing, switch to stockinette and k2tog every third stitch to decrease it into being more head shaped.
 Knit straight up until you reach the top of the head and then begin decreasing every 5th stitch again. At this point I moved over onto double pointed needles . I pretty much just continued decreasing like that until the end to create a fairly steep curve shape.
  Tie off the top and it’s officially a hat!
 Here you can see the decreases a little better.
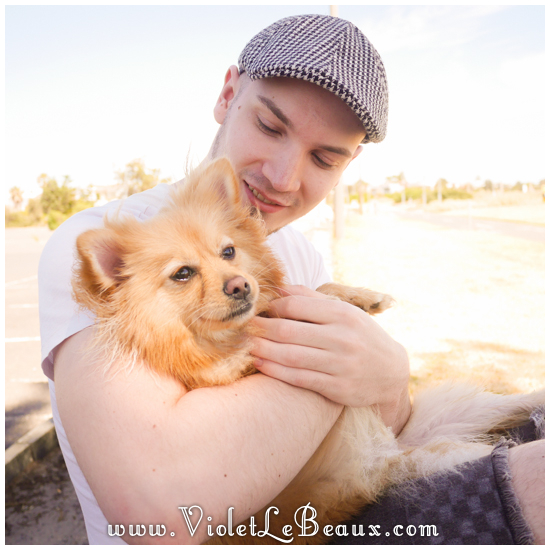
   James seemed happy enough with it and it’s certainly an improvement over his old ones so I might have to churn out a couple more… next time with cabling though XD
 Bonus: this is what James thinks hat modelling is. I have no words.
 |


