How To Do Sugar Crystal Ice Lipstick

|
But the original version was super icy with the light blue lipstick underneath it.
  It’s super easy to do, start with clean bare lips.
 Apply a really sticky lipgloss. If you want to make the lips coloured then start with coloured lipstick and the apply a sticky clear lipgloss over the top.
 Try to be as neat as possible because it can be tough to clean up later.
 Pour out the sugar into your hand or a tray.
 Press your lips into it.
 Use a make up brush to dust off around the edges and any loose pieces.
 Done! You can also press it in a second time to crust it on even more. For the snow queen look I think I did like 3 layers.
 When the sugar touches the lip gloss it crystalises a bit more together. It looks cool but it will get everywhere so take your photos quickly! Also it’s hard not to just eat it haha!
 |
One Of Those Weeks – Melbourne Snapshots
Snapshots time!
This week was one of those completely random weeks that seems to make no sense at all. Even the weather is very confused.

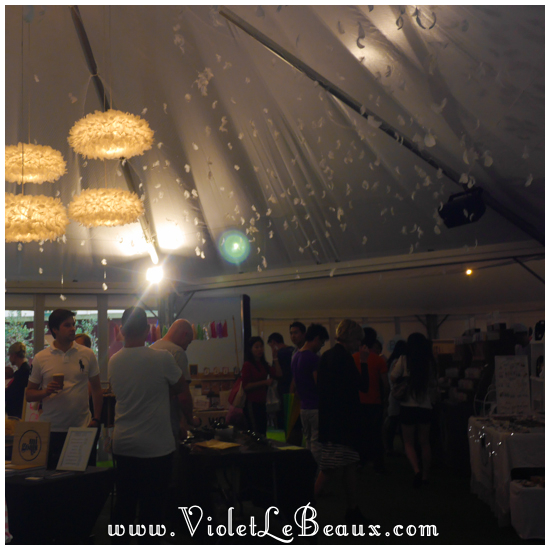
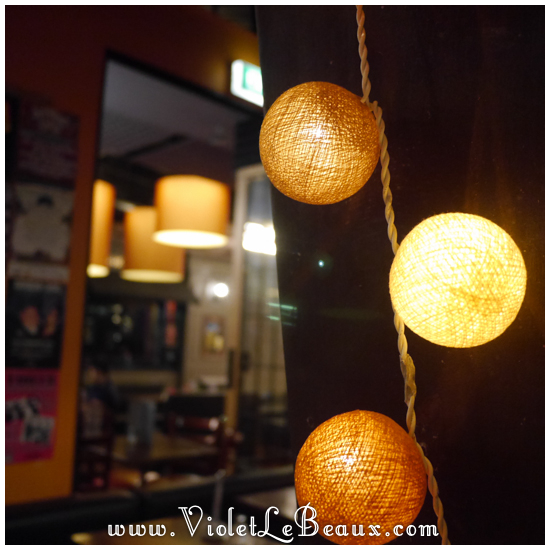
I’ve seen a lot of beautiful lights in the city. This market stall had little feathers all over the inside, it looked quite magical!
|
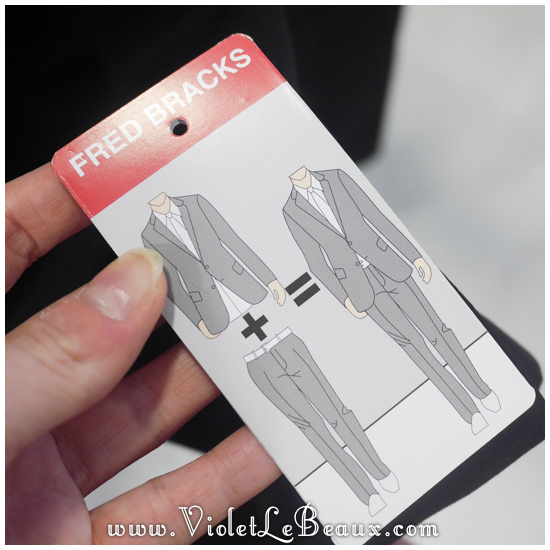
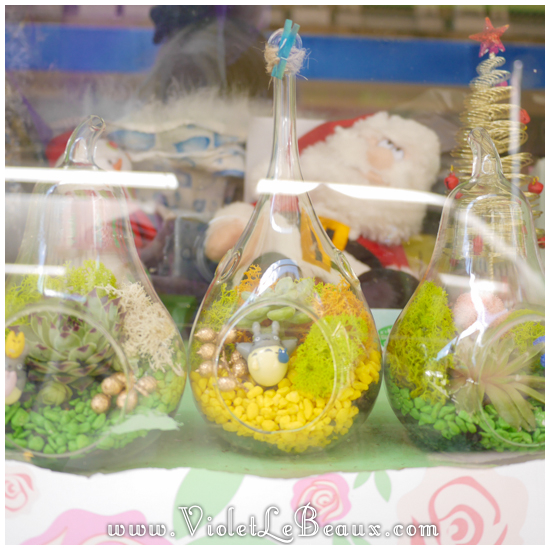
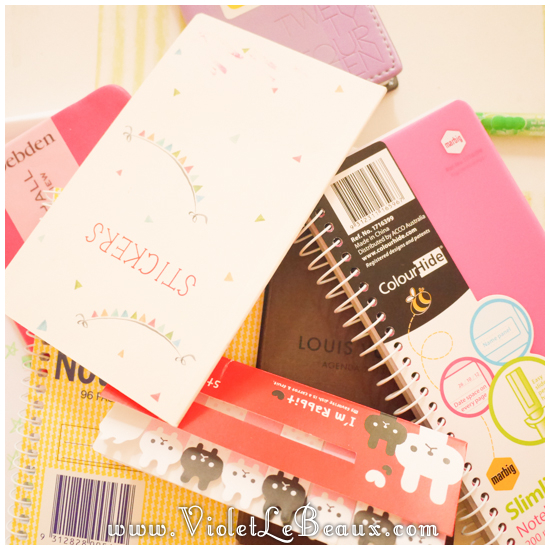
Did you know that when you add suit jacket to suit pants you = suit jacket and pants? Apparently enough people didn’t to require this handy label. I thought these little Totoro terrariums were pretty adorable! We did a lot of walking. … a lot… I promised myself that I would be better organised this year so I… bought stationery. That counts right? No? I actually have to use the stationery? Man! >_>
James did this for some reason. I don’t know. It’s been one of those weeks. To end, a random cactus. Because… that’s a good ending. |
How To Do A Waterfall Braid – Photo Tutorial!
I love this style in Summer, I always get really obsessed with braids in Summer for some reason! So today’s hair tutorial is a little bit of a different braid, it’s a waterfall style!
It looks complicated but all this really means is that some of the top strands fall down to the bottom rather than continuing through the entire braid.

|
So let’s get started!  We will be working on the side of the head today but you can do this in any direction once you understand the mechanics.
 To help things along I’m going to colour code it. Take a small piece of hair at the very top front and divide it into 3 pieces as if you are going to start a regular braid.
 Begin braiding, starting from the bottom piece.
 When you are going to move the top piece down, move it and then completely drop it so it hangs loose.
 Continue braiding with the bottom strand as if nothing happened. When you add the next piece of hair in from the bottom you will actually trap the hanging piece down in place.
 Now when you need to take the next section from the top, grab a completely new piece of hair at the top, move it over and then drop it.
 You can see what I mean a bit better here:
 Continue doing this for the entire braid. Here is the complete pattern colour coded:
 When you get to the back you can plait it down and then repeat on the other side or just keep going all the way around the other side. It looks really cool if you do two rows of these braids next to each other.
 Taadaa!
 Dropping pieces of the braid feels very unnatural when you start out doing it but once you understand the movement it’s as quick to do as any other braid!
 It has a really pretty effect though! Hope you enjoyed the tutorial and let me know if you give it a try.
|


