by VioletLeBeaux | Apr 11, 2011 | Beauty-Tutorials, Tutorial, Video-Tutorials, Violet Vision Videos
This is a very simple tutorial made for a post on my blog. It is a very easy gold and bronze eye make up style using mostly 1 palette. I do my make up like this quite often as it only takes around 5 minutes when you get the hang of it.
For more information please visit the post over here:
http://bit.ly/oWlYs7
Subscribe to my channel: http://bit.ly/pfjebH
Blog: http://bit.ly/qIKumk
Mobile blog: http://bit.ly/oF86Yz
Twitter: http://bit.ly/onCld1
Facebook: http://on.fb.me/pQPLBB .
~~~~~~~~~~~~
Shop: http://bit.ly/NknExz
Blog: http://bit.ly/qIKumk
Tumblr: http://bit.ly/oF86Yz
Twitter: http://bit.ly/onCld1
Facebook: http://on.fb.me/pdZ8B5
Instagram: http://instagram.com/violetlebeaux
~~~~~~~~~~~~
A blog and Youtube channel about a girl and her quest to make everything sparkle. New craft, hair and beauty tutorials every week!
Violet LeBeaux spends most of her time trying to think of ways to make life prettier, posting said ways on her blog and drinking very strong tea. She writes about big hair cute things, girly fashion, beauty finds, sometimes Hime Gyaru fashion (姫ギャル) and crafty tutorials.
She lives with her adorable boyfriend Jimmy, fluffy puppy Miss Lottie and Bergamot Bunny in Melbourne, Australia.
~~~~~~~~~~~~
Music: Garageband unless otherwise credited
~~~~~~~~~~~~
You can’t say no to the girl with the lashes.
Today on Violet Vision… basic gold and copper eye make up.
This is the finished look.
What you need for the eye make up:
False lashes/glue, mascara, gel eyeliner, cream shadow, gold eye shadow, bronze eyeshadow, dark brown eyeshadow.
Clip back your hair.
Use the foundation routine you’re comfortable with. This is my 1 minute basic one.
Illamasqua and Innoxa foundation.
Mix them together and dot around the face.
Blend and pat with a sponge.
Pat a little extra around the eyes in place of concealer.
Finish with a little pressed powder.
Bourjois mascara.
Apply a light coating of mascara.
Clean up any little mistakes.
The Face Shop lashes.
Lash me Type 1 Glue
Apply glue evenly to the lash bone.
Bend to shape and press on to the lash line.
Repeat on the other side.
Bobbi Brown gel liner in Espresso.
Fill in the lash line using an angled brush.
Apply in a thick line along the lashes ending in a flicked wing.
Join the wing with a small line on the lower lash.
Maybelline Eyestudio.
Apply crean from the crease to eyebrow following the socket.
Add cream to the lower inner corner of the eye.
Load your brush with the gold.
Apply on the lid from the inner corner 2/3rds the way along.
Apply a small amount on the lower corner of the eye sticking close to the lash line.
Load your brush with copper and apply in a “c” following your eyelid crease and wing of the eyeliner.
Following the eyeliner, apply to the edge of the lower lash line.
Load up with the brown.
Start at the wing and go over the eyeliner with a thick line.
Use the cream to blend all the edges together.
Apply a coat of lipstick.
Add some lipgloss.
All done, super pretty!
I hope this was a useful video, please check out the blog post linked in the description for more information and tutorials.
Thanks so much for watching.
Bye!
by VioletLeBeaux | Apr 10, 2011 | Beauty, Review, Travel In Style
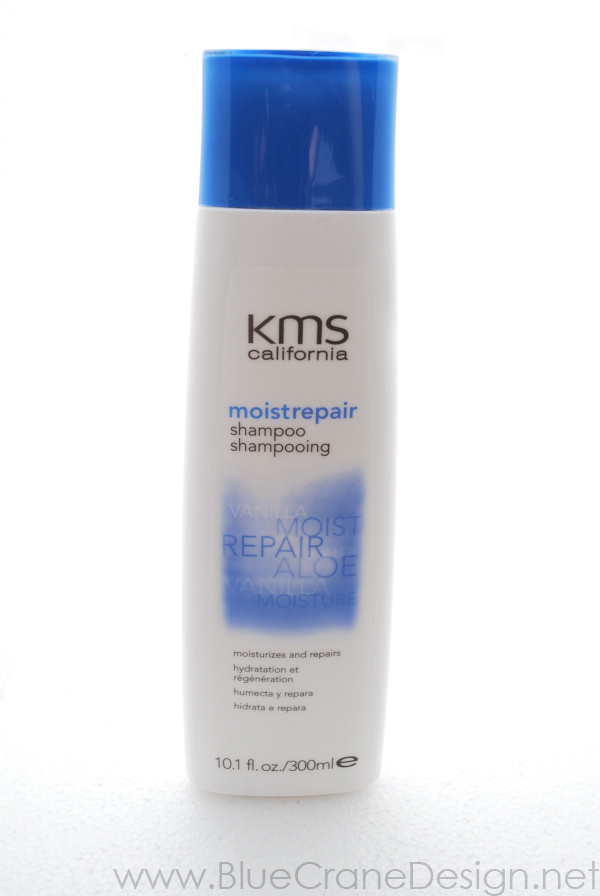
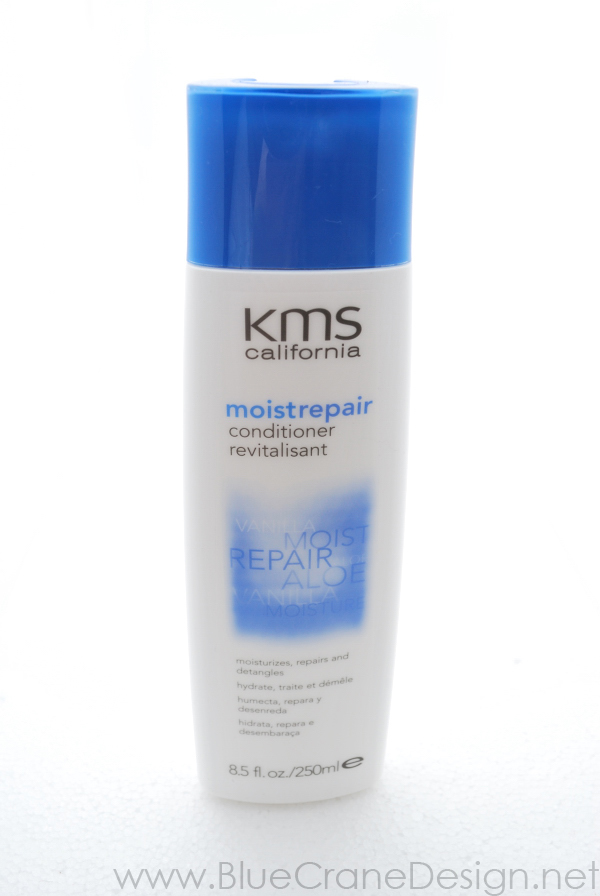
Before MBBE I had never heard of KMS California but I’m very glad that they included their shampoo and conditioner set in the gift bags because I found something to add to my must-have list.
Out of all the shampoo/conditioner sets that were in those bags, I found the KMS ones to be the most compatible with my hair. If you want to see what it beat out you can see the other items in the gallery here.
Brand: KMS CAlifornia
Name: Moistrepair Shampoo and Conditioner
Price: I googled for Australian prices and the average seems to be around AU$20 per bottle
If you follow me on Twitter you would have seen me asking for recommendations for hair treatments and products to fix my damaged hair. I’ve been dying my hair various colours for almost 10 years now and while I’ve escaped most damage it does take it’s toll.
The bleached sections of my hair are relatively unscathed but the pink dye is drying out the ends like crazy. If you have any recommendations for non-damaging-not-ridiculously-expensive pink dye available in Aus I would love to hear them! So yes trying to be kinder to my hair so I can keep the pink happening as long as possible. I’ve tried quite a few different hair treatments and with the exception of one which I will review later, these two products have by far improved the texture of my hair the most.
After using consistently for 1 month I can really feel the difference in the ends especially. Less straw and more silk if you know what I mean XD
The texture to both products was quite thick. The shampoo feels substantial and while lathering easily it doesn’t produce so many bubbles that your entire head is engulfed. The conditioner feels soft and silky but not so slippery that it runs off the hair, it grips well to the hair if that actually makes sense. There’s no strong smell which is also a plus in my books.
The only major con I have for these (other than the intensely ugly/generic looking bottles) is the price. At $20 for 1 bottle you really need to be prepared to invest in it. For me personally I don’t have the budget to do that unless I can find them on sale somewhere.
![]()
|
VERDICT: Overall while it’s certainly not on the cheap side, I think this is the best shampoo/conditioner combination I’ve ever used for my particular hair. So if I had the money to make the choice I wouldn’t hesitate to buy them repeatedly. DO WANT.The PR agency for KMS also sent me their Dry Shine Styler as well as the travel kit to test out after I mentioned I have problems with frizz.Name: Dry Shine Styler
Price: $19.95
Basically it is supposed to shine and smooth down all of your little fly away hairs. I’m sure there is all kind of fancy technology employed to do that but that sort of thing you can read about on their website.

It comes in the form of a glue stick XD The idea is that you can take it anywhere and use it on the go. You are supposed to smooth it straight onto your hair, I found that doing that was too much product and too hard to see what I was doing so instead I applied to my hand and then wiped it onto the hair.
It seems like an odd thing glue-sticking your hair but I remember at school when girls I knew used *actual* glue sticks to do this if they were desperate hahaha!

So does it work? You be the judge…
Before. Unbrushed hair first thing in the morning:

After. Applied very lightly on hands and smoothed down, no brushing:

So yes it does work, and it works very well. You would think it would be heavy and oily to get such a dramatic result but it’s really not. My hair didn’t feel greasy and I couldn’t notice much of a difference at all. There is a light plesent scent with it, kind of smells like a hair salon actually XD
I think the biggest fan of this product surprisingly enough was actually James. As a photographer he is forever having to photoshop out fly away hairs from client work, after one use with me he wanted to take mine to use on shoots. I didn’t want to give it up though so now we argue over who can take it on certain days XD I feel almost like we need a lawyer approved joint custody arrangement!!
VERDICT: Love it. Again pricey but you need so little of it to get results that I imagine it would last for a *very* long time and therefore be worth the investment. James says it’s a must for photographers and I would agree that I can tell when I’ve used it/not used it in outfit photos! DO WANT.
Now small bonus with these reviews, from May 1st if you buy any 2 KMS products you get this cute little travel bag as well as a change to win a $1000 travel voucher. Clearly they know how I think because it’s got my travel motto stamped on it:
“I didn’t come all this way not to look good”

Inside it’s got a bunch of little bottles, sprays and jars to put your travel beauty products. Clear case so you can take it on the plane with you and a pocket inside to hold make up. They even were nice enough to print my name and address onto the label for me XD

So summary? I am very glad that KMS put those first products into the MBBE gift bags because if they hadn’t I probably wouldn’t have been introduced to some of my current favorite products.Very much looking forward to trying and testing more from them in the future. Thumbs up from me. |
by VioletLeBeaux | Apr 9, 2011 | Life
Last weekend I won tickets to the Melbourne International Flower and Garden Show from Sassi Sam’s Blog. So excited! Of course work decided to be crazy and then James and I both caught a cold so we left it for the very last possible day to go, this was also a Sunday and it was PACKED!
We took a ridiculous number of photos so I’ve just picked a couple of my favorites here and you can view all the others in the gallery here.
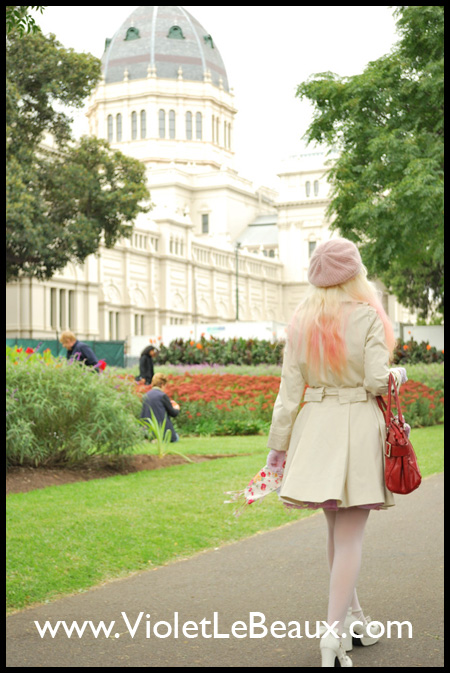
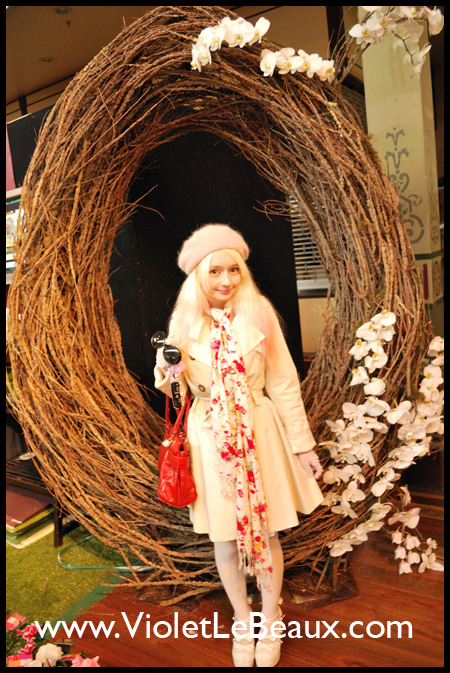
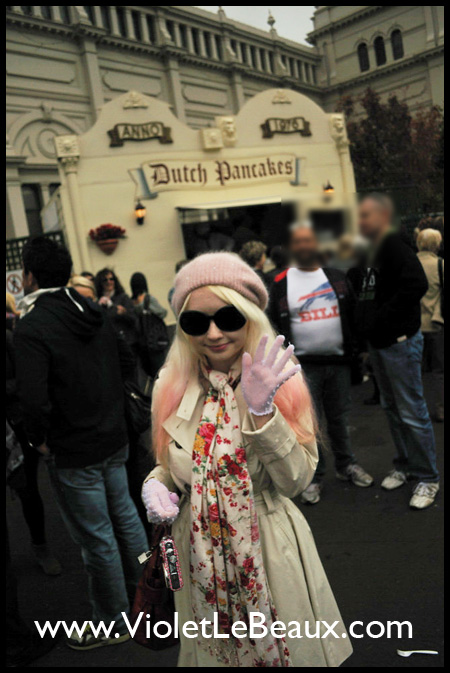
My outfit for the day:
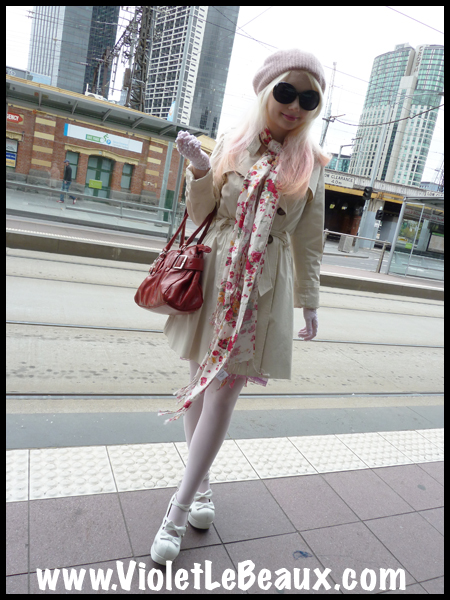
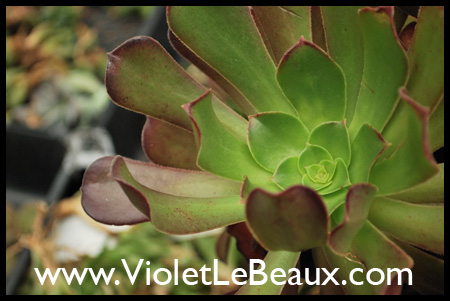
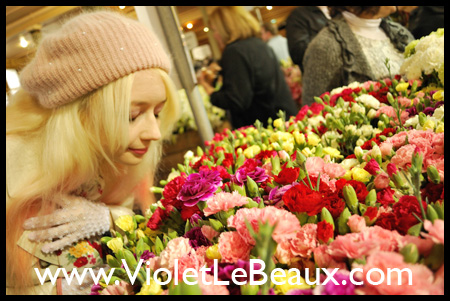
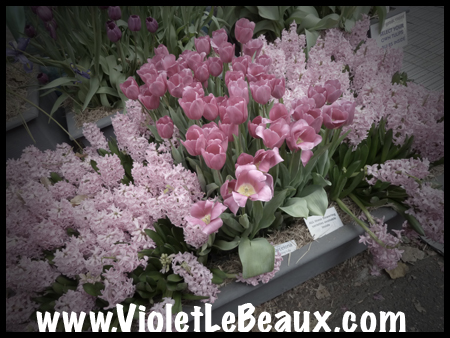
I think I’ve decided that tulips are one of my favorite flowers, the colours were absolutely intense!

![]()
|
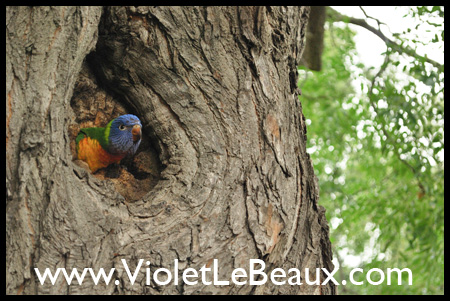
This poor bird was stuck in the hole in the tree, there was a huge crowd gathered looking at him. At first I thought it was some kind of robot bird art installation and part of the show because of the way that it was moving but apparently it was was actually a real bird, now I feel bad for not helping it *_*
The show was at the Carlton Gardens where James and I went for our picnic a while ago and it’s such a beautiful setting. I think the Exhibition hall there is my favorite building in all of Melbourne too.
 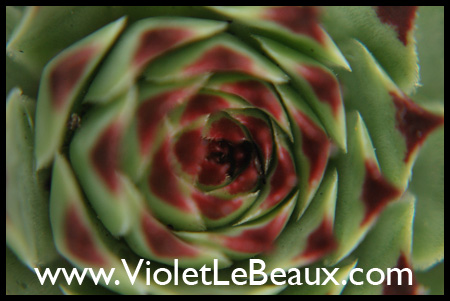
Surprisingly my favorite exhibit was the big tree which was growing tea on it’s branches XD
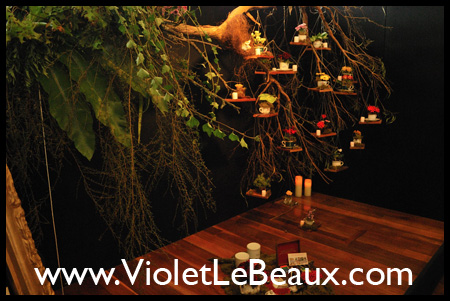
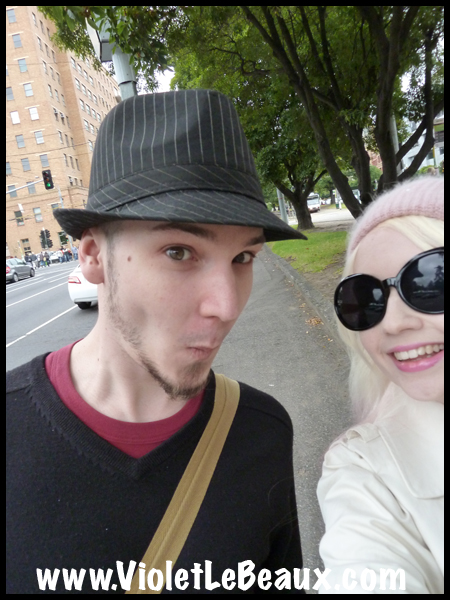
James and I both have hayfever so a flower show probably wasn’t the smartest place for us to spend a Sunday but it was totally worth the sneezing for the beautiful photos!
What photo post could be complete without me posing with some kind of gigantic egg thingy with orchids.
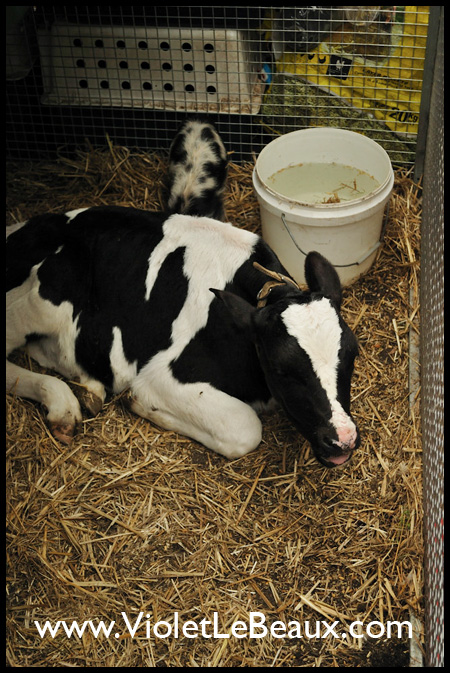
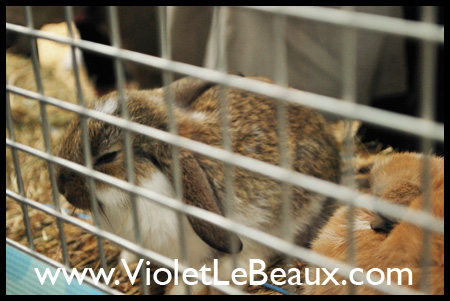
There was a baby animal farm too which very sleepy looking animals.
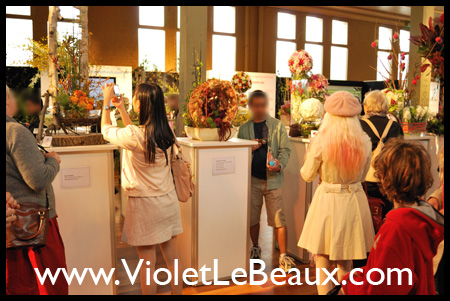
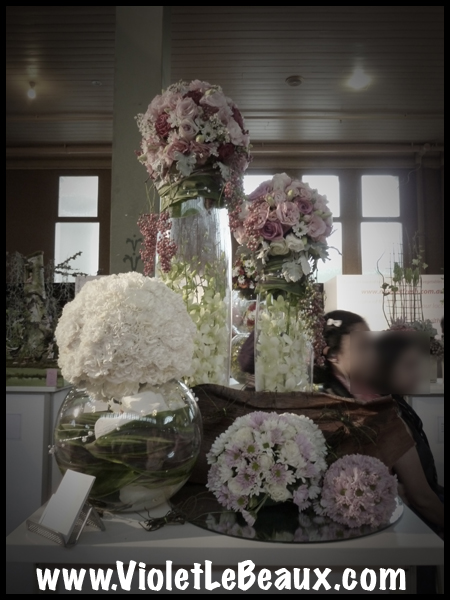
I think the prettiest displays were inside.
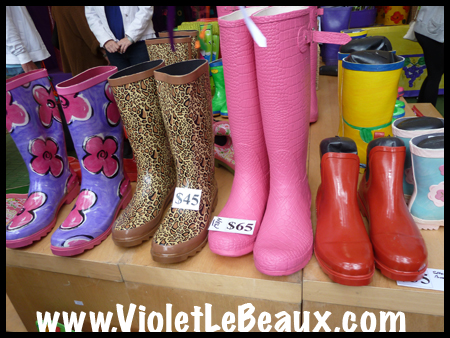
Cute gum boots/wellingtons, you can guess which ones I wanted haha:
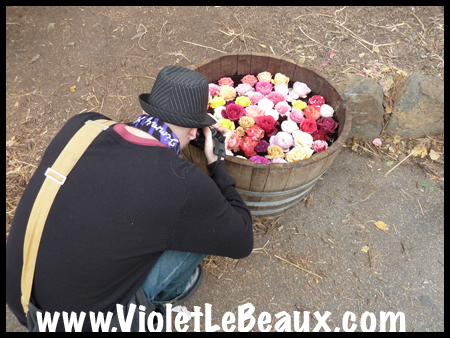
I spent a lot of time wandering around just starting at the flowers while James did this:
 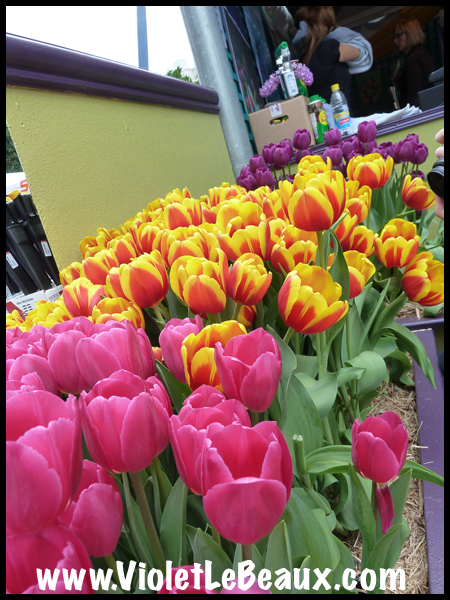 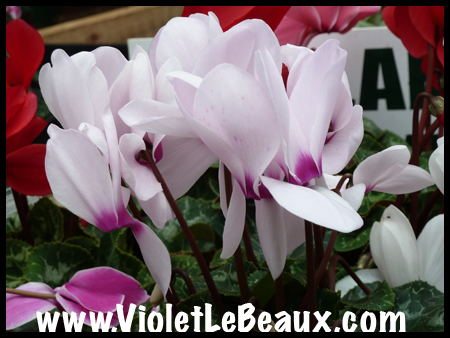
My photos weren’t nearly as good as his of course so I compensated with the pinhole filter on my camera so I could be artistic hahaha! Let’s just say they’re extra romantic and leave it at that XD
 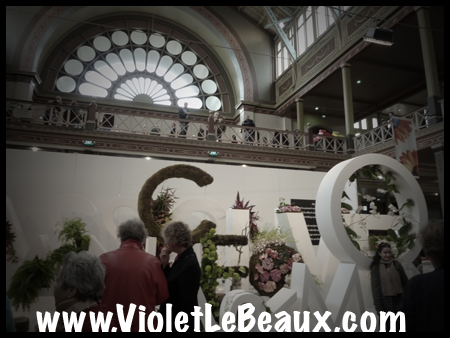 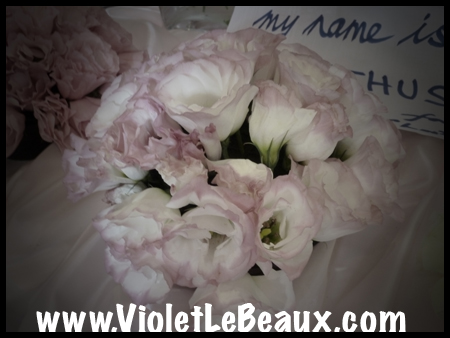 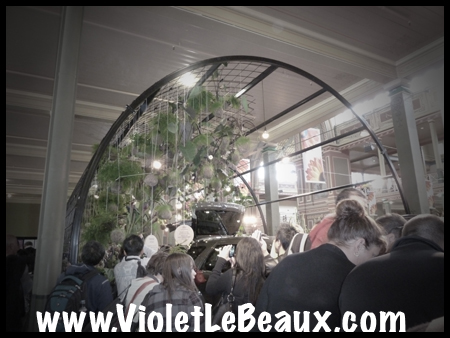 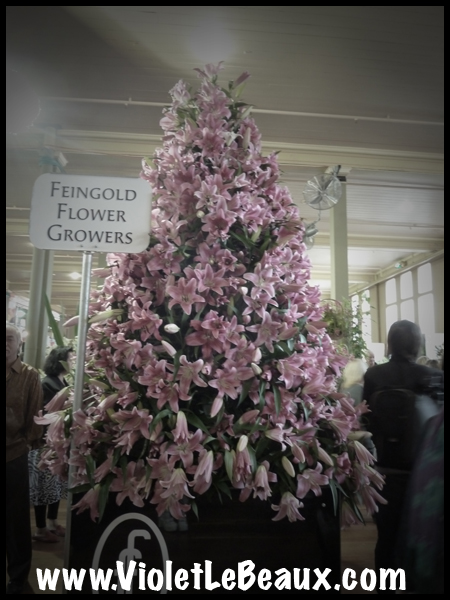 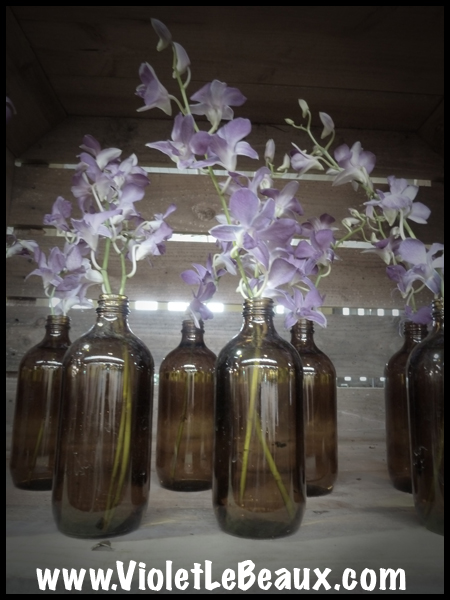
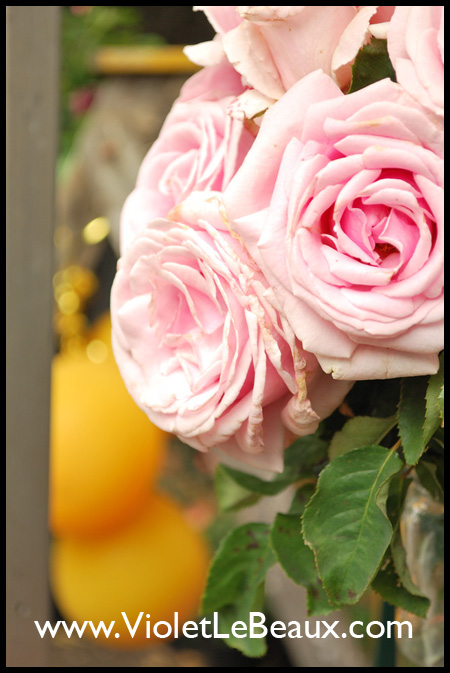
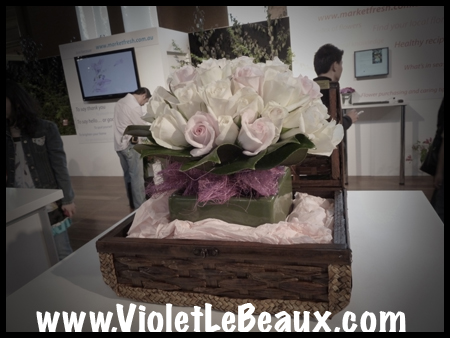
I came away with lots of craft ideas too, including making a rose pillow like the one in picture below! Tutorial soon ^_^
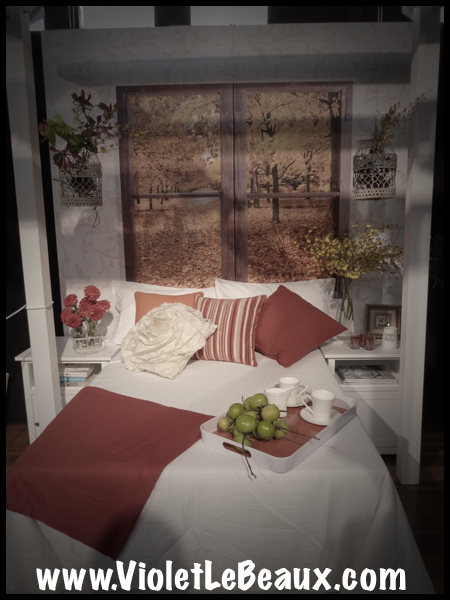 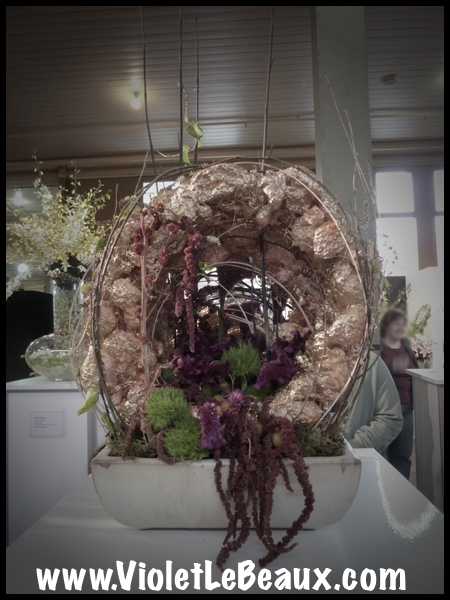  
We were actually there to see the Garnier display and get a bit of pampering but after 3 hours of wandering (seriously it was a freaking huge event, we didn’t even see half of it!!) we were both so sneezy and cold that when it started to rain we made an executive decision to go home and enjoy hot chocolates instead 😀
I definitely want to go back next year! Did any of you guys get to go? Or can anyone suggest any pretty gardens or places I should check out during the rest of the year?
Hope you’re all having a wonderful weekend <3
|


