Melbourne Illamasqua Julian Kynaston Snapshots

Snapshots time!

As promised here are the images from the blogger meet up/interview at Illamasqua meeting the creator Julian Kynaston ^_^

Julian Kynaston_www.JimmyAmerica.com_003

Stef and Jacie asked a lot of really intelligent questions, I’m not good with interviews because I prefer just to listen and learn. We talked about up coming plans for an Illamasqua scent,  the S.O.P.H.I.E charity’s launch here as well as so much more.Julian Kynaston_www.JimmyAmerica.com_005

The lovely You’ve Got Nail got it all on video so I would suggest taking a look see for a really interesting interview!

Julian Kynaston_www.JimmyAmerica.com_001

The highlight of the night for me was when he mentioned that the Illamasqua girls at the Chadstone counter had recommended me to him and told him to look out for me. So sweet!

julian-kynaston_www.jimmyamerica.com_027

All of the lovely ladies and Julian together:

julian-kynaston_www.jimmyamerica.com_026

The rest of James’ photos are here!

That week was so busy, the previous day there was an event at Kiehls to promote the fact that they are lowering their Australian prices to be more in line with the international prices. OMG A BEAUTY COMPANY LISTENED TO OUR COMPLAINING!!!

kiehl-s_www.jimmyamerica.com_008

We were treated to yummy sushi 😀

KIEHL'S_www.JimmyAmerica.com_006

The full list of prices being dropped can be found in store, some of them are up to 50% less now!

KIEHL'S_www.JimmyAmerica.com_001

Celina and I with the lovely PR agent Jess who is super tall and had the cutest outfit.

kiehl-s_www.jimmyamerica.com_002

I had to take a photo of her shoes because they were EPIC! I can’t believe she had been walking in these all day!!

violetlebeauxp1040639_2016

Most of the MBBE girls were there as well as other bloggers, it was awesome getting to meet so many new lovely people!

kiehl-s_www.jimmyamerica.com_021

We each had our skin looked at and were recommended custom products to suit. This is my attendant Daniel, he was super nice and even managed to squeeze in advice for James XD

violetlebeauxp1040633_2010-copy

No other company has ever bothered to ask James if he wanted samples so he was pretty chuffed! I’m going to force him to write a review of them here too mwahaha! I’ll be reviewing the products I was given too after I’ve tested them suitably.

kiehl-s_www.jimmyamerica.com_051

We learnt about the history of the brand and spoke about the price drop. I have to say that I am in favor of anything that involves bringing Aus prices to a reasonable point compared to the rest of the world.

violetlebeauxp1040627_2004-copy

Dr Skeleton is in the house!

violetlebeauxp1040620_1997-copy

Favorite photo of the day involved stealing James’ hat 😉 It was a really wonderful night out yay for Kiehls and I’ll let you all know how I go with the products!

kiehl-s_www.jimmyamerica.com_067

The rest of James’ photos are here.

I’ve been digging through all my old photos looking for something specific so I thought I would posts some of the ones I found on the way today.

I found this photo the other day and it made me miss Brisbane a bit, well not so much Brisbane as our old house. We used to have a direct view into the city from our old place, this was the view from our balcony at sunset:

IMG_0031

Speaking of pretty views this is the view from James’ parents place on the Sunshine Coast. Sometimes they would let us have a holiday there and I totally miss that too! Waking up to the ocean is nice, though there was about 12093091283 birds that lived in that tree outside who made it their mission to wake me up every morning at like 5am *_*

IMG_0049

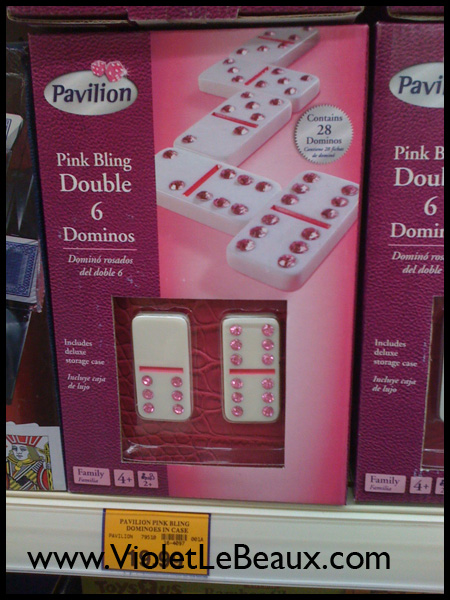
Saw these ages ago, heehee clearly someone who works for this company has been spending too much time listening to me…

IMG_0611

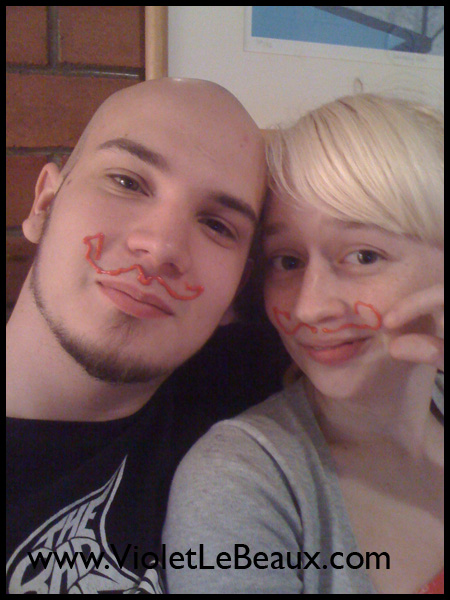
James and I are mature as ever…

IMG_0560

We do pay for our immaturity though, there was something in that icing which burned like hell! We ended up having red marks in the shape of the moustaches for a few hours after *_*

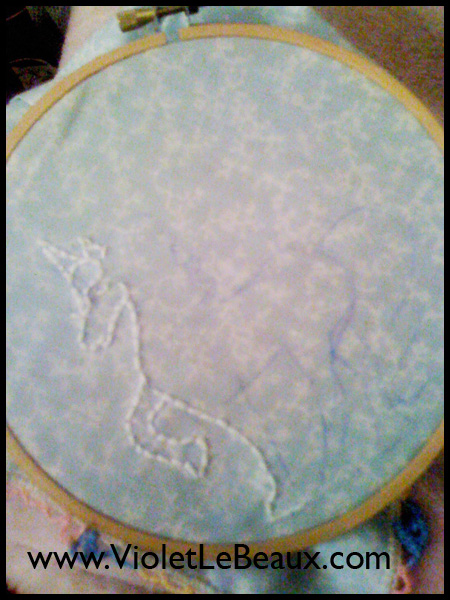
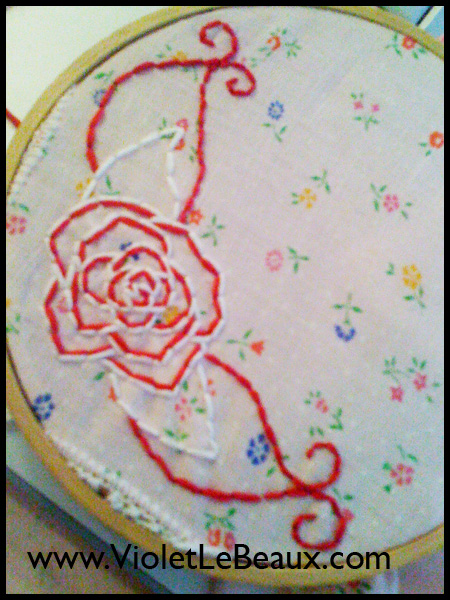
I found these photos of progress doing embroidery and it made me want to start up again.

IMG_1066

I have so many half finished crafts laying around that it’s probably a bad idea though >_< They are all really long term projects though like cross stitches or big embroidery bags or other things that take lots of time and commitment so I find it hard to have motivation to keep going if I can see the end in sight. I really want to start knitting something again too but I feel like I should finish the other stuff first. Bleh, I’m in a crafting rutt and I need to re-motivate myself.

IMG_1069

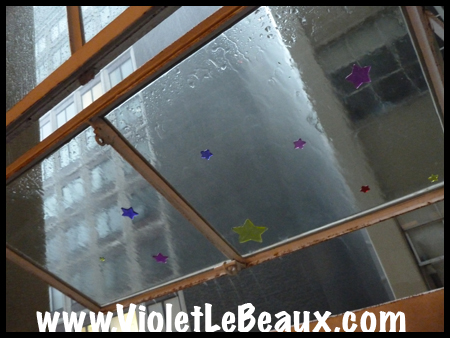
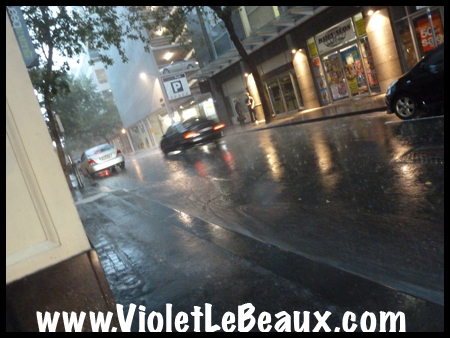
I think it’s probably all the rain that makes me just want to sit inside with a hot chocolate and nap all day. Very bad for productivity but damn nice anyway!

P1040243 copy

I’ve set up my sewing machine properly now so it’s out all the time in hopes of motivting myself. Maybe I’ll set up my tea warmer there too to bribe myself off the couch and away from the computer haha!

P1040245 copy

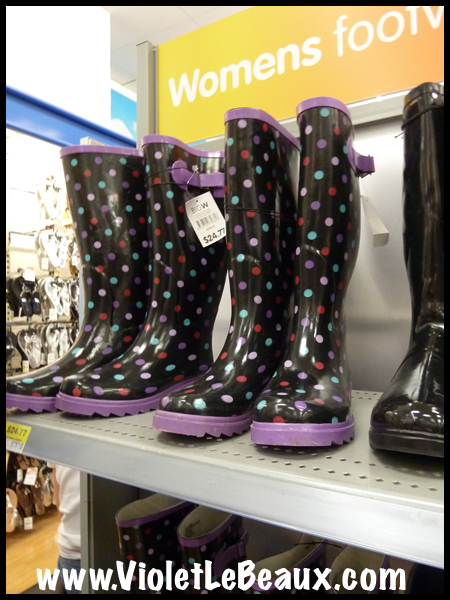
All the rain makes me want to buy cute gumboots for walking around town too XD I keep seeing cute designs around…

P1040211 copy

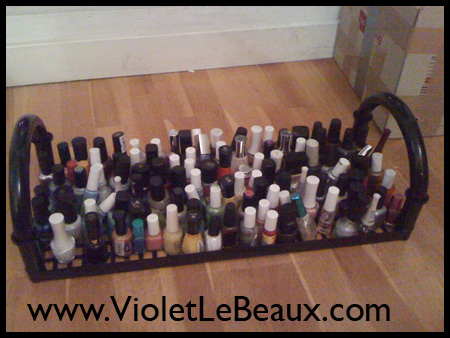
I also tried to clean out my nail polish collection but that just resulted in making a bit of a mess >_<

IMG_1138

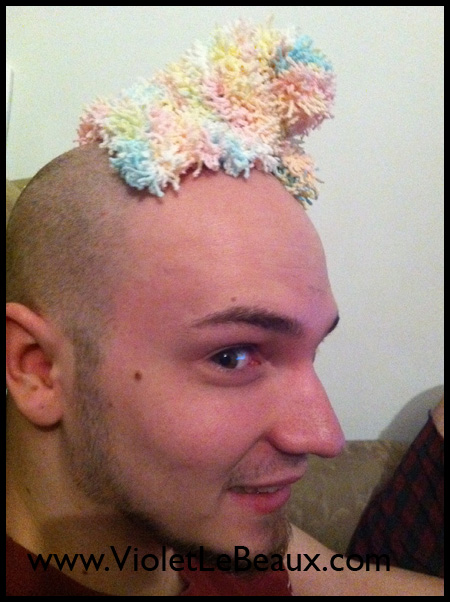
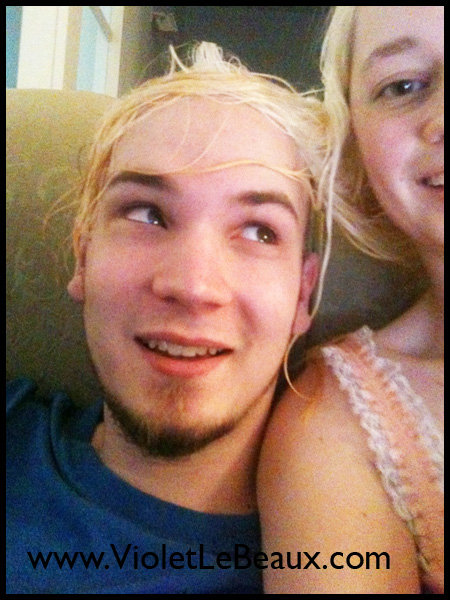
James continues to experiment with alternative hair styles but I’m not sure any of them are working for him…

IMG_1237 IMG_1084

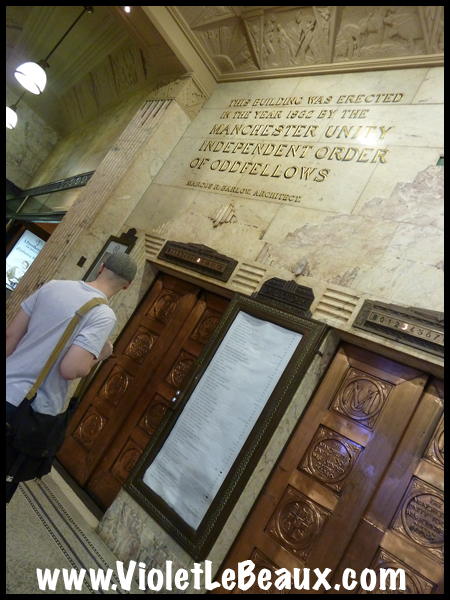
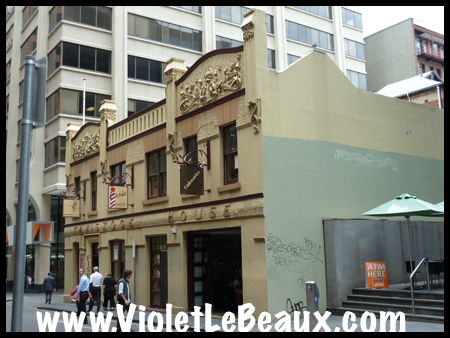
I’m still completely fascinated with the architecture here and it seems everywhere we go has a pretty  building or a stunning interior…

P1040277 copy P1040273 copy

And I suppose that’s about it for now… I should stop procrastinating by writing this and go try to finish those crafts I was talking about!

VioletLeBeauxDSC_0450_1335

Do you guys get into a crafting rut sometimes too? How do you all find motivation to get started again!? I need suggestions ;_; Should I try to persevere and finish my big long term crafts which I’m bored of or should I get right back into it with something small, easy and fun?

My Birthday!

Today is my birthday so no proper post because I’m off doing something that requires me to expend no effort whatsoever 😀 I don’t usually celebrate it but as I mentioned a while ago I’ve been in an out of character good mood for this time of year hahaha.

I think it’s because 1 year ago James and I moved in to our first apartment here in Melbourne and it’s been one of the best years of my life so far. I love the city, I love our apartment and I love all the new friends we’ve made over the last year.

It’s been one of the most eventful years of my life, to give you an idea in this last year (give or take a few weeks) I have:

  • Saved for a house deposit
  • Almost moved to Ipswich
  • Visited Victoria/Melbourne for the first time
  • Used said house deposit savings to drive down and move to Melbourne in the biggest gamble I’ve ever taken
  • Made SO many friends both online and offline and met a bunch of awesome bloggers in person that I had been chatting to for years online
  • Had my email account hacked and moved servers for the site
  • Picked up friendships that distance separated almost 6 years ago right where they left off
  • Fell in with a bad crowd (of awesomely sweet and adorable beauty bloggers who I love to death!)
  • Started blogging every day
  • Started my mobile blog
  • Wrote and posted 108 new tutorials (zomg I didn’t realise it was that many *_*) and 313 posts overall
  • Rode a tram for the first time
  • Had my nail art stocked in real shops
  • Had my hair flowers stocked in real shops
  • Dyed my hair pink
  • Opened my blog store and moved about 7000 images to my own server
  • Launched an ebook and started writing a craft book, put the craft book on hold because there was too much graphic design and site update work to handle
  • Started saving that house deposit to start things all over again!
  • Plus so many more awesome things that I can’t even remember now XD

By the numbers my most popular posts have been:

I’ve read deleted and reported 27,379 spam comments up until around August when I installed a new spam system to try and help with it. The site got 4320 real comments and I replied to each one of them too so thats 8640 hahaha 😀 Thanks to you guys for reading and commenting, it makes all the time I spend writing here worthwhile!

It’s been a really good year and I’ve had a fantastic time in Melbourne, I hope we get to stay here for a good few more years to come!

So what am I doing today? No clue yet, I think I’ll relax in bed all night with a book, maybe go out to some markets and to my favorite Japanese place for dinner tonight, maybe get my nails done. Earlier in the week James and I were treated to a lovely night at the Langham so I’ll post all the photos from that soon!

Hope you are all having a fantastic weekend and here’s a picture to tide over until tomorrow ^_^ Thank you all for your support over this year and here’s hoping for many more!!

<3 Violet

Purikura Cross Stitch Frame DIY

Finally managed to finish one of my long term crafting projects. Embroidery is something I either go crazy with and do all the time or just leave and don’t look at for months and this was one of the ones that took me months to get the motivation to finish!

Basically it’s a little cute frame with cross stitch to hold purikura photos. I found the frame at a thrift store around 2 years ago for 50cents 😀 The pattern inside was to test out some random stitches and try out my skills because I haven’t done cross stitch since I was a kid!

Cross Stitch Purikura Frame Tutorial

What you need:

  • Pretty frame
  • Counted embroidery fabric
  • Needle
  • Various colours of embroidery thread
  • Purikura or photo for the inside
  • Embroidery hoop
  • Pen/pencil

Cross Stitch Purikura Frame Tutorial

Measure a big square of fabric which is enough to cover the frame and fit in the embroidery hoop and cut it. Using the pen draw around the outside of the frame to use as a guide.

Cross Stitch Purikura Frame Tutorial

Flip it over and draw around the inside hole too. You will want to find the center as well and mark it with the pen too.

Cross Stitch Purikura Frame Tutorial

I drew a cross so I could have an obvious guide.

Cross Stitch Purikura Frame Tutorial

Line the photo you’re going to use up in the middle and draw around it.

Cross Stitch Purikura Frame Tutorial

So you’ve got something like this…

Cross Stitch Purikura Frame Tutorial

Because I was pretty much winging it I drew a design on the fabric but if you are following a pattern you can just count.

Cross Stitch Purikura Frame Tutorial

Now it’s time to put it on the embroidery hoop. The hoop I’m using is a standard wood one and it cost around $0.60

Cross Stitch Purikura Frame Tutorial

Untwist the screw and sandwich the fabric between the wood pieces, the big one should be on top.

Cross Stitch Purikura Frame Tutorial

Push them together and pull the fabric tight. Screw the top to hold it all in place. It should be very taught like a drum!

Cross Stitch Purikura Frame Tutorial

So let’s get stitching! At this point it should be mentioned that you can stitch with the full thread or you can split up the thread and just use one or two strands depending on the size of the weave of your fabric.

Cross Stitch Purikura Frame Tutorial

I started off using the whole thread but decided later to switch to a couple of strands because it was too thick.

Cross Stitch Purikura Frame Tutorial

So pick a place you want to start, I started with a small heart. Pull the thread from the back to front leaving a few inches as a tail. If you want you can knot the end of the thread but I prefer to hold it so the finished project isn’t lumpy.

Cross Stitch Purikura Frame Tutorial

I’m starting at the bottom of the heart.

Cross Stitch Purikura Frame Tutorial

Stitch into the hole that is diagonally opposite to the first. My preference is to stitch diagonally from bottom to top but whatever is more comfortable is fine.

Cross Stitch Purikura Frame Tutorial

Now pull up from the back in the hole next to where you just went down.

Cross Stitch Purikura Frame Tutorial

And diagonally over into the last hole. That’s it! You just made a cross ^_^

Cross Stitch Purikura Frame Tutorial

Repeat this over and over again to make your shape.

Cross Stitch Purikura Frame Tutorial

2 crosses! Now it’s important to note that you need to keep the method consistant through the whole design or it will look odd. So if you start from bottom left and go up to top right as the first stitch then do that the entire thing.

Cross Stitch Purikura Frame Tutorial

Heart #1 done!

Cross Stitch Purikura Frame Tutorial

If you keep going things will start to take shape after a while.

Cross Stitch Purikura Frame Tutorial

I prefer to do all of the main elements eg. hearts, sparkles, roses first and then worry about the background afterwards.

Cross Stitch Purikura Frame Tutorial

I also find it easier to do all of the stitches with the same colour at once, it saves having to switch needles so much!

Cross Stitch Purikura Frame Tutorial

All of the main bits are now complete so it’s time to start the background.

Cross Stitch Purikura Frame Tutorial

Going up and down from left to right like this keeps everything nice and even…

Cross Stitch Purikura Frame Tutorial

But sometimes if I’m impatient I will go ahead and do a bunch of the first stitch in one go and then work backwards and cross them all off XD For some reason it just feel quicker!

Cross Stitch Purikura Frame Tutorial

Progress..

Cross Stitch Purikura Frame Tutorial

And done! It’s not a perfect oval but as long as the shape fits in the frame it doesn’t matter.

Cross Stitch Purikura Frame Tutorial

Now cut your purikura down if need be. I lost the one I started this with so I had to dig for another shot. This is from back when I had black hair and James had… *some* hair mwahahaha!

Cross Stitch Purikura Frame Tutorial

Place it over the space and if you need to pin or glue it in place.

Cross Stitch Purikura Frame Tutorial

Stitch the corners to hold it in place…

Cross Stitch Purikura Frame Tutorial

And then fill in the gaps with more stitches.

Cross Stitch Purikura Frame Tutorial

That’s all the stitching part out of the way thank god! Remove it from the embroidery hoop.

Cross Stitch Purikura Frame Tutorial

Cut it down to the size which actually fits into the frame.

Cross Stitch Purikura Frame Tutorial

I overestimated the stitching area so I had to cut the fabric very close XD

Cross Stitch Purikura Frame Tutorial

And there it is in the frame!

Cross Stitch Purikura Frame Tutorial

Quite pretty if I do say so myself… but I think I won’t take up any more embroidery projects until I finish all my half done ones XD I need more motivation to finish the big projects! The pattern for this will be available in the first upload lot too.

Cross Stitch Purikura Frame Tutorial

Hope you enjoyed, let me know if you make your own!

By continuing to use the site, you agree to the use of cookies. more information

The cookie settings on this website are set to "allow cookies" to give you the best browsing experience possible. If you continue to use this website without changing your cookie settings or you click "Accept" below then you are consenting to this.

Close