My Hair History – Dove Nutri-Oil Advertorial

This post was sponsored by Nuffnang and Dove.
For more information on sponsored posts please click here.

Since I started doing hair tutorial videos one of the most common things I’m asked is for a hair care routine video. I really want to sit down and do a detailed video on that but in the mean time I thought maybe a hair history might be interesting!

So when I was 14 I dyed my hair for the first time, I was going to do it black but changed my mind to bright red at the last minute. No pictures of that because it would involve digging through boxes of old school stuff but I will get them out next time we move so you can all laugh at them XD

After the red, I let it all grow out when I was around 17 and did blue, that didn’t last long and was replaced with green and eventually black after it faded. My hair was quite long up until the black at which point I got sick of it and cut it into an angled bob with a short fringe!

After a while it grew out and I evened it out to this…

205177_5169182945_736802945_180759_4680_n

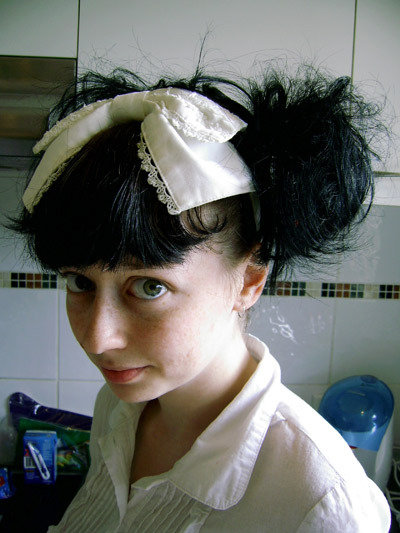
I really enjoyed how low maintenance this style was though I think I missed a lot of opportunity for awesome styling because at the time I didn’t have a curler or a straightener or even a hair dryer so this was the extend of my styling:193_11169637945_736802945_508529_7872_n

This was when I started experimenting with bigger hair too, though I didn’t have much hair to do it with haha!

outfit2

After that I started to grow it out more and started dyeing red over the top. The black was very unmovable so I ended up with a nice red>black gradient. And so the love of gradients began 😉

francois3

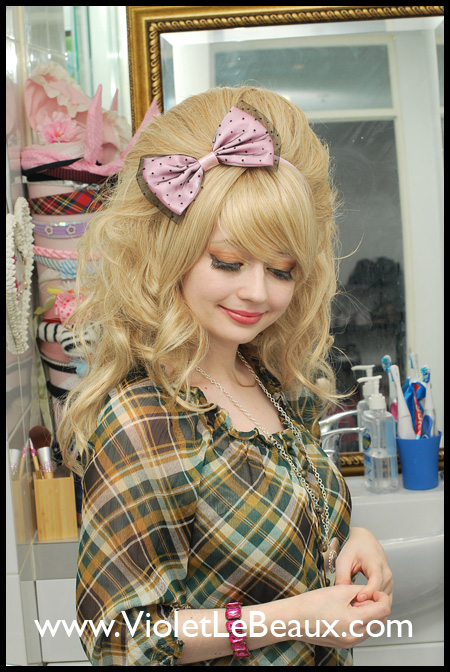
I started getting more adventurous with my hair at this point too so started teasing and blow drying my fringe  sometimes too. Up until around now I didn’t really wear any make up either unless it was for work but I started experimenting with different looks too.

DSC_0206

It was around now that I also discovered my love of hair extensions 😀

DSC_0048

That lasted for a while and then on a whim one day I bought some blonde dye and went for it. I started lightening it in stages. Again the black didn’t budge and I concentrated the bleach at the top to form a gradient.

o5

The next stage of lightening:

twist4

This was the time I started using hot rollers too and I alternated between them and pin curls. We started having to travel more often so I became the master of restyling pin curls over several days XD

This was taken in Singapore after I had such a late night I ended up sleeping in the pouf as well as the pin curls hahaha!

about1

Eventually I stopped lightening at around this shade. And through all of this time my hair was steadily growing out. When I started growing my hair I wasn’t too sure how long I actually wanted it but it never really got to a point where I said “Ugh my hair is too long, I want to cut it off!” so I just kept going.

DSC_0205_100315_8393 copy

I played around with a lot of different styles too.


DSC_0022_091231_5475 copy

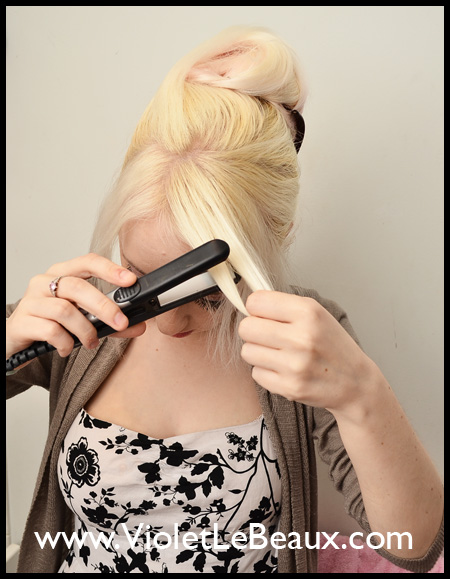
I bought my mini straightener and learned to make curls, this is probably one of the best things I did as fas a styling versatility goes. And while I’m sure it’s contributed to the damage a bit, I wouldn’t give it up!

When we moved to Melbourne I started to be more adventurous with my hair extensions.

P1020002 copy

I thought a lot about dying my hair pink but didn’t have the courage to try it for a long time.

DSC_0056

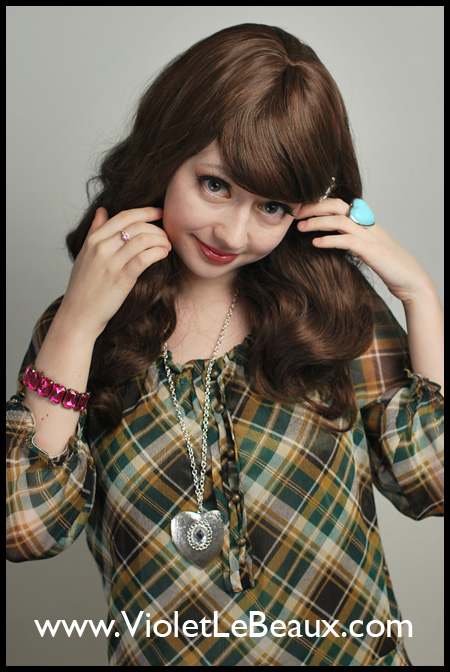
Instead I played with wigs a lot more so I could completely change my look every day.

VioletLeBeauxDSC_0189_755VioletLeBeauxDSC_0017_584

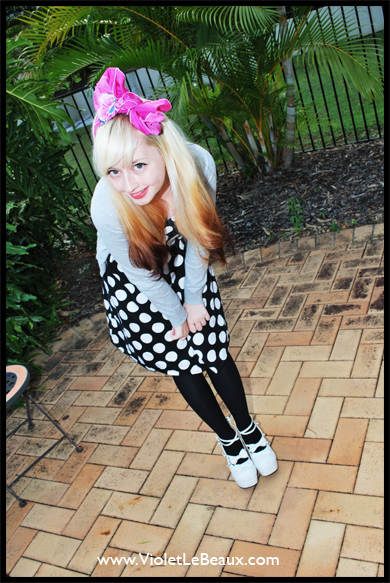
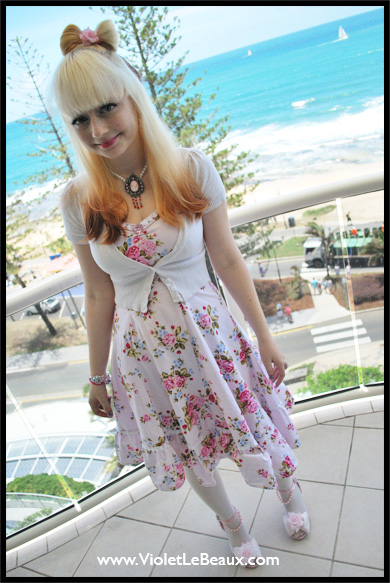
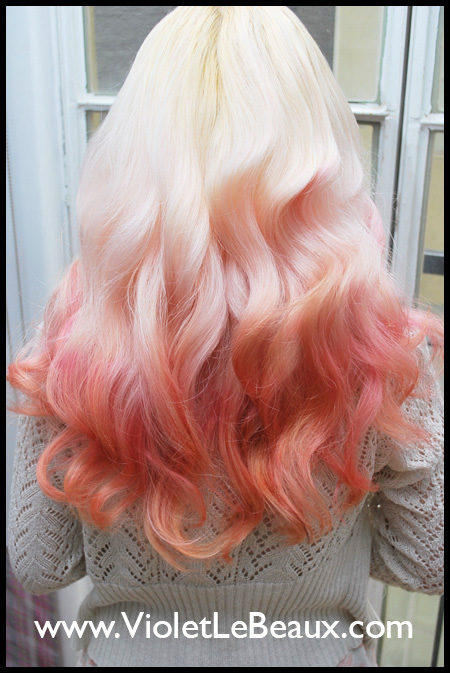
When I finally did go pink it was in the form of a gradient again and had a couple of shades of pink/orange mixed in. I absolutely adored it and finally found a style I thought was actually me 😀

DSC_0156

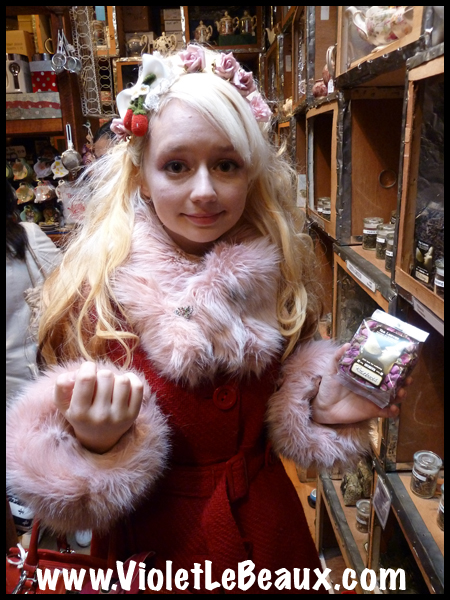
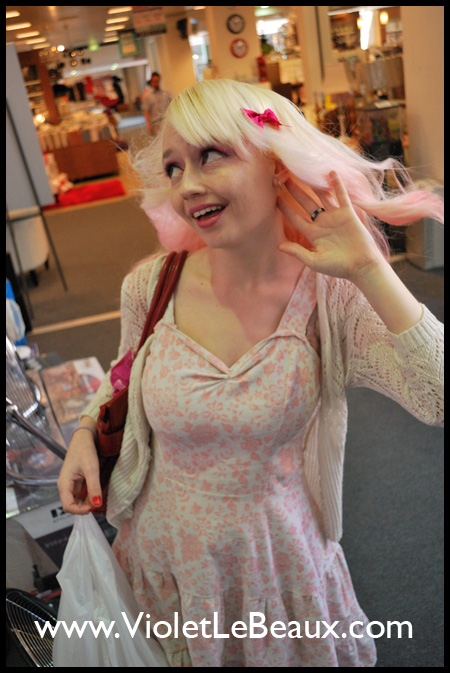
Totally even had one of those blowing in the wind moments in the middle of a shop too 😉

DSC_0197

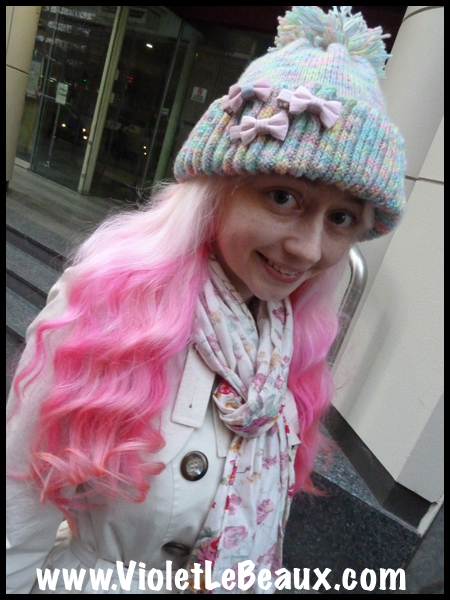
While the shade of pink has changed and the styling changes regularly I still love my hair this colour. Above all I think it suits my personality well 😀

VioletLeBeauxP1040999_3914 copy

Over the last few years my hair has been through a lot, teasing, spraying, bleaching, dying, curling, straightening, you name it. In general it’s in pretty good condition. The biggest hair sin that I probably commit is that after a string of bad experiences I haven’t been to a hairdresser since I was 17. It started out as being too paranoid of having another bad experience and then budget constraints meant DIY was a must. When I have the budget for it I will totally find a fantastic hairdresser here though.

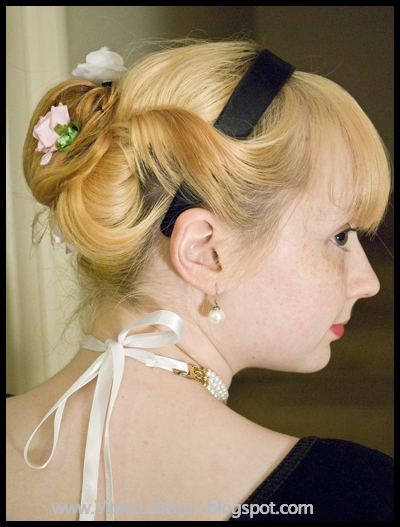
VioletLeBeaux-Sleek-work-updo-hair-tutorial-7992_10817

My hair growing up was rebellious, frizzy and untamable but I think I’ve done a decent job of whipping it into shape. At the moment the only thing I’m really concerned about is split ends.

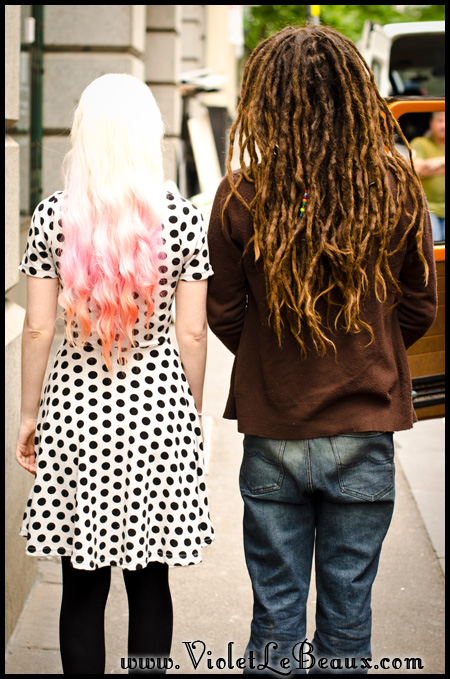
This was taken around a month ago and shows our friend Hughie and I having an epic hair-off competition 😉 He’s taller than me but mine was curled so I think we tied! Since then I cut off around 3 inches and added some more layers to get rid of the split ends!

dsc_5925-www.jimmyamerica.com-traveling philosophers

I’ve done a lot to my hair and put it through some crazy stress but it always seems to bounce right back and even though I’ve done some really damaging things in the last 10 years (since I started dying it) the condition is still pretty good.

So Dove has asked me to try their Nutri-Oil system to see if I can improve the condition of my hair more. I’ll be giving that a try for the next few weeks and seeing how it goes! I’m not holding my breath for anything spectacular because my hair seems to be at its best when I leave it as natural as possibly but I’m definitely interested to see if this is any different.

Here’s a bit about it from the press release:

For centuries oils have been revered for their ability to help nourish, moisturise and smooth hair. Today, oils are a hot beauty trend as women once again realise and appreciate their power. However, some traditional oil infused products can leave hair limp and greasy and many salon treatments are expensive and hard to find.

This December, Dove Hair will exploit the benefits of oils and make their powerful properties available to women everywhere, through the launch of their weightless nutri-oil technology.

After a decade of research and development, Dove is expecting its new Nutritive Therapy Nourishing Oil Hair Care Range to transform the way women feel about their hair, with the hero product – Nourishing Oil Care: Nutri Oil Serum anticipated to achieve cult status once it hits supermarket shelves.  The new serum reduces roughness and frizz by 99% and is scientifically proven to leave your hair as smooth and shiny as Moroccan Oil Treatment, yet is just a fraction of the price.

Dove’s Nutri Oil Serum is  formulated with natural oils known to contain components identical to hair’s natural lipids to help keep moisture locked in for healthy looking hair, providing nourishment from root to tip, keeping it healthy and supple. It is rapidly absorbed and leaves no greasiness to give hair instant smooth and shine (anytime).

Dove’s Nourishing Oil Hair Care Range:

  • Dove Nutritive Nourishing Oil Care Shampoo, 300mL RRP $6.49
  • Dove Nutritive Nourishing Oil Care Conditioner, 300mL RRP $6.49
  • Dove Nutritive Nourishing Oil Care Serum 40mL RRP $9.99

So we’ll see how that goes over the next few weeks. Have any of you guys tried it yet? I’d love to know any hair tips you have too!


Hair and Make Up Video Tutorial Round Up… lots of videos!

Sorry for the lack of posting the last week, things were really hectic when we got back from Sydney and on top of that I managed to catch a horrible cold somewhere along the way that I’m still fighting off.

Enough of that though, it’s time for the round up!

Over the weekend I did a huge amount of back end maintenance which involved basically rebuilding the site from scratch. I only got about half way because of my cold but yay for a faster running site 😀  I’ll finish up the rest this week/weekend but until then things might be a little out of place. If anything is too terrible just drop me a line and I’ll look into it!

Also I’ve started a really big project this week: redecorating the entire apartment! This means more storage posts and tutorials soon because I’m feeling very inspired again. There’s a long rambling emotional post coming up on that too XD

So lots to come and lots to do. Hope you all had an awesome weekend!

Videos since last round up:


Messy Side Bun Hair Style Tutorial

Now that I look at it, the bun’s not actually that low… oh well XD

Subscribe to my channel: http://bit.ly/pfjebH
Subscribe to my Vlog channel: http://bit.ly/xwQ9w3

Blog: http://bit.ly/qIKumk
Mobile blog: http://bit.ly/oF86Yz
Twitter: http://bit.ly/onCld1
Facebook: http://on.fb.me/pdZ8B5

Music: Garageband .
~~~~~~~~~~~~

Shop: http://bit.ly/NknExz
Blog: http://bit.ly/qIKumk
Tumblr: http://bit.ly/oF86Yz
Twitter: http://bit.ly/onCld1
Facebook: http://on.fb.me/pdZ8B5
Instagram: http://instagram.com/violetlebeaux

~~~~~~~~~~~~

A blog and Youtube channel about a girl and her quest to make everything sparkle. New craft, hair and beauty tutorials every week!

Violet LeBeaux spends most of her time trying to think of ways to make life prettier, posting said ways on her blog and drinking very strong tea. She writes about big hair cute things, girly fashion, beauty finds, sometimes Hime Gyaru fashion (姫ギャル) and crafty tutorials.

She lives with her adorable boyfriend Jimmy, fluffy puppy Miss Lottie and Bergamot Bunny in Melbourne, Australia.

~~~~~~~~~~~~

Music: Garageband unless otherwise credited

~~~~~~~~~~~~

Messy Side Bun Hair Style Instructions
This style is another variation on the messy curled buns I’ve bene in love with lately.
Start by pinning your fringe out of the way.
Take a very small section of hair at the front top and twist it backwards and away from your face tightly.
After you twist a little, grab the section of hair below it and twist that in too.
Take a bobby pin and slide it inside the twist and close to the scalp so it holds the whole twist in place.
Continue twisting backwards while you add other sections of hair as you go.
You should start aiming the twist towards you ear.
Every few twists add another pin to hold it in place.
Once you reach just behind your ear add a final pin and move on to the next step.
Brush the non-twisted side of your hair over to the twist side.
Pin it in place.
Clip the already twisted hair up and out of the way for the moment.
Fluff up the rest of the hair with your fingers to give it some volume.
Take the top half of the hair and scrunch it up to the side of your head.
The curls will form loops and interesting structures.
Pin it all in place.
Make sure not to cover the original twist.
Do the same with the bottom half too. I find that rather than scrunching this section I like to fold it to form a loop with the ends hanging down.
Again, pin it in place.
Unclip the twisted part of the hair and fold/scrunch that up to where the twist ends.
Then… you guessed it, pin in place.
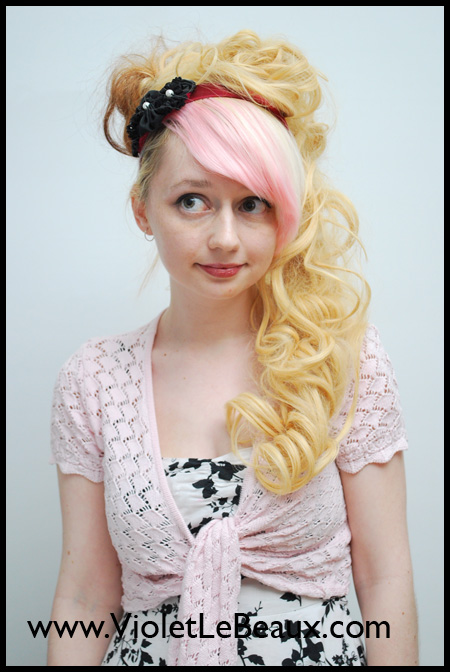
And that’s all there is to it, a gigantic relaxed side bun which looks quite impressive but really didn’t take much effort at all.
This style looks great with some ribbons or lace threaded through.
Perfect for Spring or Summer.
I hope this was a useful video, please check out the blog post linked in the description for more information and tutorials.
Thanks so much for watching.
Bye!

By continuing to use the site, you agree to the use of cookies. more information

The cookie settings on this website are set to "allow cookies" to give you the best browsing experience possible. If you continue to use this website without changing your cookie settings or you click "Accept" below then you are consenting to this.

Close