by VioletLeBeaux | Oct 13, 2012 | Life
So many things to post from this Zombie shoot we did with Fables in Fashion and Surfaced Studios! We recorded so many things that day! If you’re scared of zombies don’t keep reading, Celina is pretty scary!

![Jump]()
|
James got a lot of photos.
Well he did a lot of something, maybe not taking photos XD
And he was a victim at one point!
Now some zombie goodness, say hello to Evil Celina!
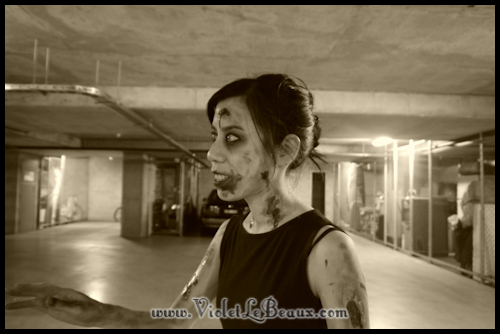
Ok Evil, Cute Celina.
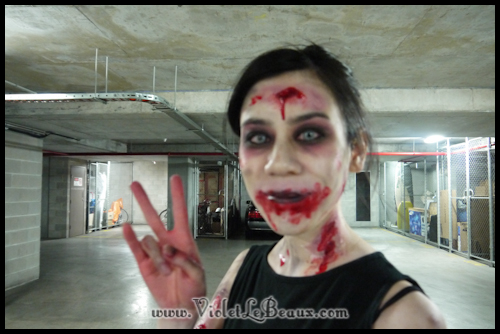 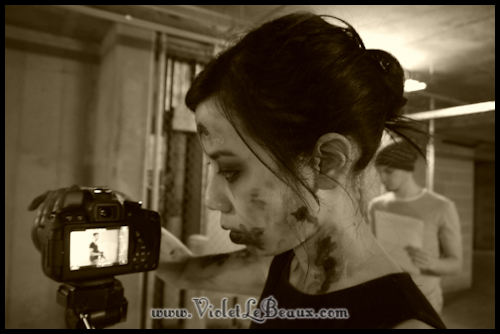
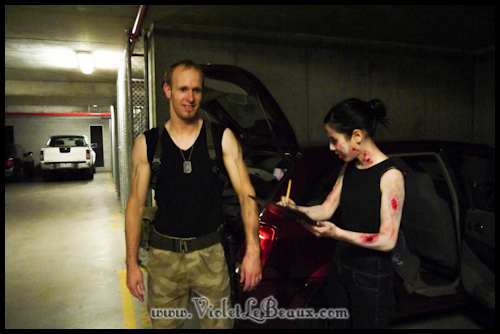
Tobias played the army commando for the day!

And I was a victim too, well my legs were X
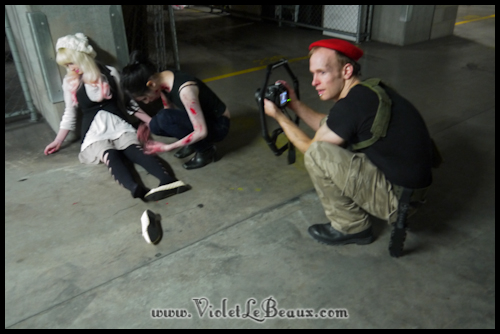
Back to being eeeevil!
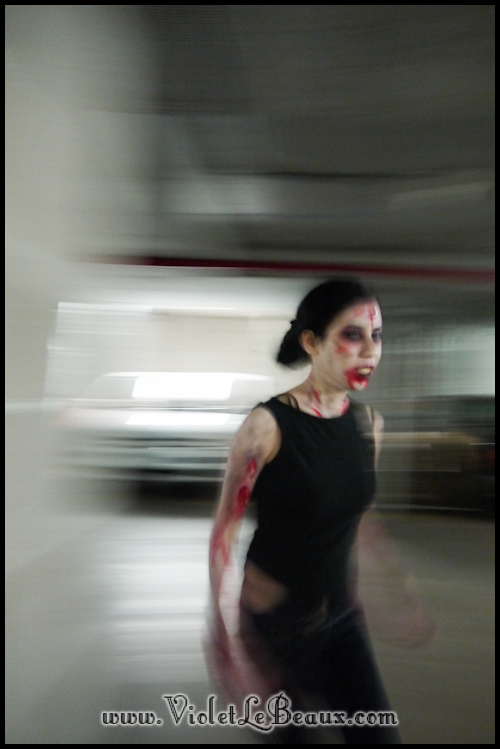
She looks like she’s going to eat me XD

We did a lot of takes so each of us could use something in the footage. I got a bunch of behind the scenes footage and an outfit video where Celina is chasing me!
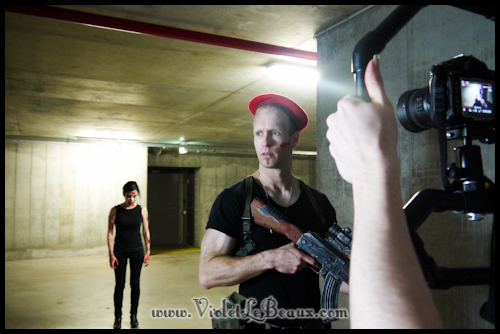
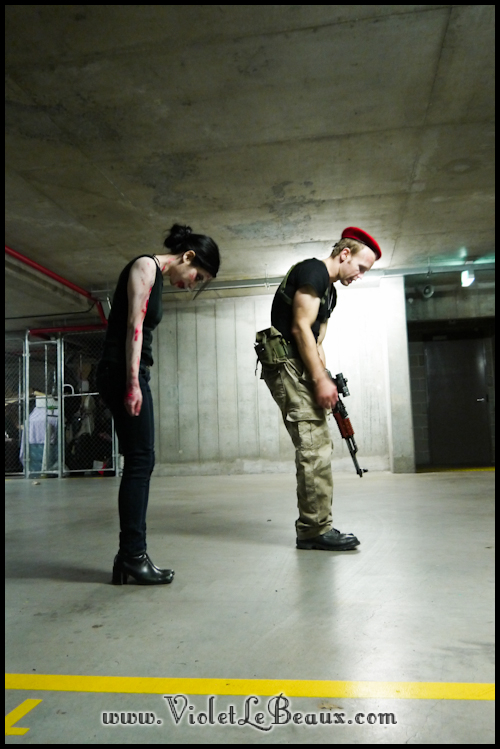 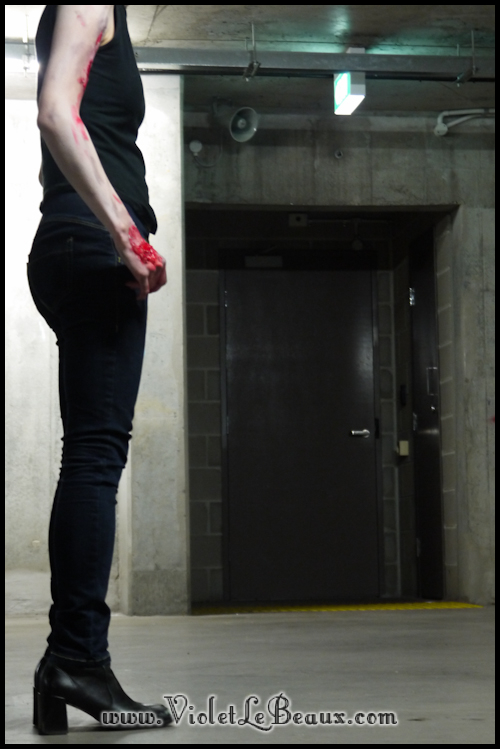 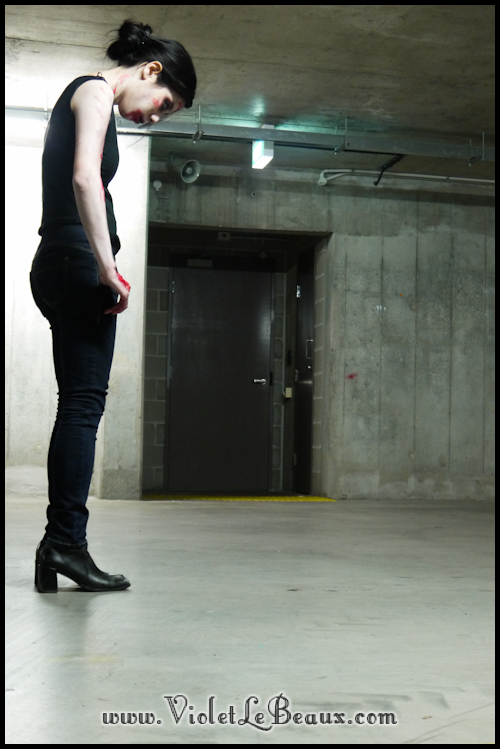
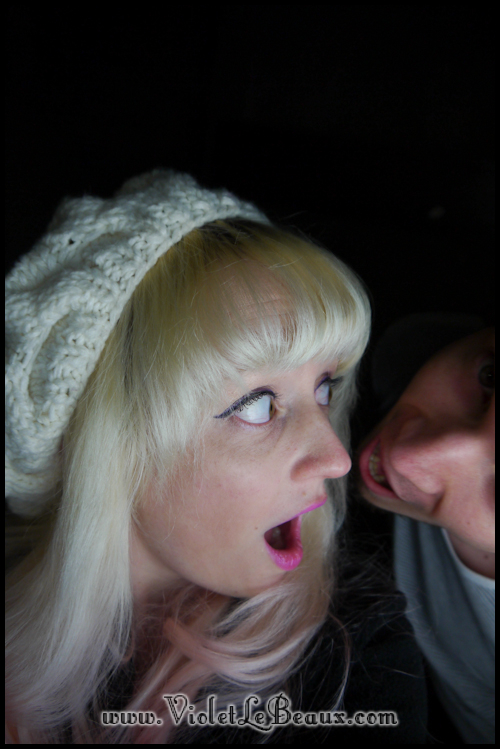
Tobias brought his soft light boxes so I made use of them for some less zombie related camwhoring XD
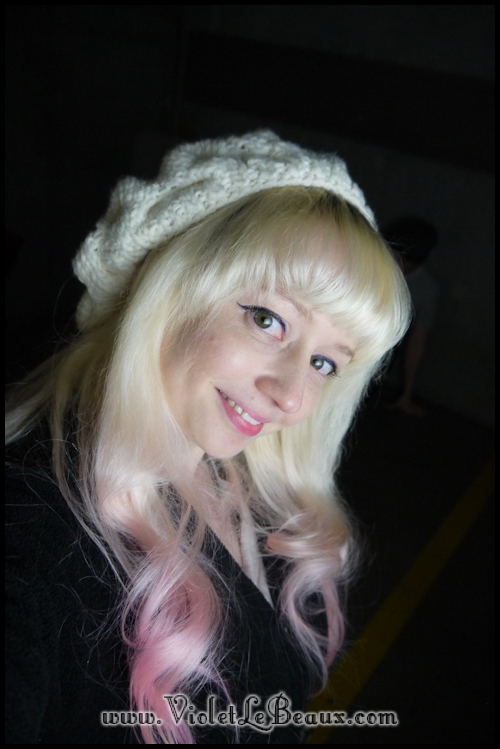
And I got some better ones of Celina while she was there too XD
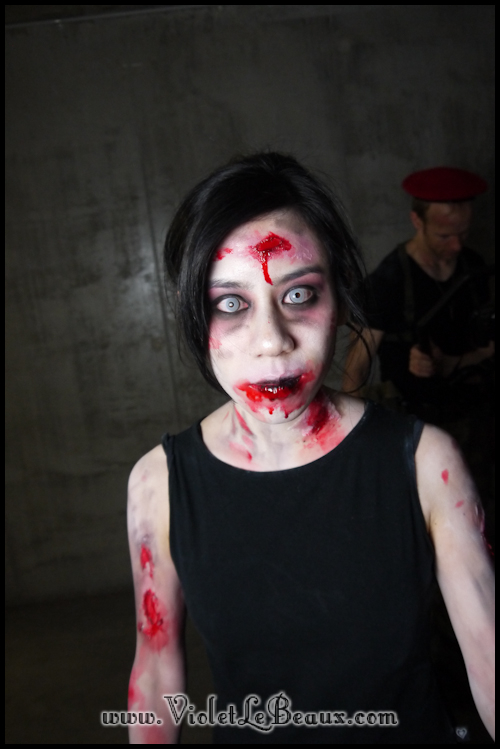
The wounds were really realistic, it was creepy as hell! I couldn’t look her in the eye for most of the day.
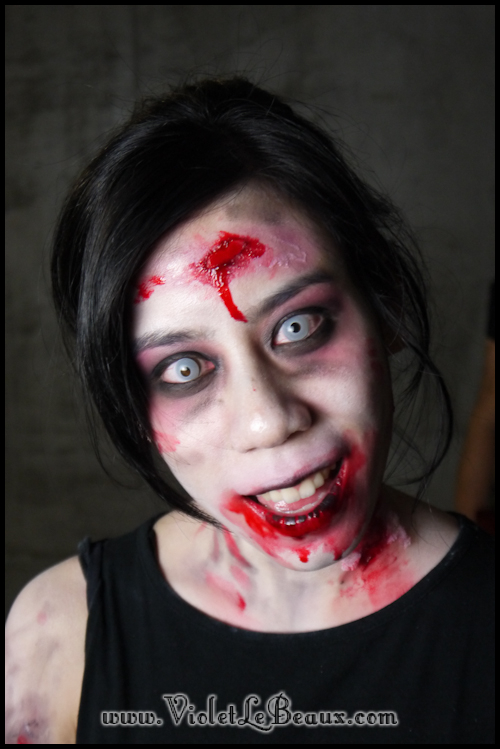
Back to camwhoring though…

Yeah that’s really pretty much it…
I can’t wait to start posting some of these videos! I saw the edits from the other guys and they look amazing! There will be quite a lot of Zombie stuff this week.

Poor James loves zombies but has nightmares though so he’s not allowed to look at my site this week XD |
by VioletLeBeaux | Oct 11, 2012 | Craft, Other-Tutorials, Tutorial
These headphone jack decorations seem to be really popular lately! They can be pretty expensive too considering they really do nothing useful. Here’s a quick way to make your own in any design you like.

![Jump]()
|
What you need:
- Old broken headphones
- Scissors
- Decorations
- Glue
So the decoration basically sits in the top here in the headphone jack spot.

First step is to decide which decoration you want to use. I went through a few options before deciding on the bow.
  
Take the jack end on your old broken headphones.

Cut it off with the scissors. Get as close to the end as you can without having to cut metal. You can strip off the plastic if you prefer. Or if you want something even closer you could probably use heavy duty pliers to get a closer cut. Be careful if you try it though, in fact be careful when modifying any electrical equipment like this especially if it’s very old.

See it still fits in there nicely. I needed to double check the height was ok when using my case too so keep that in mind.

Now just glue it to your decoration. I glued it to the bow.

Then I glued another bow to the other side so it looked good both ways.

Once it’s dry it’s done. Yep, seriously that’s it.

It’s probably a bit of overkill on my phone…

But on James’ phone it makes a bit more sense!

I’ve seen some very cute crown ones too which would be equally easy to make if you could find some crown charms.

So there you have it, next time you have some broken headphones don’t throw them out! |
by VioletLeBeaux | Oct 10, 2012 | Hair-Tutorials, Tutorial, Video-Tutorials, Violet Vision Videos
A simple tutorial on how to create a vintage wave hairstyle. This version is quick and quite easy to do while giving the nice wavy effect. .
This style looks great with Great Gatsby looks!
~~~~~~~~~~~~
Shop: http://bit.ly/NknExz
Blog: http://bit.ly/qIKumk
Tumblr: http://bit.ly/oF86Yz
Twitter: http://bit.ly/onCld1
Facebook: http://on.fb.me/pdZ8B5
Instagram: http://instagram.com/violetlebeaux
~~~~~~~~~~~~
A blog and Youtube channel about a girl and her quest to make everything sparkle. New craft, hair and beauty tutorials every week!
Violet LeBeaux spends most of her time trying to think of ways to make life prettier, posting said ways on her blog and drinking very strong tea. She writes about big hair cute things, girly fashion, beauty finds, sometimes Hime Gyaru fashion (姫ギャル) and crafty tutorials.
She lives with her adorable boyfriend Jimmy, fluffy puppy Miss Lottie and Bergamot Bunny in Melbourne, Australia.
~~~~~~~~~~~~
Music: Garageband unless otherwise credited
~~~~~~~~~~~~
Easy Vintage Wave Hairstyle Instructions
Hello!
Today’s video is about how to do a simple version of vintage style waves.
Begin by brushing your hair and sectioning it into several parts.
Curl your hair with any method you like. I prefer a conical wand for this because it gives a bouncy girl that lasts all day.
Once set brush out the curls so they are very loose. You want nice been waves.
Using a comb and holding it flat against your head, brush backwards.
You should be able to feel the direction the curl wants to go.
Add a pin.
Comb again forming a gentle wave which finishes at your ear.
Pin each curve.
Continue waving like this until you reach the back.
Pin there too.
Brush out the other side of the curls and repeat the comb waving process.
The hair will naturally form it’s own curves.
On this side I pushed forwards first then back then forward.
It may take a couple of goes to get it in a shape you like but trust me it’s worth it.
Once you’ve done both sides, brush down the back of your head and then roll the rest of the loose hair up.
Pin it in place around the neck.
For a more casual look you can leave it down but I prefer a low bun.
Now hairspray the hell out of it!
While we’re waiting for it to dry, let’s do the fringe.
Part to one side then curl completely under so no edges are seen.
That’s been around long enough.
Once the spray is set, carefully remove the pins.
I like to add some flowers to the top of the bun to give it a more finished look and to hide any more pins which might be showing through.
A look like this definitely deserves some red lips.
All done!
It looks so much more complicated than it actually is and the effect is really beautiful.
This is definitely a head turning look.
I hope this was a useful video. Please check out the blog post linked in the description for more information and a photo tutorial.
Thanks so much for watching!
Bye!


