by VioletLeBeaux | Dec 22, 2012 | Life
Guess who got to go running around the park for the first time at her very own picnic?

The answer is JAMES!!
No seriously it was Lottie.
![Jump]()
|

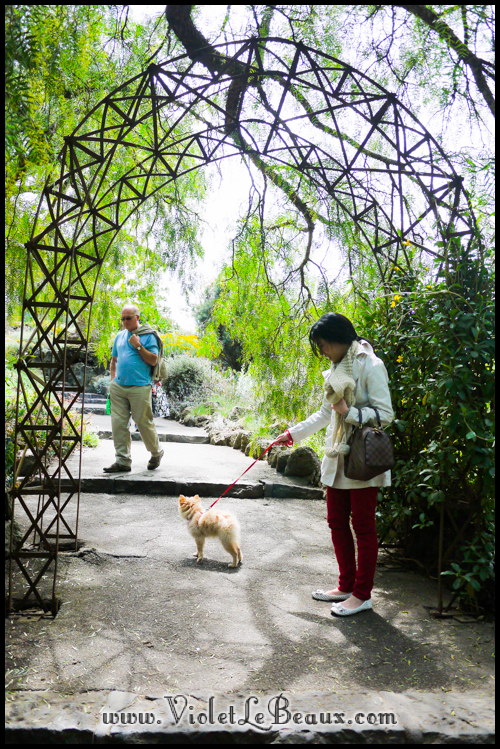
We had a lovely picnic at the Botanical Gardens.
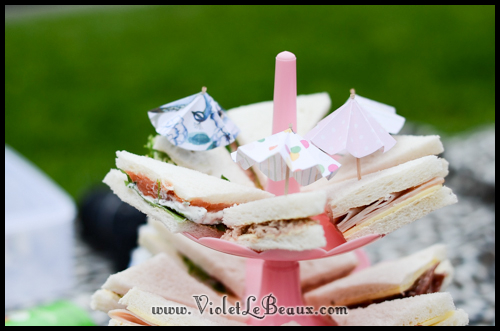
We had a really casual day out it was lovely to just chill and relax with friends.

Lottie spent most of the time guarding our picnic supplies from the evil seagulls.
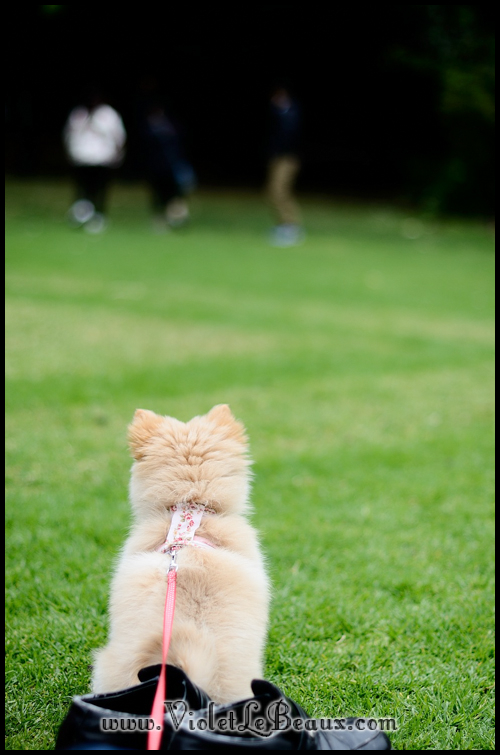
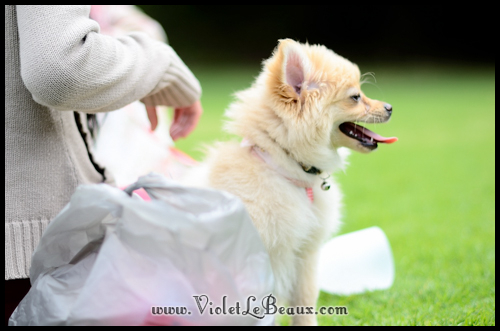
Damn you evil seagulls!!
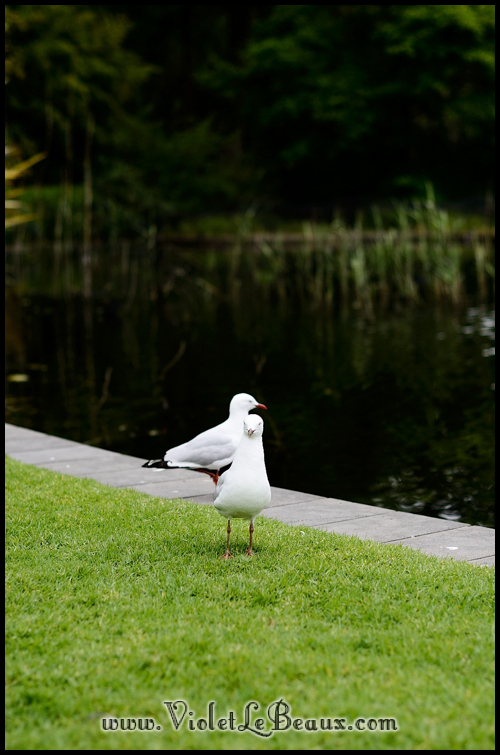
And damn you swan!
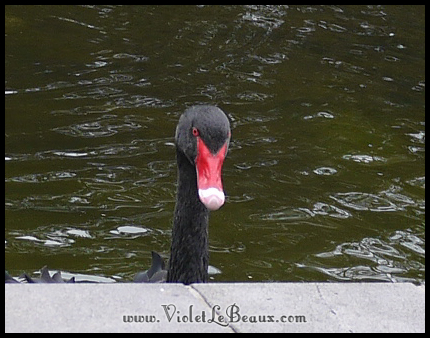
She did manage to take time out of her busy schedule to steal some tuna sandwiches while no one was looking. Serious mischief!
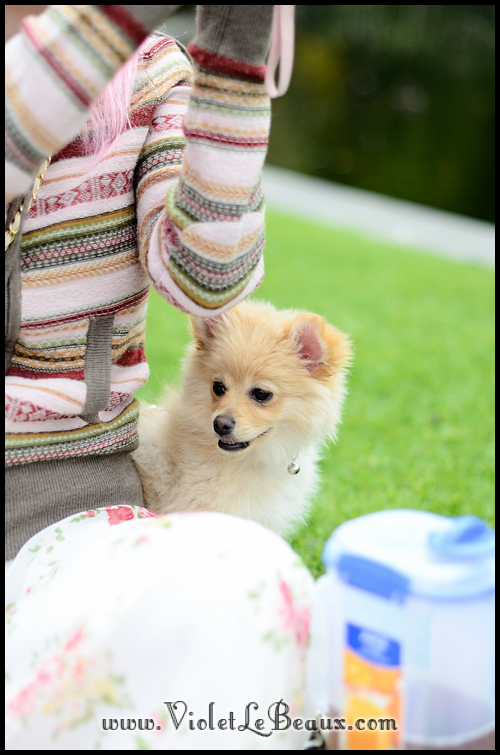
There are some very suspicious gaps here Lottie!!
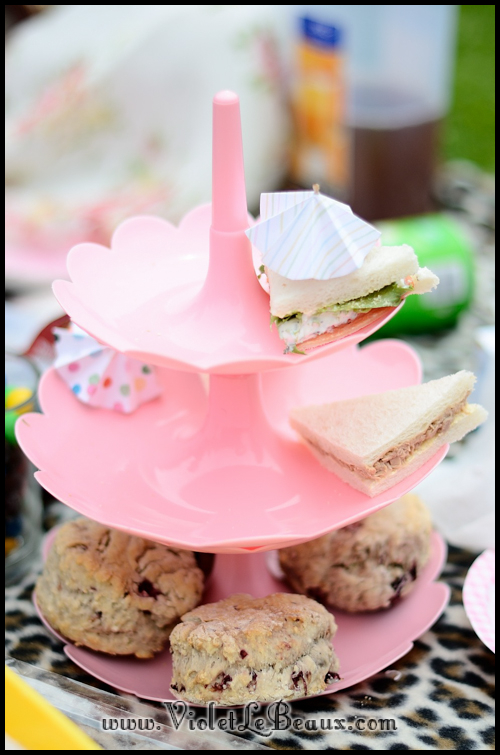
Lucky she didn’t get into the other supplies 😀
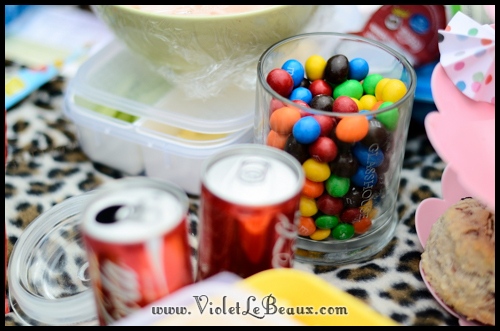 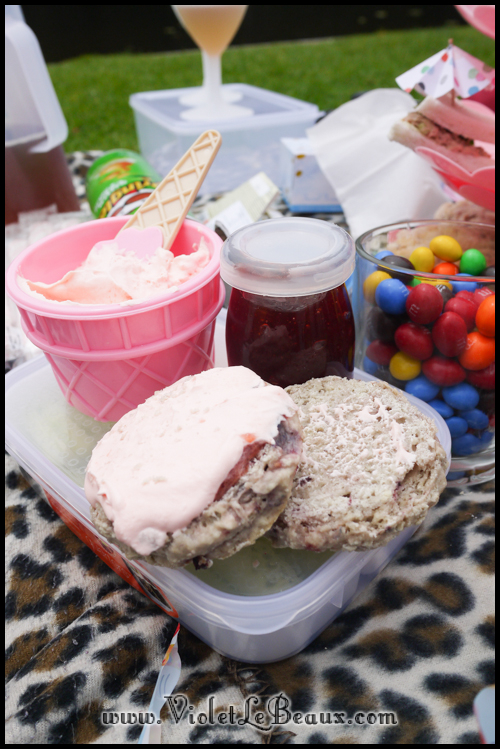 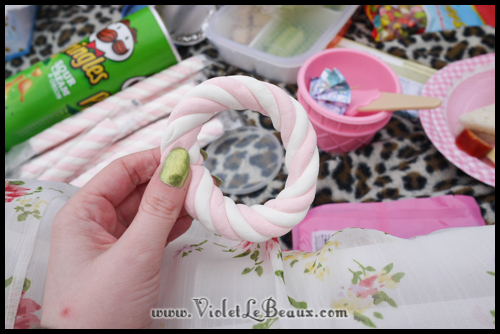
She was so excited that she ran for several hours, she didn’t stop at all *_*
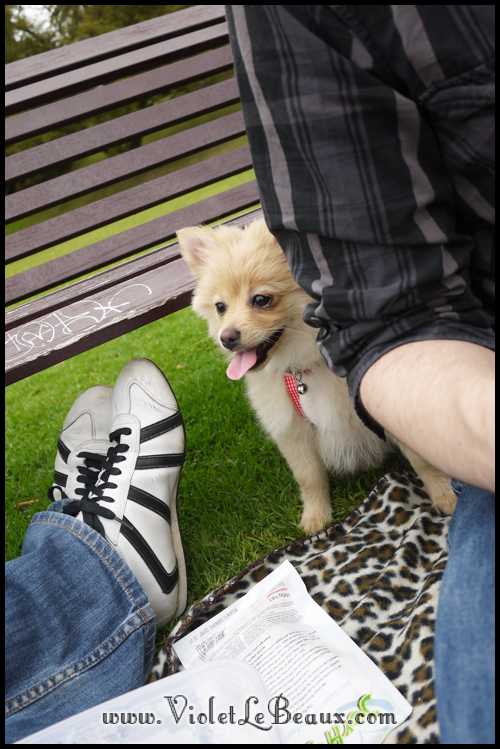
Lottie enjoyed licking Toby and Celina to death.
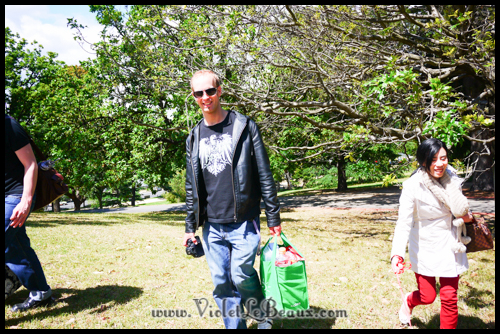 
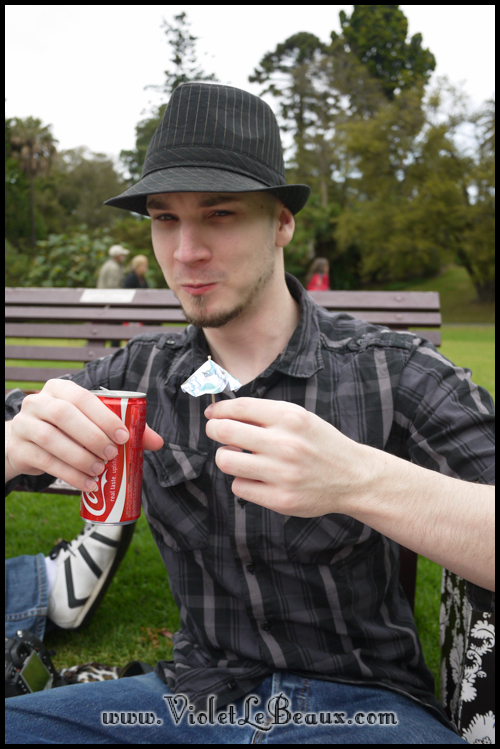
James enjoyed the tiny coke cans. Apparently they made him feel like a giant.
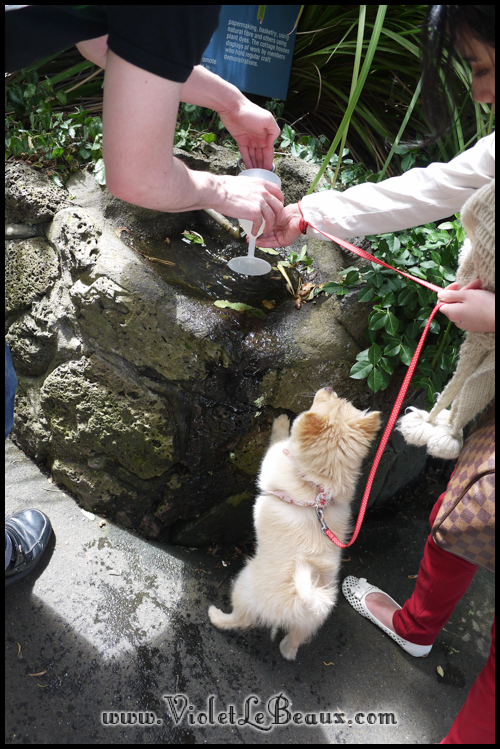
Lottie enjoyed trying to drink from fountains.
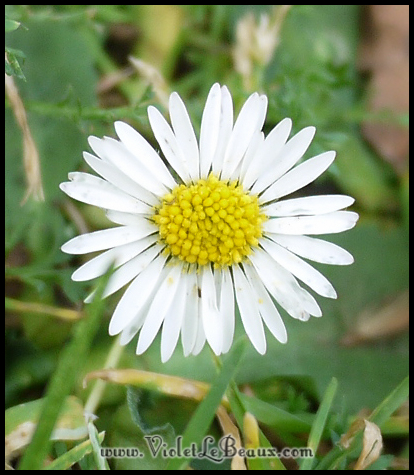
And of course I was more interested in taking photos of pretty flowers.
I can’t wait to go back to the gardens for a day and just wander around taking photos.
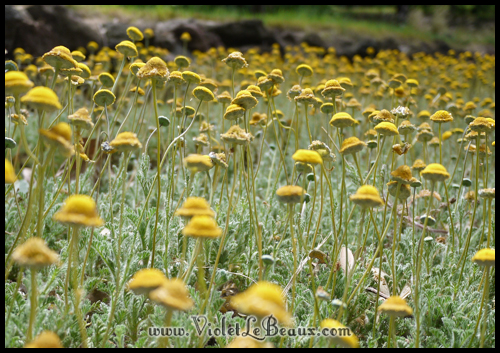
It seems like it will be so nice to spend an afternoon there just wandering around, taking photos, playing with Lottie and maybe taking a little nap!
When we got home Lottie slept for more than 4 hours after being tired from all the excitement!
|
by VioletLeBeaux | Dec 20, 2012 | Craft, Miss Lottie Pomeranian, Storage/Utility-Tutorials, Tutorial
Miss Lottie’s fanclub totally spoils her rotten. Kim, who is her #1 fan bought Lottie an adorable strawberry house!

She absolutely loved it so I decided to customise it to match the lovely card Kim painted too!
![Jump]()
|

I decided the easiest way to do it was needle felting.

I laid out the letters in pink wool.

And pinned them in so I could see the placement well.

One by one I added thicker white wool to the top of each letter then thicker pink to the bottom. I blended them together so they looked like the watercolour that Kim did.

Here’s a closer view.

And after the finishing touches…

You can see the colours more clearly here when it’s a bit darker:

The verdict from Lottie was pretty clear!

So perfect for her!

I’m sure she doesn’t know the difference but I smile every time I look at it! Thank you Kim!!! |
by VioletLeBeaux | Dec 19, 2012 | Beauty, Nail-Art-Tutorials, Nails, Tutorial, Video-Tutorials, Violet Vision Videos
Here’s some extremely basic snowflake nailart. I really need to get better lighting for these videos. This one’s not really a full tutorial but I’ve been filming what I do with my nails as I grow them out slowly! .
~~~~~~~~~~~~
Shop: http://bit.ly/NknExz
Blog: http://bit.ly/qIKumk
Tumblr: http://bit.ly/oF86Yz
Twitter: http://bit.ly/onCld1
Facebook: http://on.fb.me/pdZ8B5
Instagram: http://instagram.com/violetlebeaux
~~~~~~~~~~~~
A blog and Youtube channel about a girl and her quest to make everything sparkle. New craft, hair and beauty tutorials every week!
Violet LeBeaux spends most of her time trying to think of ways to make life prettier, posting said ways on her blog and drinking very strong tea. She writes about big hair cute things, girly fashion, beauty finds, sometimes Hime Gyaru fashion (姫ギャル) and crafty tutorials.
She lives with her adorable boyfriend Jimmy, fluffy puppy Miss Lottie and Bergamot Bunny in Melbourne, Australia.
~~~~~~~~~~~~
Music: Garageband unless otherwise credited
~~~~~~~~~~~~
Snowflake nail art instructions.
Hello!
Today I’ll show you how I do some very simple snowflake nail art.
Start by painting a base coat alternating fingers in silver and light blue.
The light blue I had was very plain so I added a sparklier coat to it too.
Using a nail pen or thing brush, paint white snow flakes randomly all over the nails.
Each snow flake is made up of 3 lines crossing over in the middle with arrows on the end and arrows between the stems.
Make sure to keep the lines quite thin or else it will be hard to tell what the snowflake actually is.
You can alternate the designs slightly on each fingers to keep it interesting.
I gave some of the snowflakes extra crosses and some of them had little hearts on the end, all kinds of things like that.
Once it’s completely dry, give everything a nice top coat.
Don’s press too hard or the snowflakes might run a bit.
These snowflakes make a perfect winter manicure.
Or if you’re like me, and you’re somewhere that it’s extremely Summery at the moment, you can use them to dream about next Winter.
Hope this was a useful video, please check out the blog post linked in the description for more information and tutorials.
Thanks so much for watching!
Bye!


