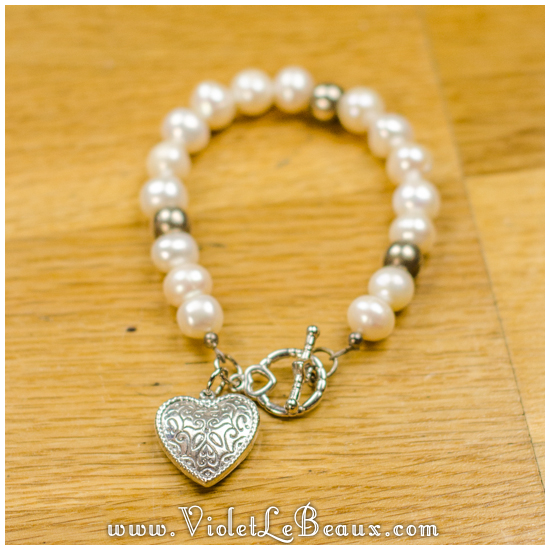
Win Beautiful Bracelets From Earth Jewel Creations

This giveaway was sponsored by the Earth Jewel Creations.

For more information on sponsored posts check out this FAQ.

As you guys know, we recently took a trip to The Sunshine Coast and Brisbane. The Snapshot posts and vlogs are coming but I couldn’t wait to post about this! One of the highlights of the trip was visiting The Big Pineapple to see their new markets and meet Jo from Earth Jewel Creations. The Big Pineapple has really changed a lot since I was a kid but I’ll post more on the when I write up my Snapshots!

Earth Jewel Creations is one of the permanent stalls at the markets and having seen Jo’s handmade jewellery online before I was quite excited to try some on.

Jo was lovely enough to allow me to do a giveaway with some of her jewellery so you guys can enjoy it too, the details are at the bottom of the post!

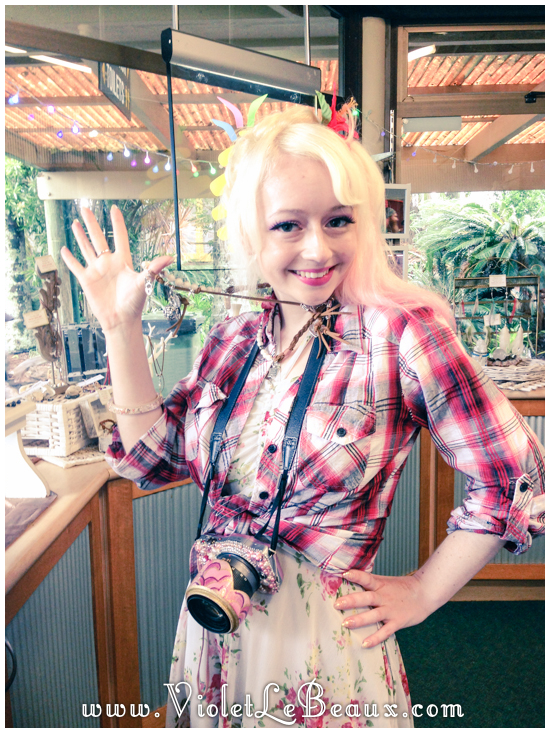
Here I am with Jo trying on one of the jewellery wraps.

IMG_3995

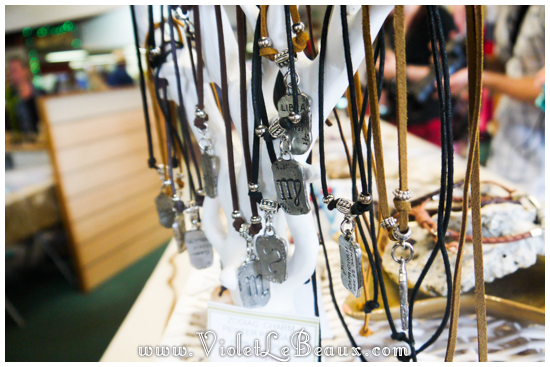
The store specialises in jewellery made from beautiful gems as well as hand stamped customised charms.

Big-Pineapple-QLD10948

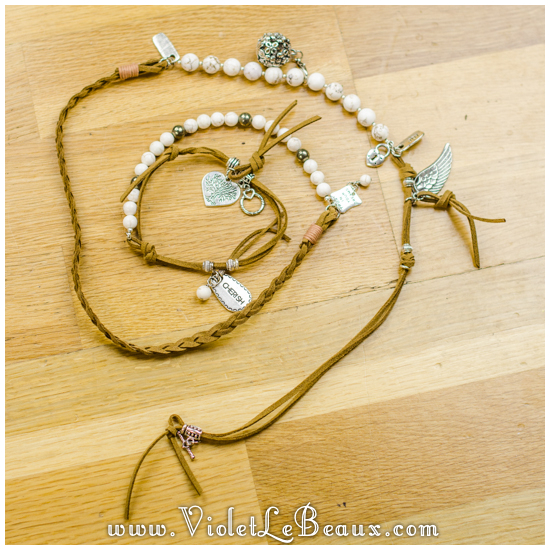
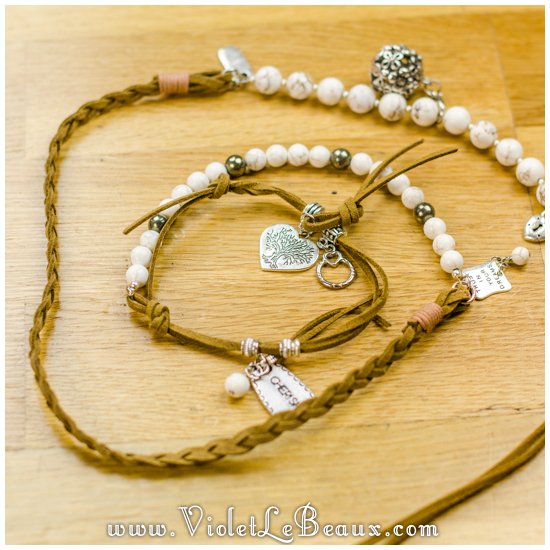
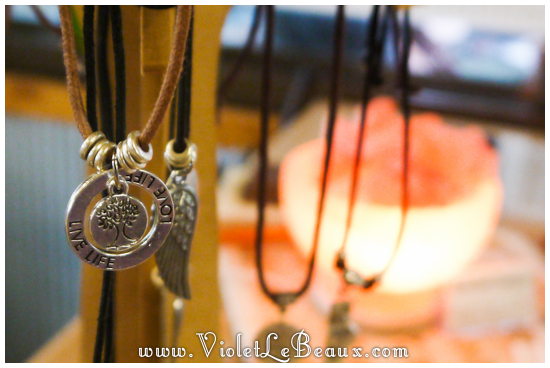
The pieces I was most interested to see on our visit were the suede jewellery wraps. They are adjustable so you can wear them a lot of different ways (one of my favorite things ever!) and they come in a lot of different colours and with different charms.

Earth-Jewel-Creations79


The big ball charms are detachable too so you can move them around.

Earth-Jewel-Creations81

Jo was nice enough to give me a White Magnesite/Pyrite wrap and I made a video on all of the different ways to wear it:

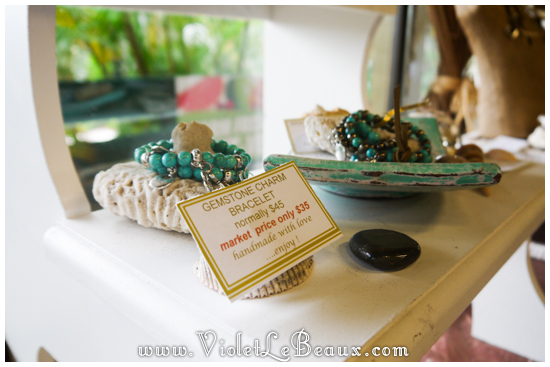
According to the paper that came with it, the White Magnesite represents harmony and acceptance while the Pyrite represents Self Esteem and Assertiveness. James laughed at how much that applied to things I need >_> Certainly couldn’t hurt and either way they sure are pretty! XDThere were a lot of different styles of jewellery available and the prices were really great considering the quality of materials. A lot of it was beautifully styled for the beach. Very relaxed!Earth-Jewel-Creations4004Big-Pineapple-QLD10978 

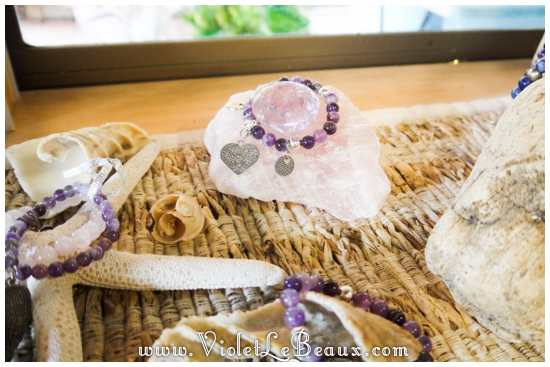
I did manage to find the pink and purple section 😉


Big-Pineapple-QLD10957


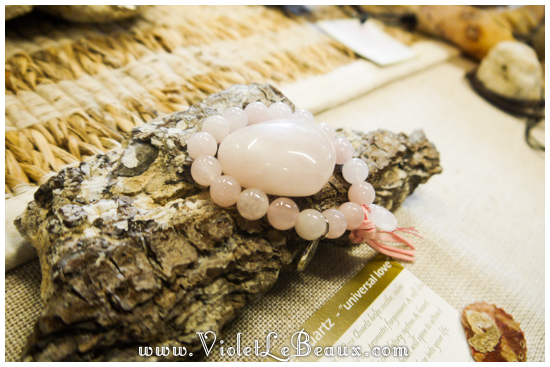
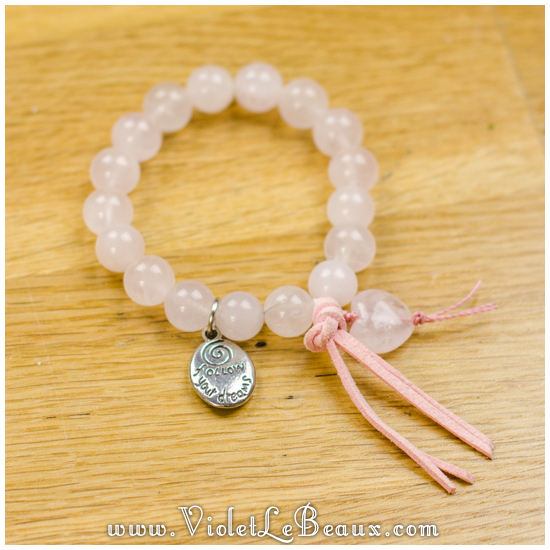
Rose quartz is so pretty.

Big-Pineapple-QLD10959


Trying on my wrap as a doubled necklace:

Earth-Jewel-Creations4001


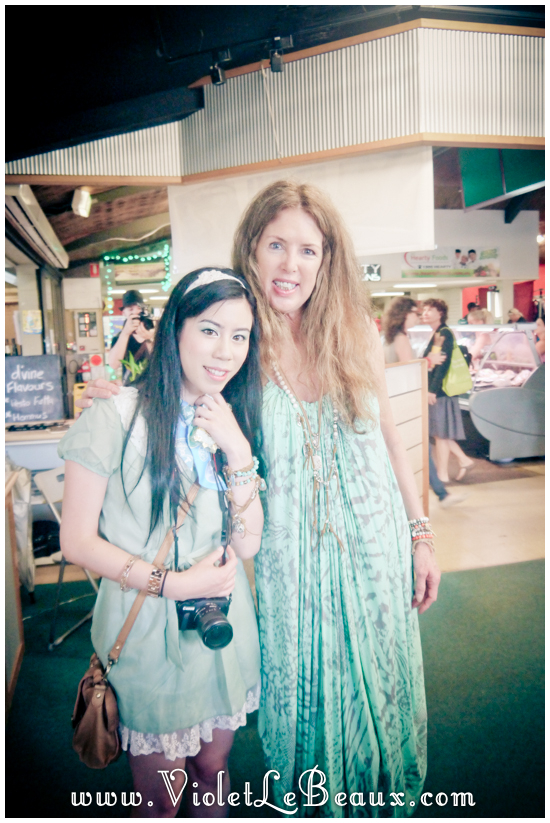
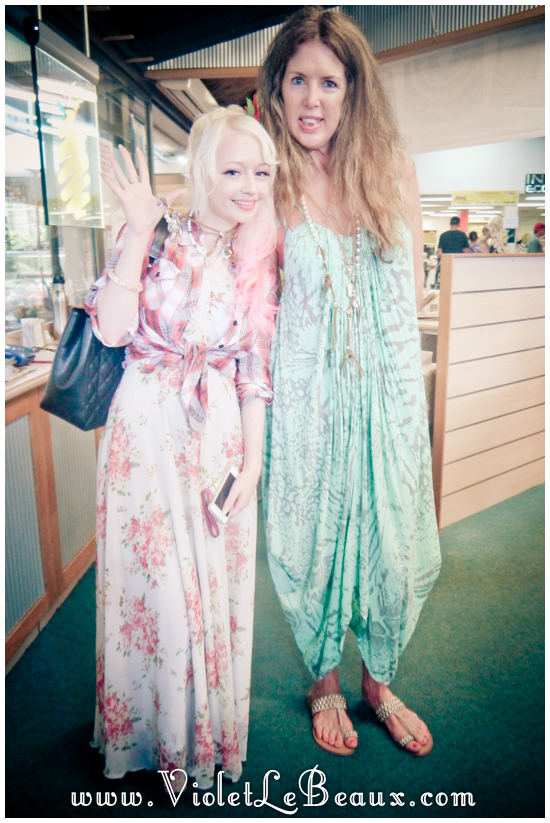
Celina and I with Jo. Everyone at The Big Pineapple was lovely but it was such a treat to meet someone who was so extremely passionate about what they were doing. I really love meeting passionate people and she was just so lovely to talk to. You can really tell when people are doing something that they love 🙂

Big-Pineapple-QLD10955Big-Pineapple-QLD10953

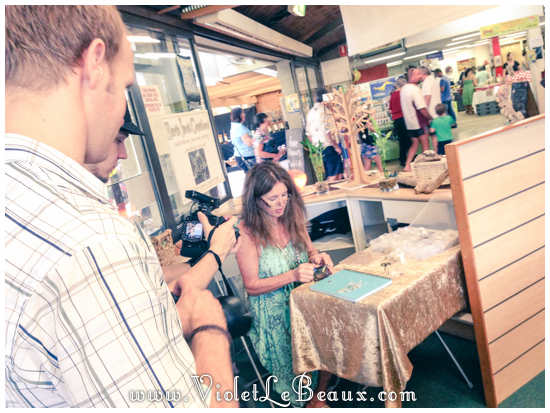
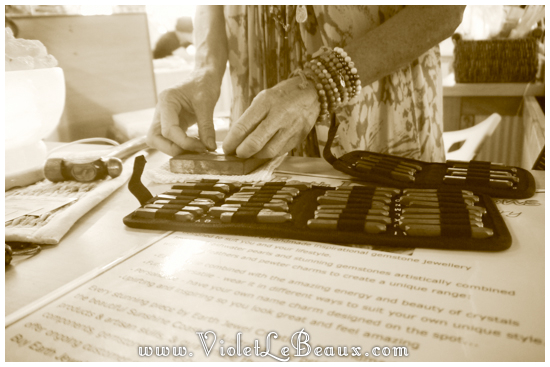
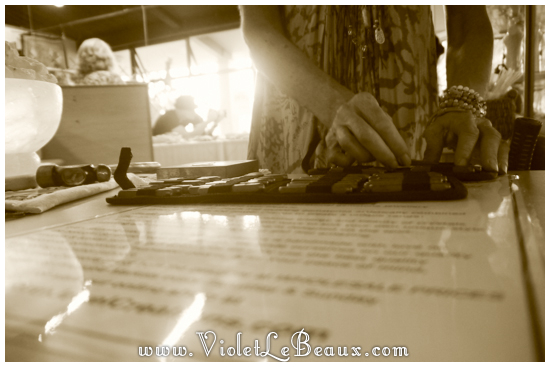
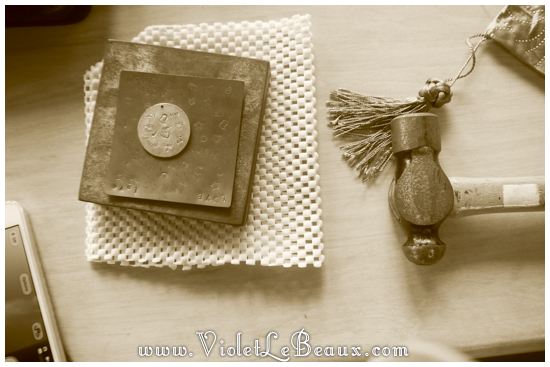
Here she is, hard at work making a handstamped charm for James!

Earth-Jewel-Creations4015

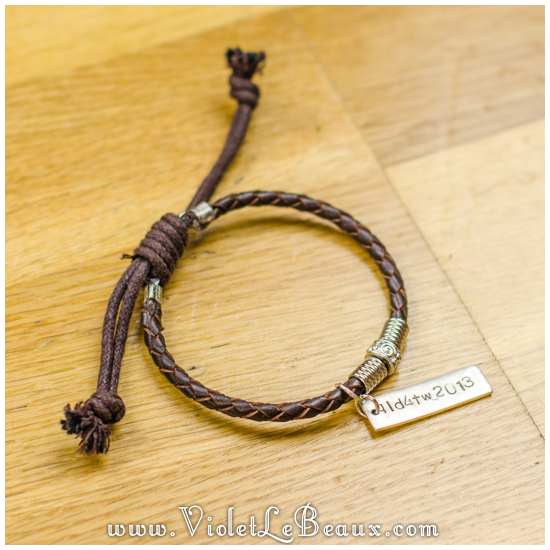
And here is the finished charm on his bracelet. I loved that there were actually options for boys too and they weren’t too over the top and fussy like a lot of guys jewellery is these days. She can custom stamp pretty much anything while you’re at the markets!

Earth-Jewel-Creations70


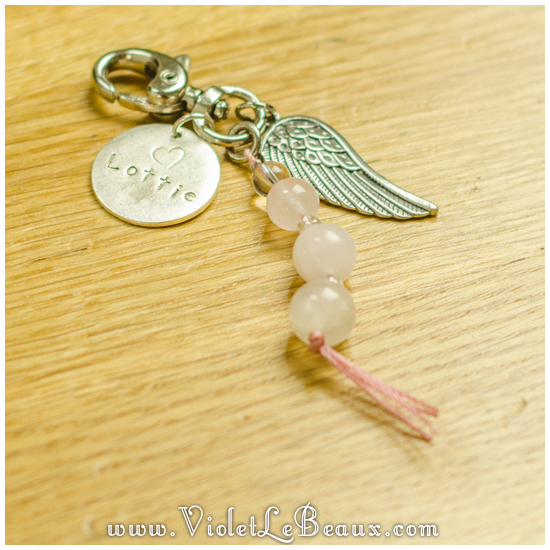
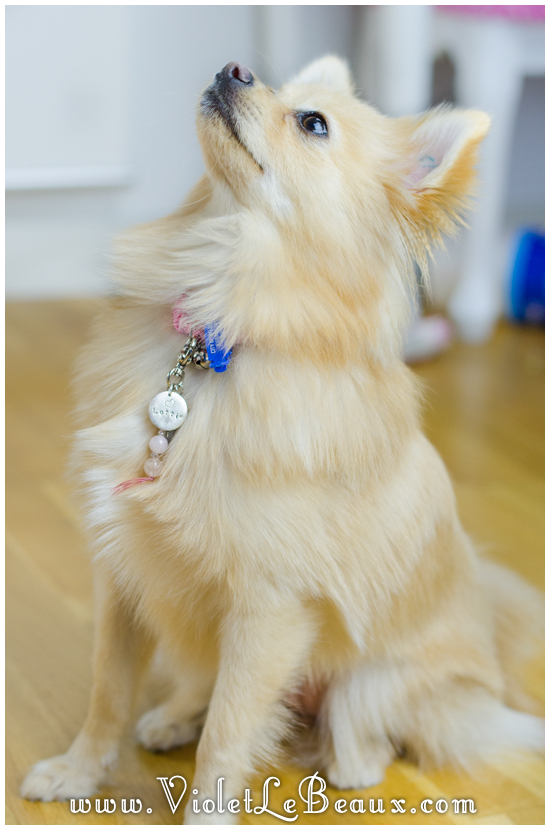
She even made Lottie a special charm on a rose quartz base. These can be used for pets or as key charms!

Earth-Jewel-Creations62

Lottie has been enjoying the jingling sound it makes when she rolls around on the floor but I managed to get to to stay still for a photo by bribing her with jerky:

Earth-Jewel-Creations57

Make sure to have a look at Jo’s Facebook page too, there are some great photos and deals there!

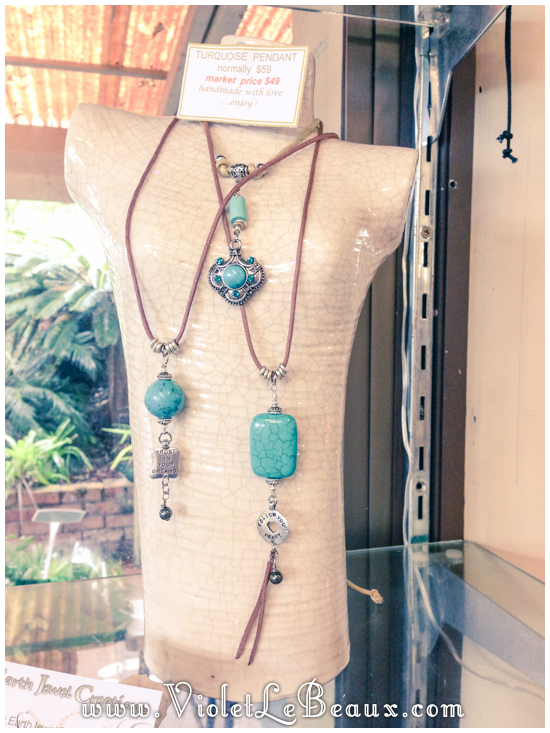
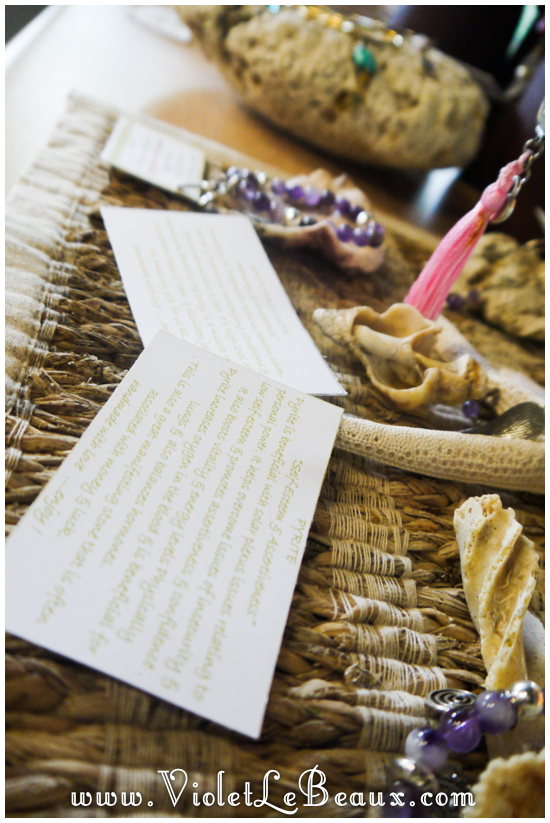
Each of the items comes with information about the gems used and what they mean. If you’re into that there is more information on her website as well.

Big-Pineapple-QLD10950


I really enjoyed seeing the whole process of customising the charms so if you’re in the area I would definitely suggest visiting Jo at the Big Pineapple Markets or seeing where else she is exhibiting at the time.

Big-Pineapple-QLD10969

Big-Pineapple-QLD10967

Big-Pineapple-QLD10977


Everything at the Earth Jewel Creations stall has a really positive and happy message which lately I think I could use some more of in my life.

Jo has put up some great special offers at the moment so check them out here!

Big-Pineapple-QLD10962

And what you’ve all been waiting patiently for…

If you would like to win your own beautiful piece of jewellery enter the competition below!

COMPETITION TIME!

Earth Jewel Creations have very kindly donated 2 bracelets for me to give away to you guys.

Earth-Jewel-Creations66

To enter to win the Rose Quartz Bracelet (Value AU$45):

Leave a comment on THIS youtube video telling me the name of your favorite item on the Earth Jewel Creations website and why you need some new jewellery in your life!

Earth-Jewel-Creations68

To enter to win the Fresh Water Pearl Bracelet (Value AU$49):

Leave a comment on this blog post telling me the name of your favorite item on the Earth Jewel Creations website and what kind of outfit you would wear it with!

Here are the terms:

  • Competition will be open from now until midnight AEST on the 17th of April 2013 (updated)
  • Winners will be contacted via email (or Youtube message) and must respond within 7 days to claim the prize
  • You may enter to win each bracelet but you may only enter each one once
  • Entries are open internationally so long as you are legally allowed to enter where you live
  • Entries will be judged on creativity.
  • The rest of the standard terms and conditions over here.
Thank you very much to Earth Jewel Creations and I can’t wait to read all of your entries!

How To Plait and Looped Plait Classic Hairstyle Tutorial

This post is sponsored by Fables In Fashion! Make sure you check out her website for great make up tutorials, reviews and awesomely artistic make up videos!

I’m back from Queensland and getting back into the swing of everything! This week I’ve got some big announcements as well as some competitions coming up but let’s kick things off with a hair tutorial 😀

Looped plaits are a really versatile style because they go with a lot of different fashion looks. I really love these with classic Lolita styled outfits but they can be dressed up or down and worn with just about anything.

How-To-Plait-Tutorial76
And the video:

Seeing as this is a fairly easy style I thought I would show you the basics of how to plait as well. Start with brushed hair.How-To-Plait-Tutorial31


Divide it in half, we’ll be plaiting each side.

How-To-Plait-Tutorial38


Have two hair ties ready, I usually just keep them on my wrist so I don’t have to search around for them later.

How-To-Plait-Tutorial37


Divide the first half into three sections. I’ve labeled them and colour coded so you you can see how they move in the photos.

How-To-Plait-Tutorial43

Take section #1 on the left and move it over #2 so it’s now in the center.

How-To-Plait-Tutorial52


Now take section #3 and move it over the top of #1 so it now becomes the middle piece. Basically you do this over and over again, taking the left section then moving it to the center, then the right to the center, then the left, the right, the left etc until you run out of hair.

How-To-Plait-Tutorial53

So the next step would be to take #2 and move it to the center over the top of #3.

How-To-Plait-Tutorial55

You’ll start to see this pattern forming:

How-To-Plait-Tutorial57


I suggest if you’re just learning to plait to try doing it on someone else first or use pieces of ribbon until you understand the basic hand motions. It’s much easier to understand it when you can see what you’re doing!

And just continue that until you reach the end then tie off.

How-To-Plait-Tutorial61


Now the looping part of this style! Take the end of the plait and make a loop by holding it just behind your ear.

How-To-Plait-Tutorial66


Like this:

How-To-Plait-Tutorial68


Pin it in place, you may need a few pins crossing over to hold it in place. The easiest way to secure it is to push a few of the pins through the hair tie so they don’t slip out later.

How-To-Plait-Tutorial69


Don’t forget the other side!

How-To-Plait-Tutorial74


Once you have repeated on the other side give it a blast of hairspray.

How-To-Plait-Tutorial75

To make them a bit bigger you can gently pull the sides of the plait to separate them.

How-To-Plait-Tutorial71


Easy!

How-To-Plait-Tutorial78


Now you just need to add some cute accessories and you’re all finished. This style looks great with an alice band or some clips on the side.

How-To-Plait-Tutorial89How-To-Plait-Tutorial86

Hope that was helpful!


Want to download this tutorial in one handy file?

hey-besties Wouldn’t it be awesome to have a list of all of my downloadable tutorials? OMG so convenient! I know right?

Just sign up to The VLB monthly newsletter/magazine/awesome thing below and have the list delivered right to your inbox in the welcome message!

Subscribe to the VLB newsletter for a full list of downloadable tutorials!

Click here to learn about the VLB.

Queensland Holidays!

Today we are heading up to Queensland to do a whirlwind tour of the Sunshine Coast and then spend a week in Brisbane. I won’t have much time to update so I thought you could keep up with me here! Check back everyday for more photos and I’ll be uploading daily mini vlogs before I have proper internet again in Brisbane to upload the real blogs 😀

We haven’t scheduled a proper meet up but on Saturday morning we will be at The Big Pineapple markets from around 9:30 if anyone wants to come say hi!


By continuing to use the site, you agree to the use of cookies. more information

The cookie settings on this website are set to "allow cookies" to give you the best browsing experience possible. If you continue to use this website without changing your cookie settings or you click "Accept" below then you are consenting to this.

Close