by VioletLeBeaux | Sep 28, 2013 | Life
It’s been a ridiculously long time since I have done snapshots posts! I think it’s partially because I’ve been in a bit of a slump and partially because my camera screen had issues. I’ve got some of my spark back now though! We went to a photography show a few weekends ago and I entered some competitions, it really got me excited about taking photos again. So I saved up and ordered a replacement for my camera, then I made a new strap and I feel good about it. Taking photos is fun again!
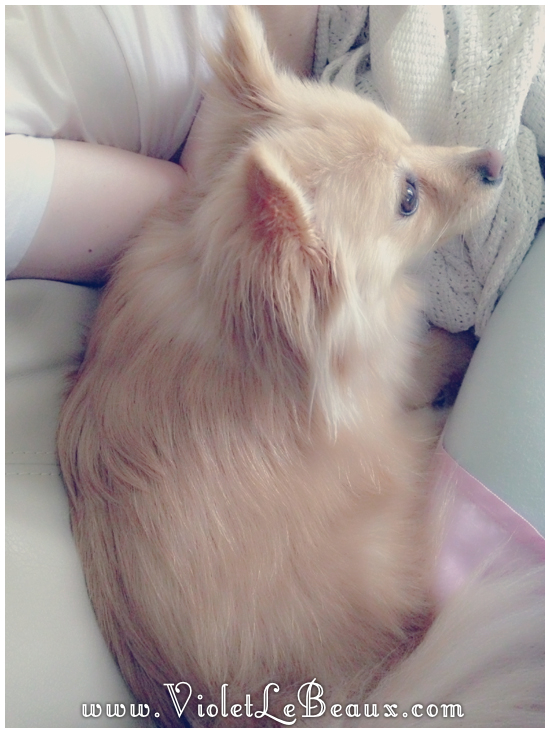
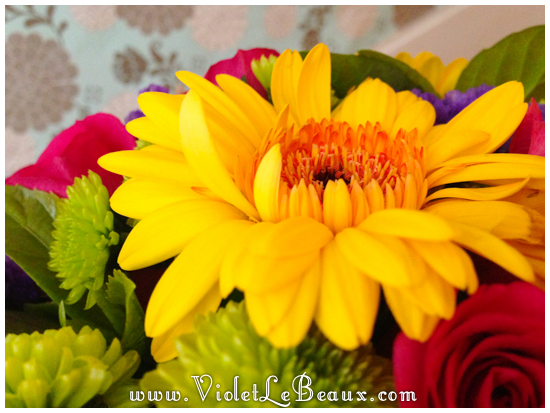
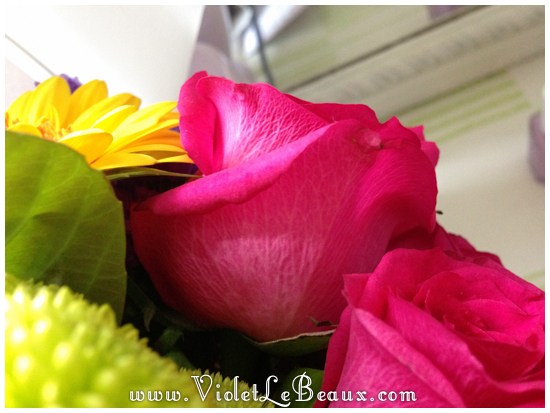
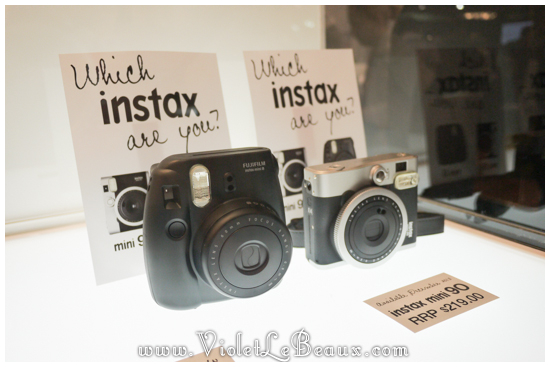
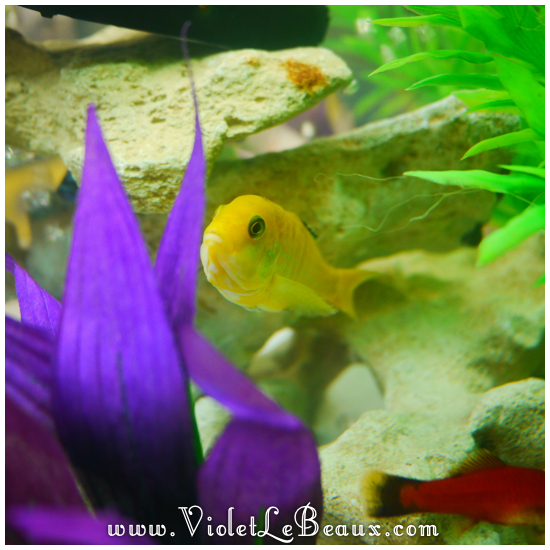
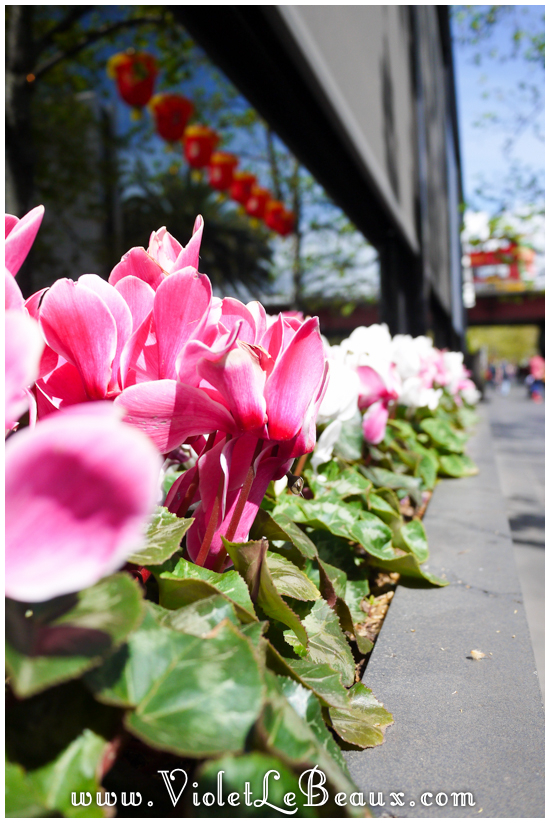
So the weekend of the camera show I took some photos with my old camera. They are just random shots of that weekend, so I hope you enjoy the snaps!
Next time I’ll do proper descriptions but I think sometimes it’s nice to let the shots speak for themselves and you can see what inspired me this week ^_^

![Jump]()
|
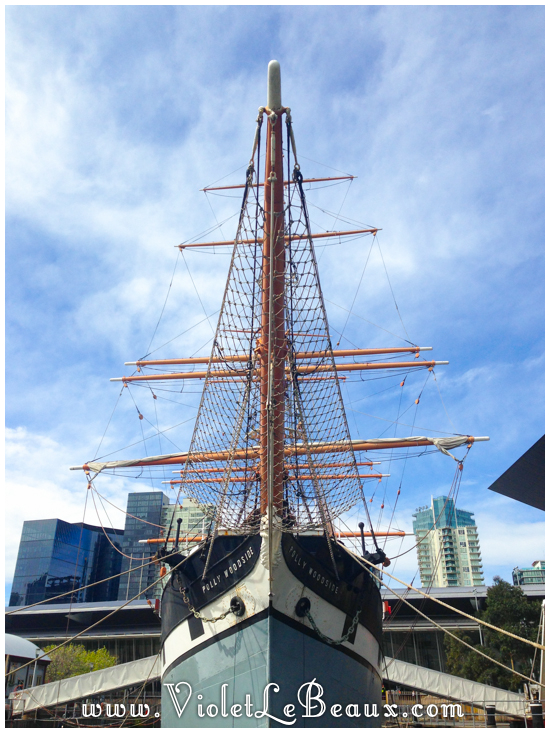
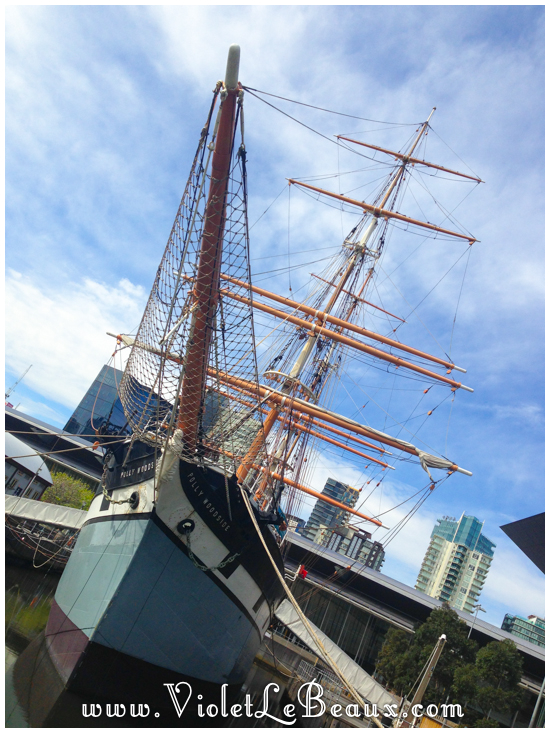
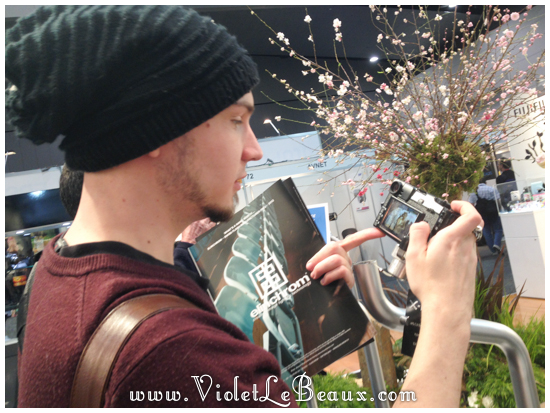
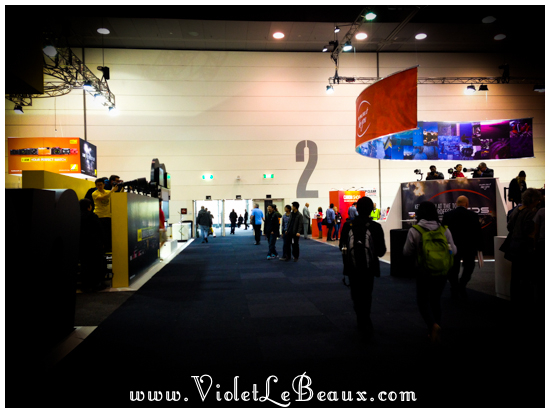
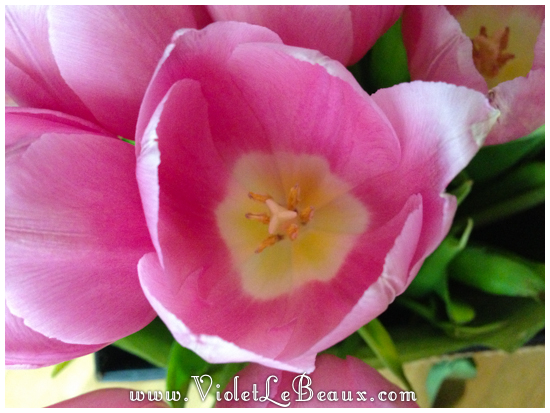
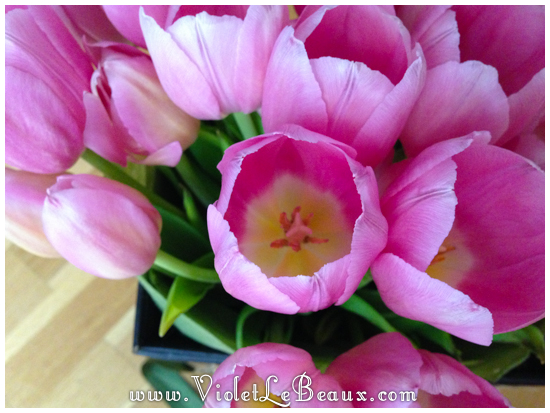
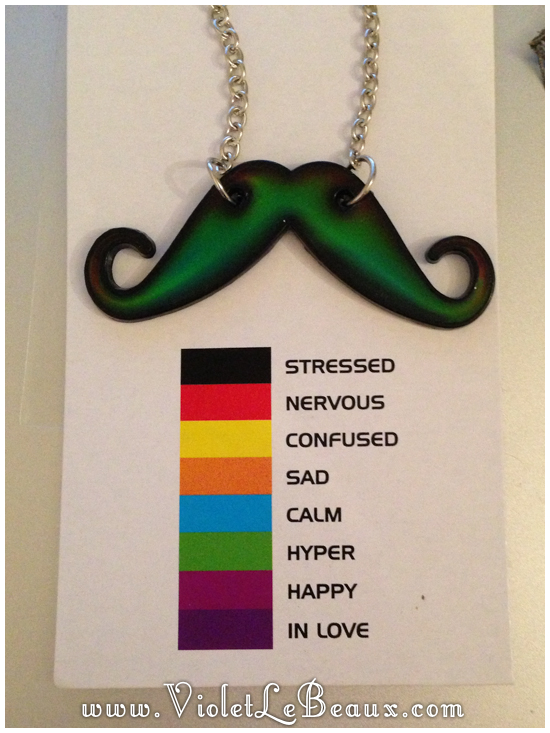

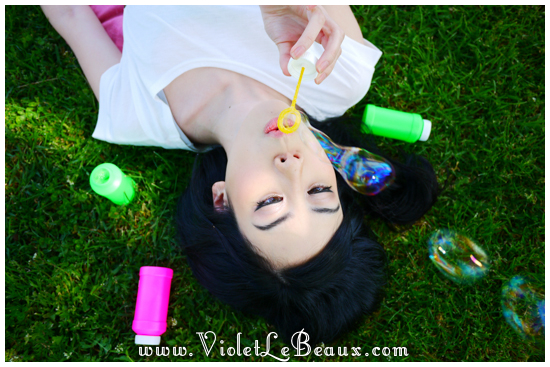
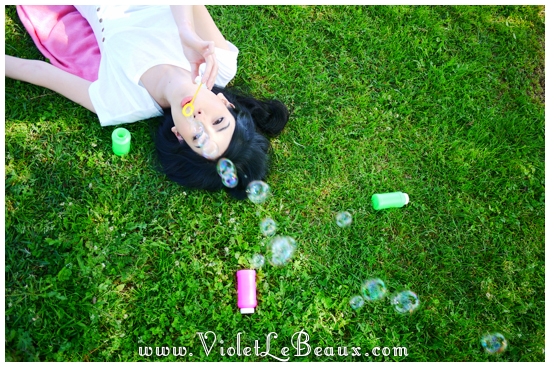
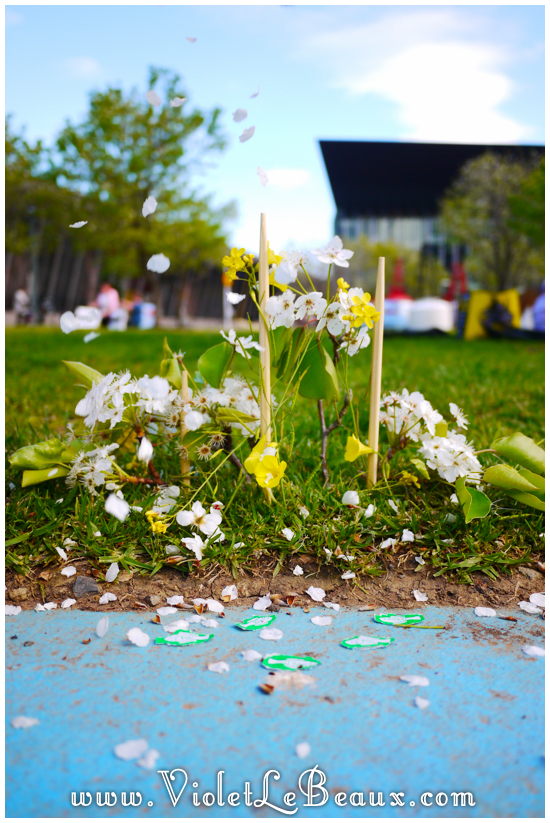
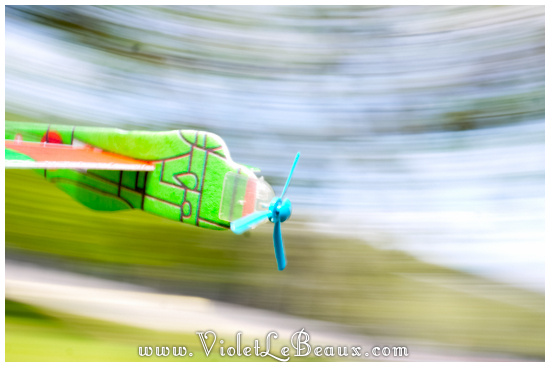
The next three shots are the ones I entered in the Canon 5 Live competition at the show! The idea of the competition is that they give you a theme and a prop, then you have 4 hours to go take a photo and print it to enter. The one of Celina came third, I was SO excited because the competition was fierce and I just take shots for fun!
Theme: bubbles
Theme: chopsticks
Theme: plane/movement
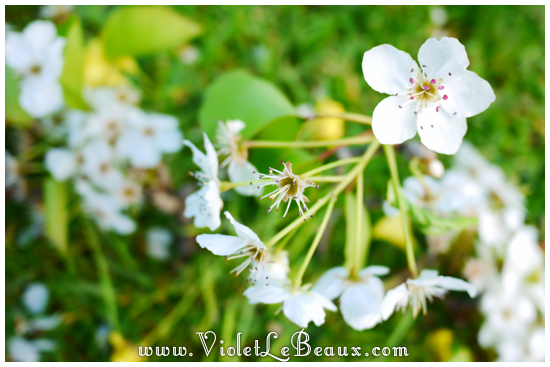

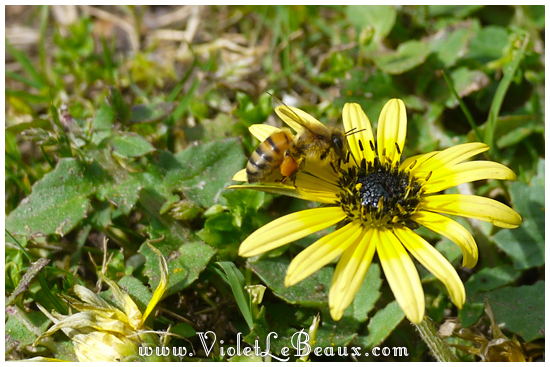
And my favourite shot of the weekend, it’s hard to see at this size but in the garden there’s a tiny little dandelion.
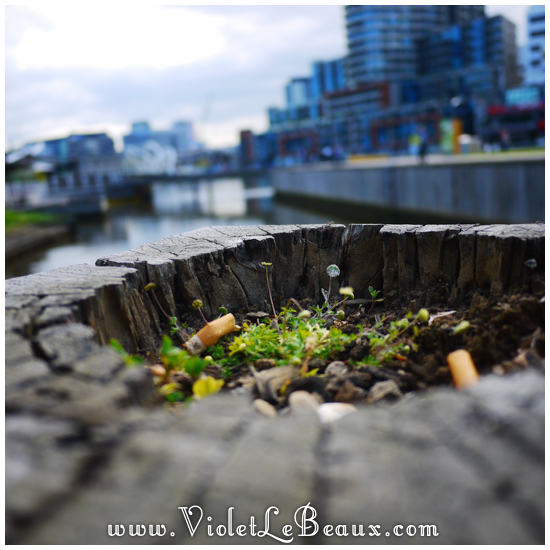
I hope you enjoyed the first snapshots in a while, I’m looking forward to exploring Melbourne again!
|
by VioletLeBeaux | Sep 27, 2013 | Craft, Storage/Utility-Tutorials, Tutorial
So a few months ago James and I started drinking coffee. I hate the taste of coffee. I like being awake and getting stuff done though. I drink my coffee with a billion sugars and milk and also melted chocolate. Trust me it’s awesome. I used up all our old Lindt bunnies from easter by adding them to my coffee. Now that they have a vanilla version I am adding slightly less of the other things because it tastes more like chocolate anyway! Clearly even though I live in Melbourne, one of the coffee drinking capitals of the world, I am not a coffee snob.
It started as a way to keep awake during long hours and early morning meetings and soon developed into a bit of a habit and going to the 7/11 for $1 drinks was getting pricey so we decided to buy one of those pod machines because a Nespresso was out of our price range. We named it Map but it started leaking water after 2 days so back it went to the store. Luckily we found a cashback offer and managed to buy a Nespresso even cheaper than Map was originally AND it matched my kitchen colours!
I couldn’t think of a name for it though >_< I’ve been really bad at naming my things lately, I just can’t come up with anything. Bleh. Maybe Lorelei… because I’m always shouting COFFEE COFFEE COFFEE when I use it? I miss Gilmore Girls.
Anyway that long rambling story ends with us having nowhere to put the stupid pods and not being able to find a cute holder that didn’t take up heaps of space. Bench space is at a premium in our kitchen so after some googling I decided to just make my own for the time being and then work it out later. Suck it FutureViolet, it’s your problem now!
So I found a metal design that I liked (but wouldn’t ship to Aus) and made my own out of left over plastic from our bedhead and silver paper. It’s not perfect but it will do for now.

![Jump]()
|
You need:
- Pods for measuring
- Plastic/cardboard
- Wrapping paper
- Stanley knife/box cutter
- Chopsticks or something to create a gap in the back
- Tape
I only had two small pieces of plastic left over so I taped them together.

If I was doing this again I would use cardboard or something easier to cut because this was an absolute bitch to do anything with.

So the idea of these things is that the pods slot into it and then you pull one out of the bottom when you want to use it. Because it’s up on a wall it doesn’t take much bench space and when you colour code them the pods look quite pretty.


So I drew out the rough design using a chopstick as a ruler because I’m classy like that.

Then it was a matter of cutting it out without severing an artery. Knives are sharp.

Taadaa!

Next I covered it in silver paper. If I was doing this again, I would pick better paper. This one was too thick and reflective so the creases and mistakes showed up a lot.

Lastly I taped some chopsticks to the back so there was a gap between the wall and the plastic for the pods to slot in between.

Done!

I drew some windows on the top so it looked a bit more building-y but to be honest, when I finished I realised that the cold hard city look really doesn’t work for our kitchen design. It looks great in other people’s homes but just doesn’t work with mine. We need something curvy and girly and much more adorable. So back to the drawing board I go 😀

I have another idea for this, I just need to think about the logistics some more and decide if it’s a good idea to encourage having a coffee habit haha! If you guys have that kind of style then I would definitely suggest making something like this, it’s much cheaper buying some thick cardboard than it is for the store ones! |
by VioletLeBeaux | Sep 25, 2013 | Nail-Art-Tutorials, Nails, Tutorial
I talked about lazy inspiration in the latest issue of The VLB yesterday and I’m going to talk about it more on the blog next Monday but I wanted to share some of the things I’ve been doing in the mean time.
So lazy inspiration? Why yes I’ve got some awesomely lazy nail art today! This one is great because it’s hard to screw up. As long as you’ve got a paint brush, a match, a dotting tool or something pointy you can do this. I’ve even done it with a ball point pen in a pinch.
So the design is basically plain nails with dots decorating the moon area of the nail. It’s a little vintage, a lot cute and really simple to do. There are so many variations depending on how much time you want to take as well.
Here’s the most basic one:

![Jump]()
|
First paint a base coat of something bright. Next paint little dots in a semi circle shape at the cuticle out of white acrylic paint. Version 1 done!
If you want to take it a step further you can add a second row of dots, placing them between every second of the first row. Version 2 done!

If you want to get really fancy just add more rows using the same basic formula. Or add a feature nail with your initials! Version 3 done!

Once the acrylic paint dries give everything a clear top coat to protect it and you’re done 😀 It’s a really simple design but it’s very visually effective. Let me know if you give it a try!
|
Want to download this tutorial in one handy file?


