The Laziest Halloween Nail Art Ever
It’s Halloween soon and we have pretty much no plans. We were going to do a party like last year but as we’re going away to Switzerland so soon there really hasn’t been much time to prepare anything so this seems like a good opportunity to bust out the Lazy Inspiration.
I present the laziest Halloween nail art ever..
|
Yes it’s so lazy that the only thing that makes it Halloween themed is the colours…. totally counts! I played with a few version of this so first the completely basic one. Start by making a diagonal stripe with the orange and painting in the top half of the nail. Once it’s dry, repeat in the other direction using black. … that’s it!
To get slightly more involved you can continue alternating colours and sides painting diagonally. With two colours it becomes an interesting arrow pattern. If you add in a third colour and alternate them over diagonal stripe it turns into a cute plaited pattern! Wow that was some super lazy nail art. But hey… Halloween technically isn’t even one of our holidays here in Australia! If you want to read about some Halloween crafts and nail art from last year, have a look through these posts: Next year we are so having a proper big party!
|
Melbourne Through A GF6 – Snapshots
So remember last week I mentioned that I had ordered a new camera and was excited about Snapshots again? It arrived and I’ve been having WAY too much fun with it!
It’s a tradition in our house that the first photo of a new camera has to be a family portrait. Lottie really isn’t so into family portraits as I am though and she likes to ruin them by trying to lick you in the face as soon as she realises what’s going on -_-‘
So this time my first photo was…
|
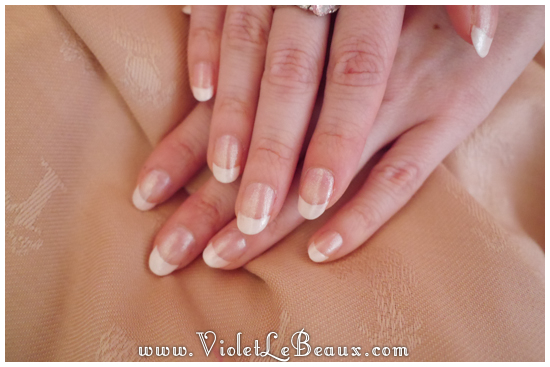
At least we managed one nice one. Testing the minimum focusing distance with my nails. I think I want to get a macro attachment
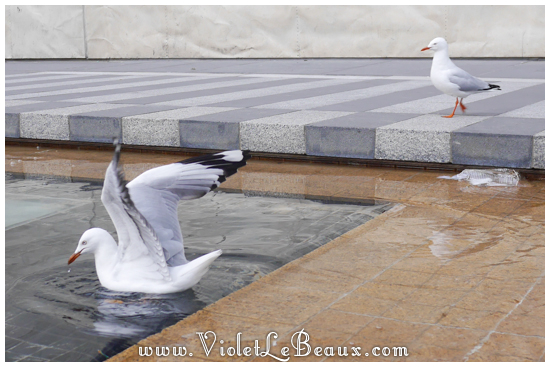
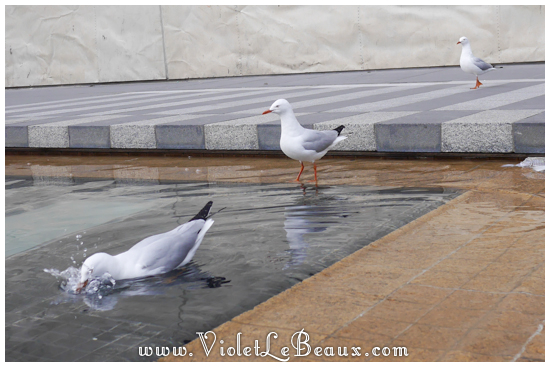
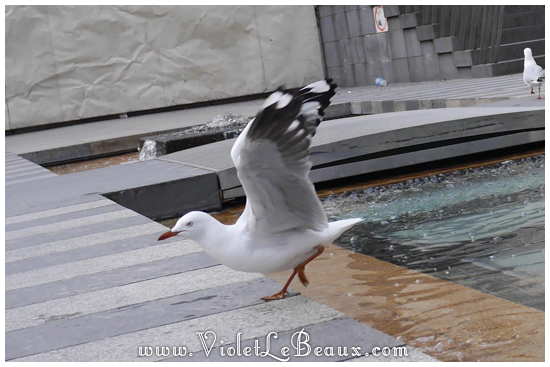
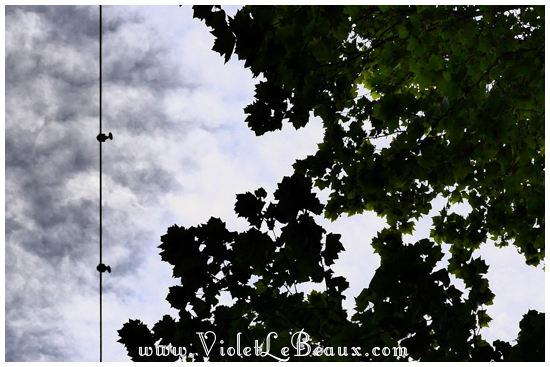
The camera that I ended up deciding on was the Panasonic GF6 body, I had the GF3 with 2 lenses so I’ll be keeping my old lenses and then selling on the old body. So that afternoon we decided to go out and do a photography walk around the city so I could play with it. I call this photo “Creeper Bird Watches As You Bathe”… And this one is “Creeper Bird Watches Other Creeper Bird Watching As You Bathe” And this is the first bird escaping the other two >_>
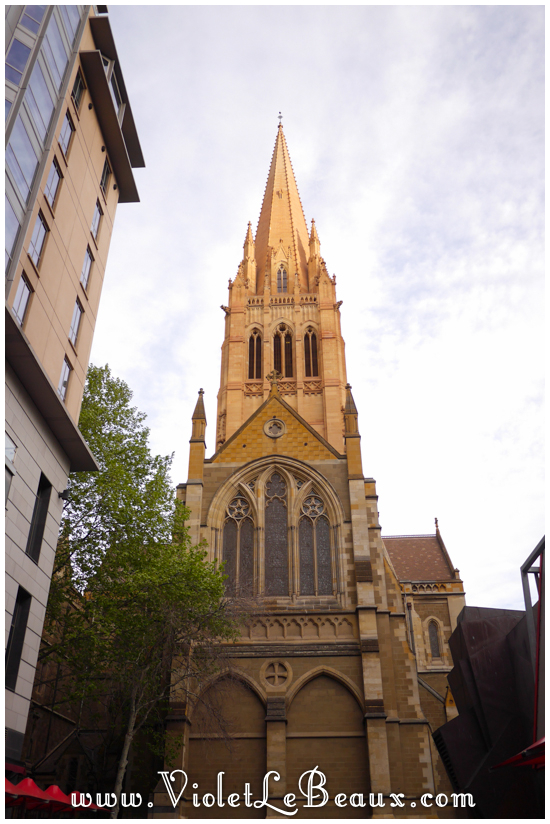
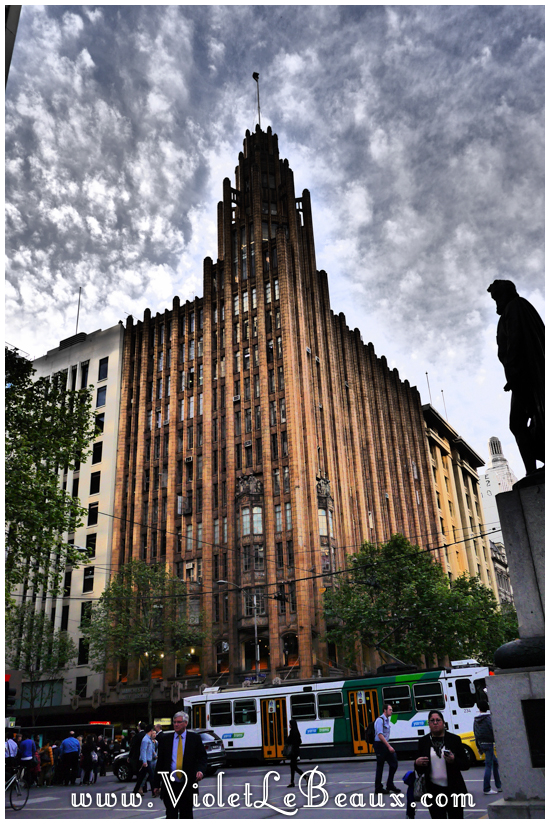
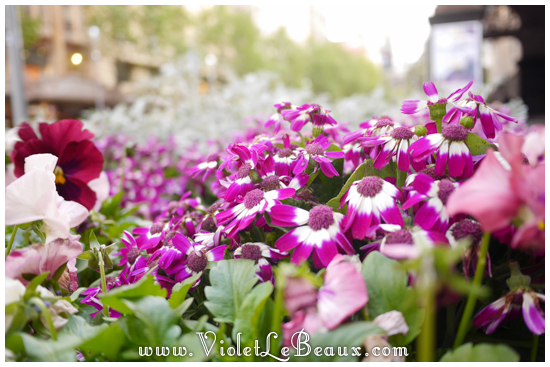
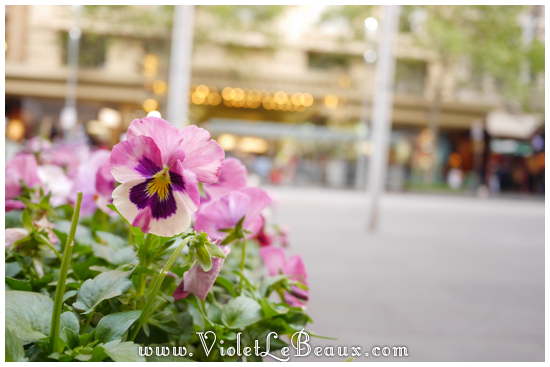
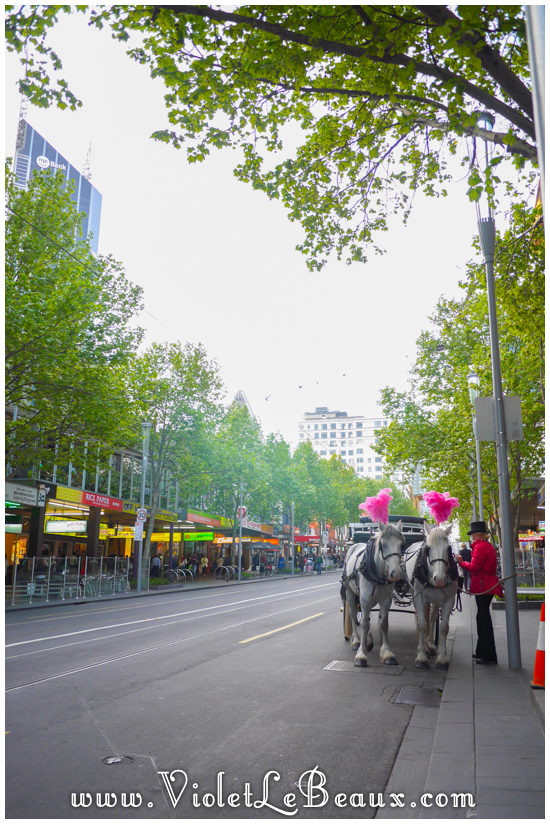
Random architecture break! This model has a lot more unnessecary filters than my other one did… which I intend to abuse severely. This filter is called “Impressive Art”… so guys are you impressed? ;D As usual I spent most of my time taking photos of pretty flowers.
My two favorite features of the camera (other than the obvious fact that the image quality craps all over my old camera) so far have been the wifi ability and the flip screen. With the wifi I can send photos directly to my computer and my phone right from the camera without needing an internet connections. I also love that I can control the camera with an app on my phone, it’s going to make filming videos SO much easier if I can press start on my phone! My favorite photo of the night: The ability in low light is actually really good too so I’m looking forward to taking more night time shots. Now I just need to decide if I want to deco the camera or leave it as is, it’s a really clean and sharp design so I’m having trouble thinking of any deco designs which will actually add to the design instead of taking away from it!
|
How To Do Cute Chevron Nail Art
I posted these nails on Instagram a few weeks ago and there were quite a few tutorial requests so here it is!
A lot of people use stickers or pinking shears to cut tape to do this style but I found it was quite a bit neater to just paint them using a very sharp brush. Of course there are many other ways to achieve the same look so go with whatever works best for you.
|
So first paint a base colour of the bottom colour. I used acrylic paint to quickly paint on the basic pattern so you guys could see what I was doing but that’s optional. It does really help to be able to follow a pattern and get your strokes even. So the key is to have a brush with a very straight edge. I find Essie brushes really good for this. Make the first line by holing the brush at a 45 degree angle and pressing it into place. This works best if you only have a tiny amount of polish on the brush and press it onto the nail rather than actually dragging it. Use the shape of the brush to your advantage. Make the next stripe in the same way but in the other direction so it forms the first zigzag. Don’t worry if there’s not much polish there, we just want to make sure the edge is perfect for now. Continue until you finish the zigzag. Now paint over the zigzag and upwards to the rest of the nail so the colour is opaque. Once it’s dry repeat the process with the top colour. You can either leave it as is and top coat or do what I did and use a tiny brush with white acrylic paint to paint white lines over the edges of the zigzag. Once you top coat them, they look amazing! Winner!
Let me know if you guys give it a try 😀 |


