Super Cute Filled Gift Chocolates Recipe

I have a lot of friends with birthdays around this time of year so I always struggle with little things to add to their gifts. This year I’ve been making a lot of filled chocolates using my tray from Daiso.

How-To-Make-Filled-Chocolates194

You can get these little trays at any cake shop but I like this one from Daiso because it is silicon and therefore easy to wash and get the chocolates out of.

This tray can only do two chocolates at once, one macaron shape and one heart shape but it’s really cute so I don’t mind having to do them in batches.

How-To-Make-Filled-Chocolates153

You need:

  • White chocolate
  • Gel food colour
  • Icing sugar
  • Flavours, I’m using strawberry


How-To-Make-Filled-Chocolates151

Step one is to melt the white chocolate. I just do it in the microwave in a ceramic container rather than a double boiler. If you’re using the microwave then heat it to about half melted, 10 seconds at a time and then just stir until it’s fully melted. The ceramic retains heat so it will easily melt the rest of the chocolate.

How-To-Make-Filled-Chocolates154

How-To-Make-Filled-Chocolates157

Add a drop of food dye and mix it really well. As white chocolate contains more fat it will separate with liquid more easily so make sure to use gel not liquid colour and mix very vigourously.

How-To-Make-Filled-Chocolates160

How-To-Make-Filled-Chocolates161

Now pour chocolate to the line in the tray. My tray’s lines are quite inaccurate so I usually ignore it.


How-To-Make-Filled-Chocolates164

How-To-Make-Filled-Chocolates174How-To-Make-Filled-Chocolates175

While the chocolate is still hot add the top part of the tray and press it down until the chocolate hits the top.

How-To-Make-Filled-Chocolates168

Refrigerate until it’s totally solid again.

In the mean time let’s make a simple filling. Pour out some icing sugar (maybe 2 table spoons) and add a drop of flavouring.

How-To-Make-Filled-Chocolates176How-To-Make-Filled-Chocolates177

Mix well and add a few drops of water. Mix between each drop of water so you can be control of what consistency the filling has. Chocolate ganache makes a delicious filling too for something a little less sweet. You want it to be a fairly thick consistency but not lumpy and hard.

How-To-Make-Filled-Chocolates180


Pull out your chocolate halves and fill each with icing.

How-To-Make-Filled-Chocolates172

How-To-Make-Filled-Chocolates173

How-To-Make-Filled-Chocolates182

Add a tiny amount of white chocolate with a toothpick to the halves so they stick and then press them together.

How-To-Make-Filled-Chocolates183

Back in the fridge to set a little more and they are ready to eat!

How-To-Make-Filled-Chocolates185

Yum yum, I prefer to eat the left over melted chocolate still in the bowl, there’s nothing better than melted white chocolate 😀

How-To-Make-Filled-Chocolates188

These make perfect little gifts and it’s always nicer to get something handmade with some thought in it!

How-To-Make-Filled-Chocolates198

Let me know if you make some!

Easy Cloud Nail Art Photo Tutorial

For today’s nail art tutorial let’s do some happy clouds in a nice blue sky!

You will need:
  • Blue base polish
  • White polish or acrylic paint
  • Thin Brush
  • Clear top coat

This design is really easy to pick up and you can even use a regular polish brush for the clouds if you don’t have a thinner one.

Begin by painting a base coat of bright blue.

.

To make the clouds, paint a white dot roughly in the middle of the nail.
Add another one of a similar size next to it.
And one more next to that.
On top of the first row, add two dots between the bottom three. And that’s the basic pattern for a cloud!
Repeat making little clouds randomly all over the nails.
Once it’s all completely dry, add a clear top coat.
All done! This design makes me happy whenever I look at it 😀
Hope you enjoyed the tutorial and let me know if you have any requests!

.

Covered External Hard Drive Tutorial – Home Sweet Home

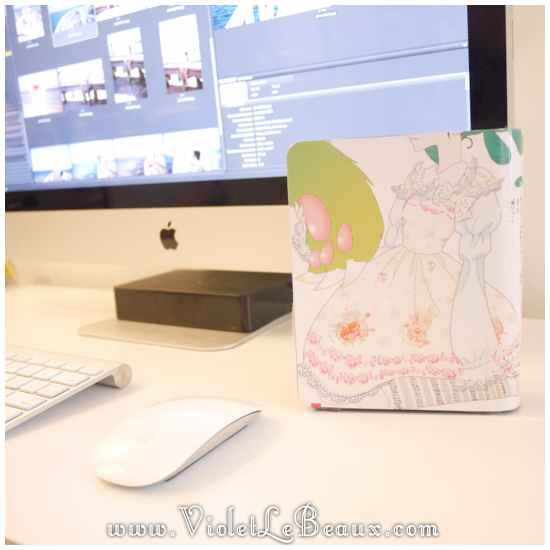
Time for another Home Sweet Home tutorial! Today I’m recovering my external hard drive so it matches my desk more!

For this tutorial you will need:

  • Hard drive
  • Old magazines or pretty paper
  • Book covering contact
  • Glue
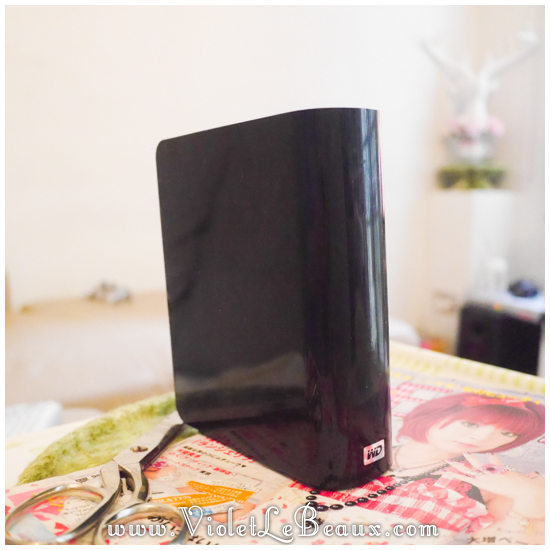
Clean the outside of your hard drive to make sure that you have a nice smooth surface.
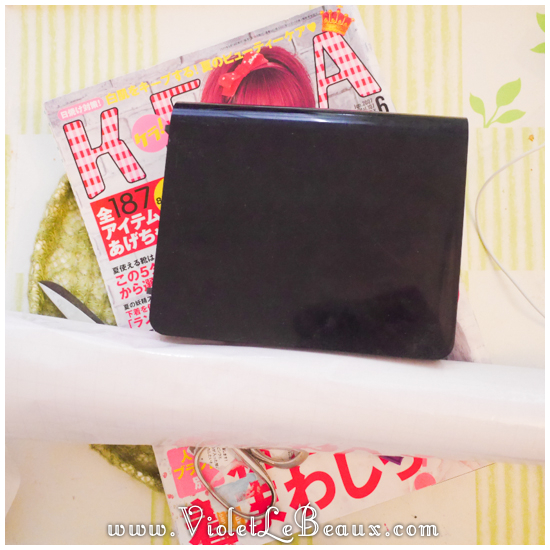
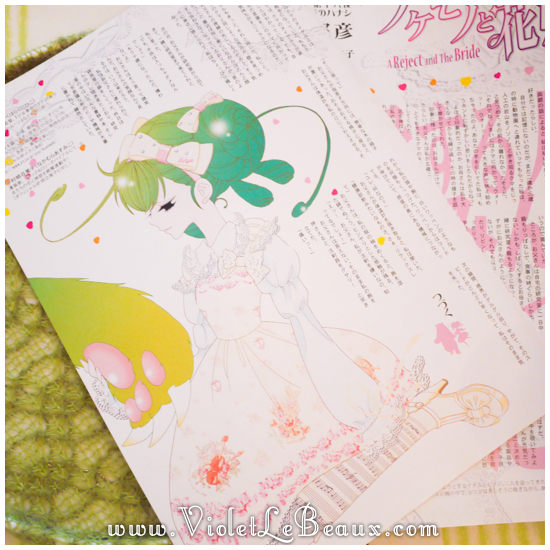
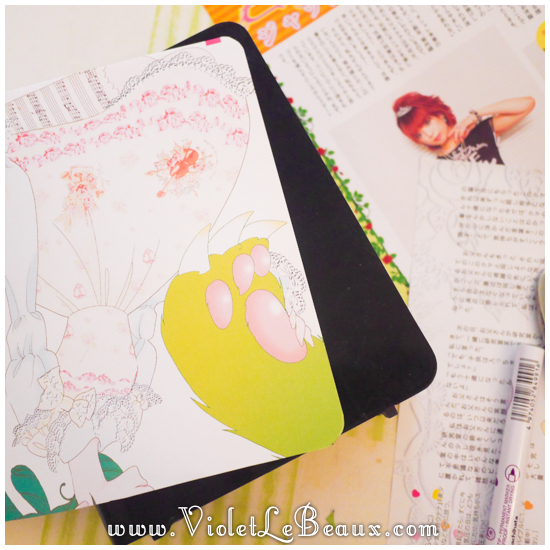
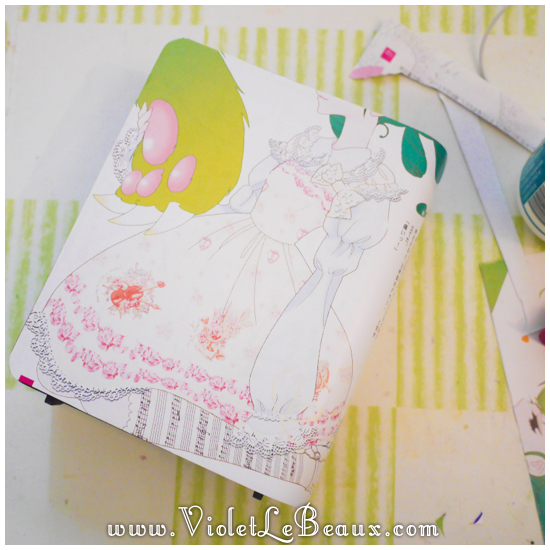
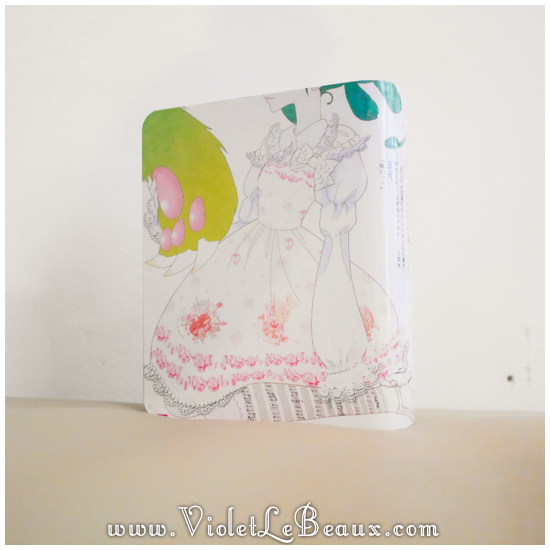
I used pictures from an old fashion magazine. You can use whatever you like. Cut out some pretty paper in the shape of the hard drive. Mine wasn’t big enough so I had to do it in 2 pieces.
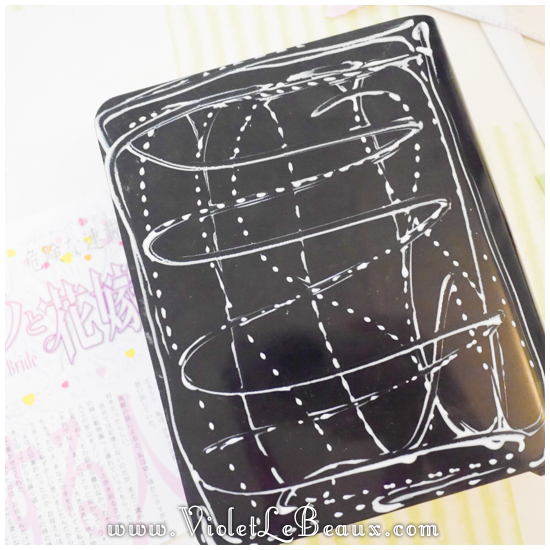
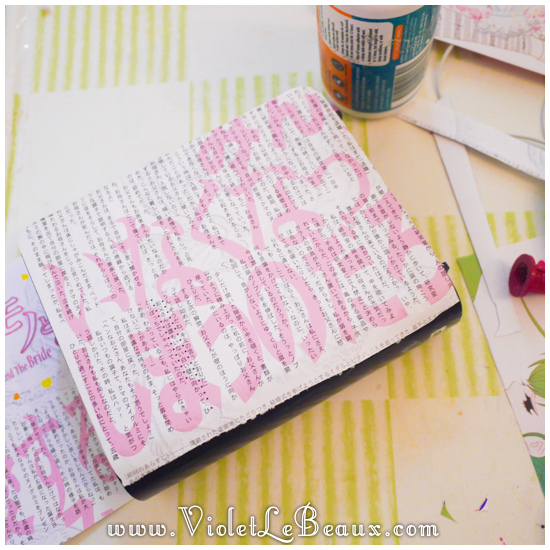
Glue the paper to the hard drive. Don’t use too much glue or the paper will go soggy. Just use enough that it won’t move around.
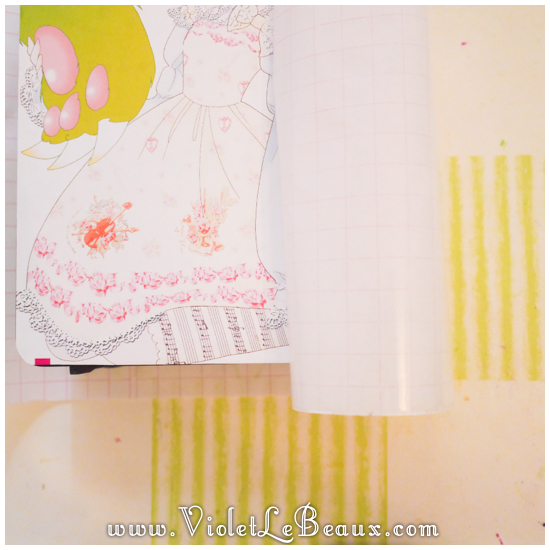
Now cut out contact which is slightly larger than the paper.
Lay it out over the entire hard drive and smooth to make sure there are no bubbles.
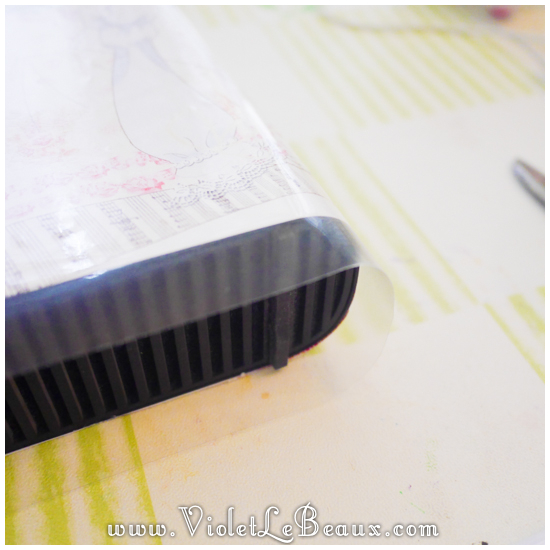
Snip off the edges and fold the contact around the corners so it all has something to stick to. You can use a scalpel or art knife if you’re good with them, but I just used scissors.
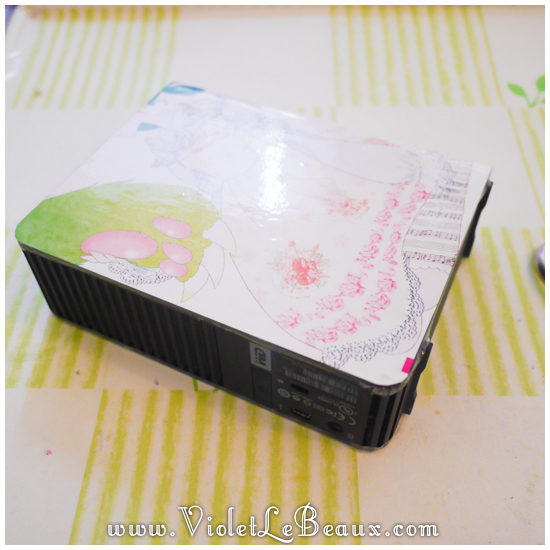
Done! Easy! Now to do the 102938029384 other hard drives >_<
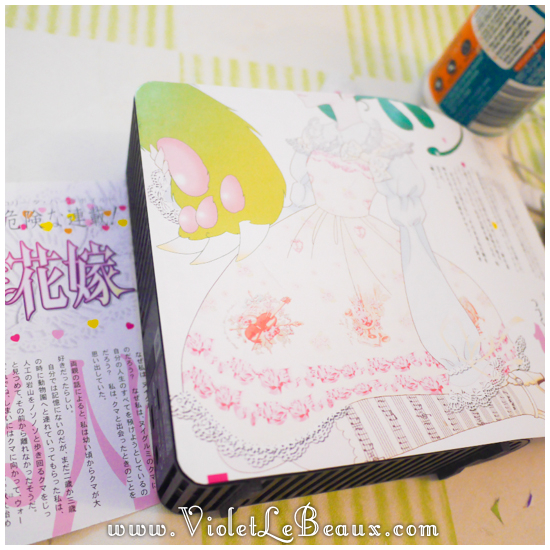
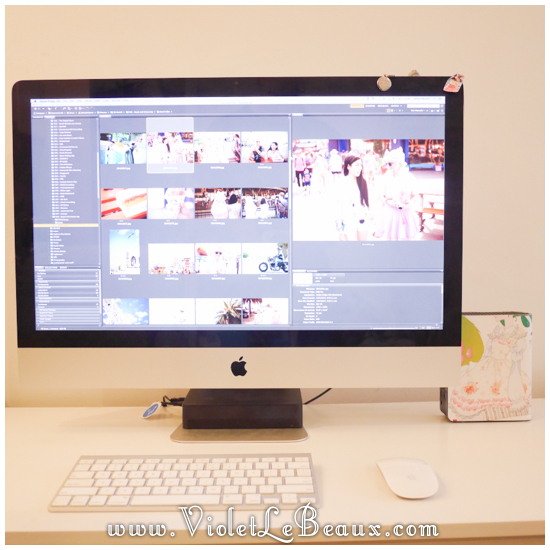
Much cleaner and it actually matches the house!
Hope you enjoyed the craft and let me know if you give it a try!

No Sew Draped Cardigan Tutorial

Another no sewing tutorial, this time I made an easy draped cardigan!
I think the real key to all of these draped clothes is using the right fabric. I am using a really stretchy fabric which is also thin so it flows really well.

Stretch is much more forgiving if you’re just experimenting too! It’s really important to use a fabric which isn’t going to fray like stretch cotton if you’re not planning on hemming anything.
Of course you need a good little helper dog to do this even if she is really not very helpful.
To begin with I draped the fabric over my mannequin as if it was a wrap. Most of the fabric was bunched around the neck.
I pulled it tight so that the back looked more fitted.
I then cut out some arm holes.
Even this just by itself looks quite cute with a belt!
I wanted to have a few different ways to wear it though so I cut a slit on either side
Now to close it all I needed to do was take the corners and wrap them around to the back.
The underneath one pokes through the slit inside so you can tie them at the back.
It only took around 10 minutes to “make” if you can really call it that. And quite a few ways to wear it!
I could see this being really good in cooler months with a long sleeve shirt under it.

Now this is definitely a quick craft! Let me know if you give it a try!

School Dress Make Over Tutorial! – Do It In A Dress

Today’s tutorial is a special one! I’m going to make over a school dress for Do It In A Dress!

Here’s my finished skirt/shirt set:

15-School-Dress-Make-Over


And here’s the original dress:

04-School-Dress-Make-Over


Bit of a change yes? ^_^

.

20-School-Dress-Make-OverBefore we get into the full tutorial let’s have a look at what Do It In A Dress is actually all about.

According to the One Girl website, girls in Sierra Leone are more likely to be sexually assaulted than they are to attend high school. There are so many things wrong with that and as a woman in a first world county, basic educational rights are something that I took for granted.

The Do It In A Dress challenge is all about raising $300 to send a girl in Sierra Leone to school. You can sign up to do challenges in October wearing your dress or donate to someone else doing the challenge.

You can visit the Do It In A Dress website or the One Girl website to learn more. You can buy your own dress just like mine in their shop here too.

So let’s get into what you can do with an old school dress!

You can use any school dress for this but I ordered a larger size from the Do It In A Dress website so I had lots of fabric to work with.

Before:

01-School-Dress-Make-Over

I think I was fairly luck in terms of school uniforms, I lived in a very warm climate growing up and so we had loose shirt/skirt combinations in blue. The skirts were knee length and actually super comfortable and I kept mine for years after graduation to just wear around the house!

The goal of this make over was to see whether I could turn a generic school dress into something which I would still want to wear today. Recycling! I decided the most versatile way to use the dress would be as a shirt/skirt combination. I know, technically it’s no longer doing it in a dress but it makes it much more usable.

First step, turn the dress inside out and put it on.

Measure where you want the shirt to end around the waist and put a pin in. Make sure to leave enough room for hems! Next, pin down each side to make it more form fitting and add 2 darts to the under-bust to give definition.

02-School-Dress-Make-Over

Take the dress off and lay it out flat to work. Cut off the bottom of the dress to separate it into skirt/shirt. There was a big sticker on the back of mine with the website information so I cut around it.

05-School-Dress-Make-Over

So inside out you will have something like this:

06-School-Dress-Make-Over


The sleeves were still looking pretty ridiculous so cut them off at the seam and remove the white cuffs. We are going to attach the cuff back to the shoulders to make mini sleeves.

Cut the extra fabric away from the side seams along your pins. Again, make sure you leave enough fabric there to sew it back together again!

07-School-Dress-Make-Over


Flatten the shirt out so you can easily pin the white cuffs to the arm holes and stitch them in place.

08-School-Dress-Make-Over


Next, sew the darts down and resew the side seams.

09-School-Dress-Make-Over

It looks like a shirt again, yay!

10-School-Dress-Make-Over

Now it’s time to hem the bottom. I was lucky that I was able to cut the hem so it didn’t conflict with button placement but if you aren’t, you can just move them or add a zip/snap closures.

Shirt done!

11-School-Dress-Make-Over


Next the skirt!

The skirt area came with a little pocket which had a zip closure. Because the original dress was meant to be loose it didn’t require any other closures around the skirt. I decided to use to pocket zip as the actual skirt zip. To do this I just cut the pocket out and left the zip so it aligned with the top of the skirt. If you can’t do this with yours, you will need to include another way to get your skirt on and off.

12-School-Dress-Make-Over
Now, put the skirt on inside out and pin on either side to form an A-Line shape. I made mine very high waisted so it could be worn with the matching top or other things in my closet easily. Originally I wanted to make a pencil skirt but that would have meant cutting a slit in the back to allow movement and would have required more zip placement changes etc so I just went with this.

Once you’re happy with the fit, sew up the side seams and hem around the top as well.

13-School-Dress-Make-Over
Done!! Add some matching accessories and you’re ready to rock 😀

14-School-Dress-Make-Over

Quite the change and definitely more my current style!


03-School-Dress-Make-Over

15-School-Dress-Make-Over

Of course realistically I probably wouldn’t wear the two pieces together very often so the real test was weather they would go with the rest of my wardrobe?

18-School-Dress-Make-Over

21-School-Dress-Make-Over

I’d say that’s a resounding yes!


23-School-Dress-Make-Over


These kinds of make overs really are my favourite sewing projects!


19-School-Dress-Make-Over

16-School-Dress-Make-Over

As much as this project has been really fun to do, it’s important to remember the reasons behind it. Please visit the One Girl and Do It In A Dress websites to learn about how you can help a girl get an education.

22-School-Dress-Make-Over


Let me know if you take up the challenge, I’d love to see your school make overs!

.

How To Sew Lolita Style Wrist Cuffs – Sew Fun

Today’s tutorial is a reader request: how to make your own Lolita style wrist cuffs.

I really haven’t followed Lolita fashion in years but a lot of the things I post here could cross over easily so many of the reader requests I get are about how to diy Lolita items. I usually steer fairly clear of that because it doesn’t match with my style anymore (and I have no idea what’s even fashionable in those circles now) but this request was interesting to me because I made a lot of these when I wore the fashion!

For this tutorial you will need:

  • Thick lace
  • Thin eyelet lace and ribbon to go in it
  • Needle and thread
This is the most basic of these style of cuffs and it is going to be hand stitched. You could easily machine stitch them, use elastic or any other kind of embellishments you want.
Begin by cutting a piece of the large lace which is at least 3 times the length around your wrist. Ideally you would like it to be even longer than that because more ruffles = cuter.
Cut a piece of the eyelet lace which is around twice the length of your wrist. My pieces below are a bit shorter than I would usually use because I didn’t have much of either of these left. I would also suggest using a longer piece of ribbon so it’s easier to put into a big bow.
Fold the edges of the thick lace over twice and the running stitch up it to seal in the edge.
Now loosely running stitch down the long side so it gathers into a ruffle.
Pull it tightly so the thick piece is the same length as the eyelet lace.
Fold and stitch the edges of the eyelet lace over.
Place the eyelet lace over the gather in the thick lace. I like to leave it a little lower so the top of the thick lace ruffle can be seen on the other side. Stitch it in place all of the way across and then stitch another row under the ribbon so it’s very secure and even.
You should have something along these lines…
You can just put them on like this but I prefer to move the ribbon through the eyelets so it sits on top with the split in the lace at the bottom.
Like this:
Tie the ribbon into a cute bow and you’re done!
Wearing my old clothes makes me wish it was 2007 and I was in Japan again!
You can vary these easily by adding another layer of the thick lace.
Hope that answers the request and make sure you let me know if you have any others!

By continuing to use the site, you agree to the use of cookies. more information

The cookie settings on this website are set to "allow cookies" to give you the best browsing experience possible. If you continue to use this website without changing your cookie settings or you click "Accept" below then you are consenting to this.

Close