Spinning Adventure- DIY Sewing Machine Spinning Wheel

So in part one I tried my hand with a drop spindle and found that I enjoyed spinning but didn’t enjoy drop spindles. I spent ages scouring the internet to see if I could find a faster way to do things or build my own wheel from stuff I already had etc. New spinning wheels are very expensive and also huge and I just wasn’t ready to commit. So I just continued reading a lot until I understood the mechanics and became impatient.

Isn’t it typical that I have all of these ideas when no shops are open for parts? >_>

After researching Charkhas which are a type of hand turned spinning wheel I got to the point of “Screw it, I’ll do it myself”. So I gave it a little thought and then dragged out my sewing machine. All a Charkha is, is a spike which spins around so you can add twist to the roving and then wrap it around the spike for storage. The bobbin winder on my sewing machine spins quickly and is pedal controlled… easy diy!
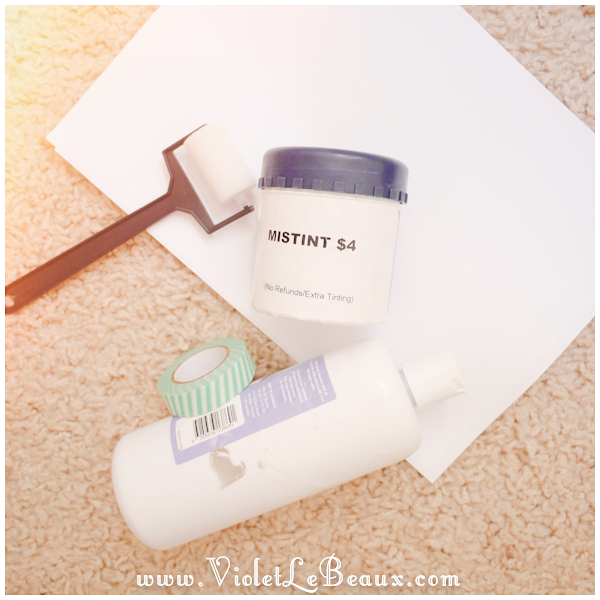
You need:

  • Sewing machine with pedal controlled bobbin winder
  • Bobbin
  • Pen
  • Tape/glue
  • Wire,
  • I also used a plastic tube from the inside of sewing thread for stability

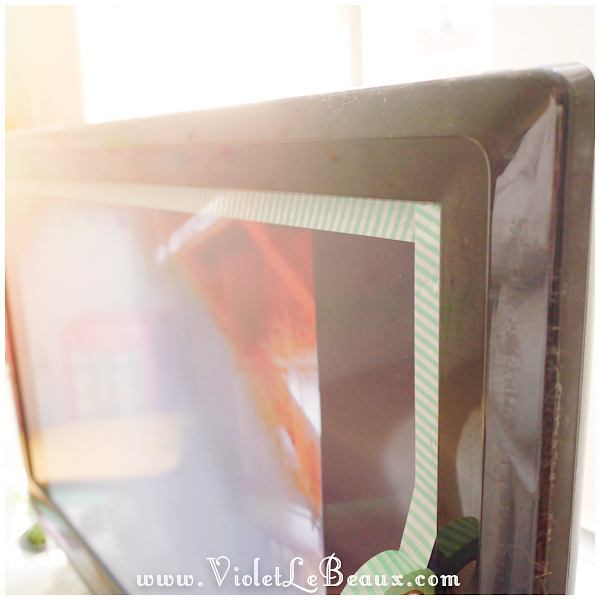
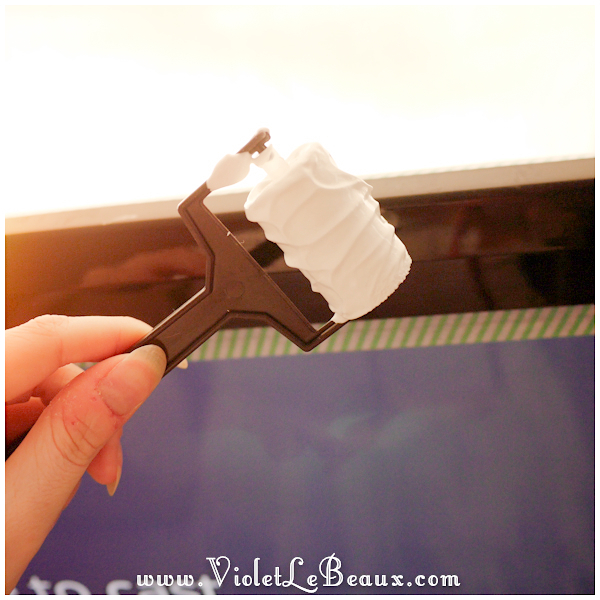
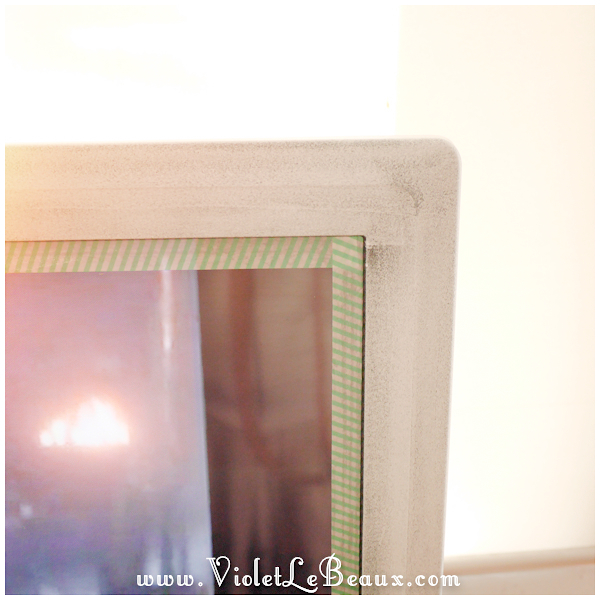
So basically I emptied the pen, glued it to the bobbin and added the hook to the top, the same as my drop spindle. The problem I had is that the bobbin clips onto the machine to be held in place so I couldn’t just shove the pen into it. Instead I glued the plastic tube on then glued the pen to that.

And it worked. I mean it was wobbly as hell but it worked and made yarn! Being foot peddle controlled meant I could vary the amount of twist I had in the wool very easily and could work slowly as I learned what to do. So dodgy but so good.

Yep…

To use it, I switched the machine to bobbin winder mode then held the roving above it to add twist.

And then out to the side to wind it on for storage.

I managed to get singles which were quite thin and even.

And I learned what was a good amount of twist:

Verses too much twist:

Once finished, I wound each single off onto a pen so I could later ply them together into 2 and 3 ply yarn. Unfortunately the bobbin winder couldn’t really ply because it only went in one direction.

It was quite fast and it really made me realise that I enjoyed the process of making my own yarn.

The yarn I made ended up as this little proof of concept swatch.

I was so happy with it, it almost looks like commercial yarn!!

And as a reminder of where I started out, this is all of my hand spindle and sewing machine yarn:

The downsides of this method were that with it on the floor I had to sit right at the front of my chair so it wasn’t very easy on my back for long periods of time and winding off onto the pen was a pain in the arse. It was a great system to learn on and made learning about drafting really fun but it wasn’t something I could use long term.

After that I was totally hooked though. I took my time researching and learning online for around 6 months so I could make my next move: buying a spinning wheel. And that’s for part 3!

Spinning Adventure – DIY Drop Spindle

I think my obsession in spinning was a bit inevitable. I love learning new things and when we came home from Bendigo Woollen Mills last year I had picked up a massive bag of roving for $9 and there was no way I could use it all for needle felting.

So spinning, I don’t know what piqued my interest but somehow I got on the idea of spinning my own yarn. I didn’t know anyone close by me who spun so my adventure started off on the internet trying to learn as much as I possibly could about everything. Had I known that the Handspinner and Weavers Guild is like 2 suburbs over this probably would have all gone a little quicker and painlessly haha!

As with all crafts I try, I didn’t want to invest before I knew it was going to be a long term love affair. I’ve been knitting for *cough*25*cough* years and I still haven’t even splashed out for a nice set of needles… long story short I did a lot of reading on Ravelry and decided to make a drop spindle to begin with.

Drop spindles are basically a stick with some kind of weight on the bottom so they spin evenly. I saw a lot of DIY versions using CDs or Kinex or even Hama beads. I settled on a mini CD I had no use for and some random junk around the house. This isn’t the best spindle, it’s really not even a very average spindle but it worked to let me learn the basics on!

You need:

  • Mini or regular CD
  • 2 pens
  • Wire
  • Tape/glue
  • Bobby pin

Remove the insides of the pens so you just have a hollow tube and tape the non-writing ends together.

Tape the CD 1/3 of the way up the pens and make sure it’s level.

Shove a piece of wire in the top inside the pen and bend it into a hook. Tape in place.


Now you’re ready to spin.

To make yarn, tie a piece of commercial yarn on and bring it up through the hook. Ignore the fact that the yarn is tied to the roving in this photo >_>

Hold the whole thing by the yarn (around 2 inches from the end) and spin the spindle by holding the bottom pen with your finger/thumb and flicking it.

Honestly this tutorial isn’t going to be super thorough because I didn’t take enough photos, I read a lot about doing this  when I was starting but it’s something you really need to *see* done to understand the motions so I suggest watching some videos on Youtube. Don’t just limit yourself to one teacher either, watch as many people as you can because everyone has a different technique.

Spin it a few times so the yarn is wound really tightly then grab the spindle and hold it between your knees. We’re going to do a method called “Park and Draft” which is how most people learn to do this. Grab the end of your roving and place it on the end of the yarn. Let go of the yarn then let it and the roving twist themselves together.

Now you’re ready to spin the actual roving. This will take some practice to get right but that’s part of the fun.

You want to hold the twisted bit so the roving in your hand doesn’t get twisted, this way you can gently pull/tease the roving (called drafting) apart so you have enough for the yarn you want to make then bring twist into it.

The motion is basically that you load the yarn you’ve already got with extra twist by spinning the spindle and then hold it between your knees while you draft out some roving so it’s the width you want and allow the twist to go up the roving and turn it into yarn. When you’ve got a bit too much, wrap it around the spindle and keep going. I used a bobby pin to hold the yarn on the spindle in place and to stop it all unravelling when I eventually dropped the spindle.

So yarn wrapped around like this and twisted in the yarn at the top:

Add more twist:

Draft some more of the roving and let the twist creep up:

Twist some more, draft more roving, repeat:

At this point my arms started getting sore >_>

To turn this single ply into 2ply you basically fold it in half so I wrapped it around my hand to find the other end, tied them in a knot and started letting them twist together.

Really you should ply together by spinning the opposite direction on the spindle but I didn’t know that at the time so I just did it like this and then rolled it into a ball.

My first ball of yarn! It’s uneven, overspun in places and tiny but who cares? YARN!

With that, I started making more… and more… and experimenting by spinning different directions and with different widths and becoming more even. I just kind of kept going….

I knitted little swatches as I went so I could see the difference of the techniques I tried. They’re just little 10×10 stitches but it was so helpful to see things like how very tightly spun yarn didn’t have a finish that I liked when knitted up because you could see the individual strands.

First try:

Second try ended up curling back on itself… I think I spun in the wrong direction in some parts but it’s more even.

Third try… getting there!

This one is a preview of the next post where I started getting better just to show that I *did* actually eventually make some nice yarn and progress hahaha!

Yarn porn:


All of those first tries got knitted up into a little cowl for my Mum’s Christmas gift which I think she loved because it was extra hand made.

It was really fun to learn this way and see how much roving was needed for what size yarn etc. I spent a weekend playing around with it before I became frustrated with the speed. I don’t have very long arms so the stopping and starting was irritating. I was having fun making yarn but this just wasn’t a method that I enjoyed using so the next day I became a bit more inventive and added some electricity…

part 2  of the spinning adventure is coming up next 😀


Cute Mint Tv Make Over Tutorial

The tv and I have had our differences over the years. Mostly because it’s the only thing which was left in our apartment which was black so it seemed to suck light into it. Last year I gave it a washi tape make over but it still wasn’t exactly what I wanted so I set out again this year to finally be done with it.

This time I went all out and used actual paint.

You need:

  • White acrylic paint
  • PVA glue
  • Roller
  • Final colour, I used mint wall paint
  • Masking tape

Start by masking off the screen of the tv and any other places you want to keep the paint away from.

Mix up a solution of 1 part white paint to 1 part PVA glue in a bowl. The PVA glue will help the paint adhere to the smooth tv surface. You will still need to be careful as you go though because it is slippery.

Use the roller to paint thin coats of white until it’s totally opaque.

You’ll end up with something like this. Be careful to keep the coats very thin especially when you go over the speaker holes so you don’t clog them up!

I have no idea what I was watching on tv while I was doing this… but that face wtf?

Leave it to dry completely, preferably overnight so there’s no chance of taking the base coat off when you paint the next colour. Then just go right over the top with the mint. I did the details with a paint brush and managed to slip and paint the screen. Luckily it wiped right off *_*

Once it’s all dry, carefully remove the tape.

Taadaaaa!

So much happier with this!

I didn’t have enough paint to do the back but I’m very happy with this now!


Those speakers will be next >_>

Current Obsesion: Pressing Flowers

So earlier this year I got it into my head that I wanted to collect flowers, press them and make resin jewellery with them. Results on the resin jewellery were mixed but more on that later because today is all about flower pressing!

You need:

  • Flowers
  • Baking paper
  • Heavy books

I collected my flowers from a random park we did some filming at out on the East side of town. I tried to get a variety but I ended up sticking with a lot of daisies because they’re my favourite.

Cut a piece of baking paper double the size of the flowers you’re pressing and fold it in half.

Lay the flowers down and make sure they don’t overlap. If they do overlap they will get stuck to each other and you won’t be able to get them apart easily.

You may need to smoosh them down with your fingers to get them to lay the way you want them.


Fold the baking paper over the flowers so they are completely covered and press gently so the flowers lay nice and flat.

Transfer the baking paper into the middle of a book. I didn’t have any thick books so I just used a stack of thin ones with 1-2 layers of flower sinside.

Stack the books somewhere out of the way. If you don’t think they are heavy enough stack something on top, I used a subwoofer from the TV.

Leave them for at least a week. I was very impatient and kept peeking inside but it really did take a week for them to dry properly. Apparently you can speed it up by using your oven/microwave but I think it’s nicer to have something to look forward to!

So one week later…

Smooshed and lovely!

The small detailed flowers worked a lot better than the bigger ones.


So pretty!

Cherry blossoms:

And all kinds of others:

After gently removing them from the paper I put them in some tupperware and left them overnight to completely dry out.

This was a really fun project and really just the start because now you get to decide how to use the dried flowers 😀

DIY Comfy Crochet Hook

After the amigurumi project I posted about earlier in the week, I was on the hunt to find a way to make using a thin crochet hook more comfortable for long periods of time. You can buy fancy special hooks which have thicker grips etc but I didn’t want to just throw out all the hooks I already had…

The edges on the grip part on the hook that came with the kit were razor sharp!

To begin with I wrapped it in some fabric tape which solved the sharp edges but not really the fact that it can be painful to hold over long periods of time because of the width.

Needle felting to the rescue! I wrapped the hook in some white roving starting around 4cm from the hook and needle felted it together to form a kind of sheath. It was a little tough to get the felting process started without stabbing myself so I wet the who thing and rolled it around between the palms of my hands then continued to poke at it with the felting needle.

What I ended up with was this, which was great but because of my colour choice… it looked quite a lot like a tampon hahaha!

The addition of a pink spiral of roving and some more needle felting  helped with that problem!

Now it’s thick enough to grip easily and squishy so that I can work for hours without any pain. I love solving silly problems like this!

It’s a shame you couldn’t do the same thing with knitting needles really! Anyway, hope you found that useful, let me know if you have any other clever crafting tips!

Sailor Moon Lens Case Crochet Tutorial

I’m sensing a theme to this week…

So I needed to make a new, more robust pouch for my camera’s macro attachment. I’ve already managed to scratch it a tiny bit through it’s previous flimsy bag >_>

Why not Sailor Moon themed? Why not indeed. I have been rewatching the old cartoon from the 90’s but obviously I am completely impervious to marketing and influence…

My inspiration was the little red hair clips she has:


For this you need:

  • Red yarn
  • White yarn
  • Yellow yarn
  • 3mm  crochet hook
  • Scissors
  • Yarn needle

To begin, I measured out the lens I was making a case for. Hilariously I had to take half of these shots using the macro attachment I was trying to make a case for so I had to keep pulling it on and off to measure.

I used some red yarn I had left over from my first cardigan project. While it was the same ply as my other yarns, it was much thicker so I used this regularly and doubled the other yarns to match it. I’m using a nice small hook with puffy yarn so I can get a really tight stitch amigurumi style.

Begin by creating a magic loop/ring with 6 stitches.

Pull it extra tight so the hole doesn’t show at all.

For the next round increase by doing 2 sc into every second stitch. So 1 sc, 2 sc, 1 sc, 2 sc etc until you reach the end of the round.

Continue spiralling outwards to form a flat circle.

To keep the spiral growing, do 2 sc into every third stitch. So 1 sc, 1 sc, 2 sc and repeat until you have a circle which is the size of your lens. Finish the circle by slip stitching in the next stitch and then tying off.

Next do another sc round of white and tie off. My yarn was thin so I doubled it for a really sturdy case.


Now to start the yellow part aka the hair.

You want to do another sc round in your light yellow colour but for this round only work your stitches into the back part of the white loop. This will leave a ridge of white so it looks like the edge of Sailor Moon’s hair ornament.

See how it creates a really sturdy border below?

Slip stitch into the next stitch to end the circle and then chain 2. We are now going to make the sides so you will probably want to flip the piece you’ve made so far over so you can work into the other side.

This row is also worked into just the back of the stitches to create a ridge.

Turn the work and sc in the opposite direction that you were doing the circle. Stop when you have gone around the edge of the circle 70%. At this point, make sure you can fit your lens comfortable through the gap between the sides.

Now chain 2 and go right back around the other way. You may need to continue going back and forth like this for a few more rows depending on how tall your lens is.

Once it’s high enough, put it aside and make the back piece.

The back piece is worked separately in yellow yarn as a big circle again. It’s basically the same thing as the front piece but in one colour. So create a magic loop and then spiral out increasing until it is the same size as your completed front piece.

You can either crochet it directly onto the front piece or just sew it on using a yarn needle. I found sewing gave a cleaner finish in this project so I went with that.

What you should have now is a nice big circle with a hole in the front that you can slip your lens into.

It wasn’t immediately obvious what it was so I decided to add a long hair wrist strap to mine. To do this, I chained as long as the strap needed to be (around 50 stitches) and then single crocheted into the chain. If you chain fairly loose and keep your tension tight when you do the sc it should spiral up nicely.

I then just stitched it onto the case at the opening.

Last double check to make sure the lens can get in and out easily!

To give it a little more depth I stitched on some white highlights to the red section so it would look  a bit shiny.


I’m really happy with how this turned out, its been living in my bag happily for months now and my lens has been much more protected. I’ve even dropped it a few times accidentally but the cushion of the thick yarn has protected it! The wrist strap is very handy for when I don’t want to take a bag with me or have other stuff to carry.

Also: super cute 😀

By continuing to use the site, you agree to the use of cookies. more information

The cookie settings on this website are set to "allow cookies" to give you the best browsing experience possible. If you continue to use this website without changing your cookie settings or you click "Accept" below then you are consenting to this.

Close