The tv and I have had our differences over the years. Mostly because it’s the only thing which was left in our apartment which was black so it seemed to suck light into it. Last year I gave it a washi tape make over but it still wasn’t exactly what I wanted so I set out again this year to finally be done with it.
This time I went all out and used actual paint.
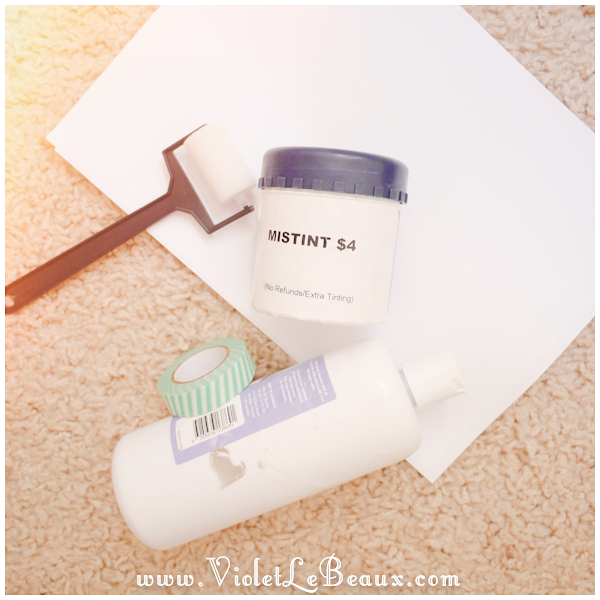
You need:
White acrylic paint
PVA glue
Roller
Final colour, I used mint wall paint
Masking tape
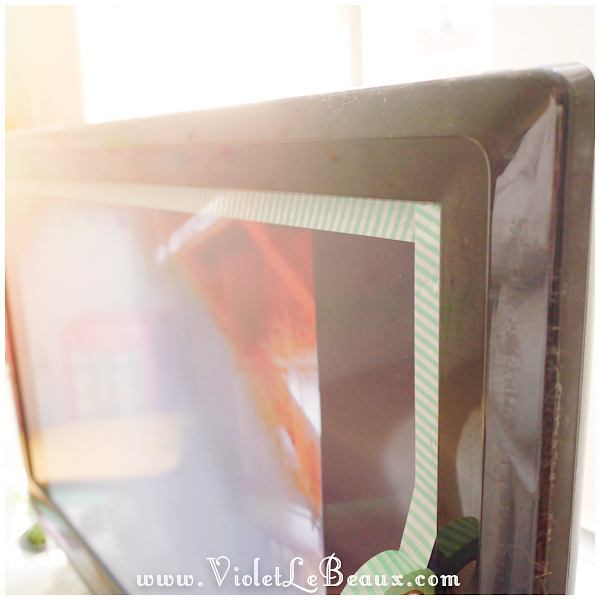
Start by masking off the screen of the tv and any other places you want to keep the paint away from.
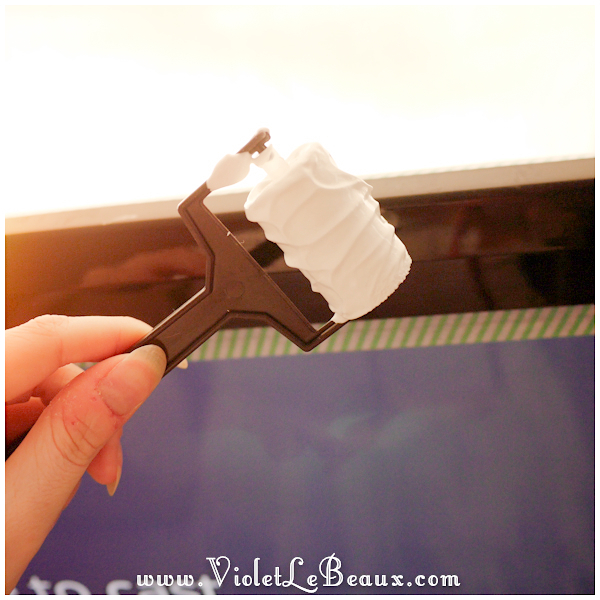
Mix up a solution of 1 part white paint to 1 part PVA glue in a bowl. The PVA glue will help the paint adhere to the smooth tv surface. You will still need to be careful as you go though because it is slippery.
Use the roller to paint thin coats of white until it’s totally opaque.
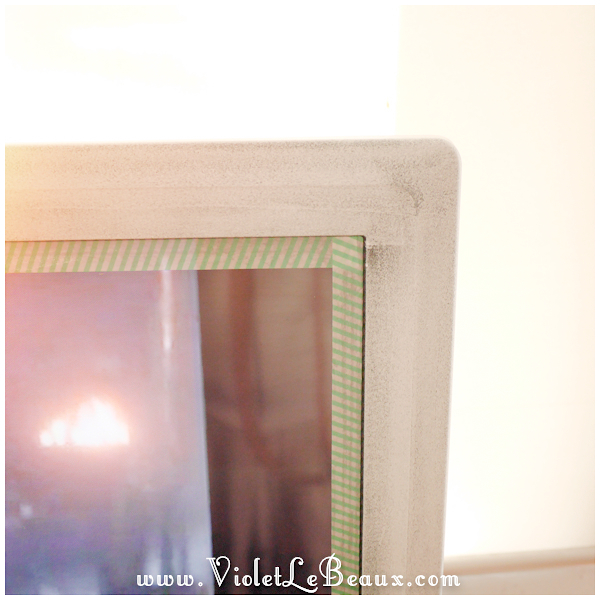
You’ll end up with something like this. Be careful to keep the coats very thin especially when you go over the speaker holes so you don’t clog them up!
I have no idea what I was watching on tv while I was doing this… but that face wtf?
Leave it to dry completely, preferably overnight so there’s no chance of taking the base coat off when you paint the next colour. Then just go right over the top with the mint. I did the details with a paint brush and managed to slip and paint the screen. Luckily it wiped right off *_*
Once it’s all dry, carefully remove the tape.
Taadaaaa!
So much happier with this!
I didn’t have enough paint to do the back but I’m very happy with this now!
So earlier this year I got it into my head that I wanted to collect flowers, press them and make resin jewellery with them. Results on the resin jewellery were mixed but more on that later because today is all about flower pressing!
You need:
Flowers
Baking paper
Heavy books
I collected my flowers from a random park we did some filming at out on the East side of town. I tried to get a variety but I ended up sticking with a lot of daisies because they’re my favourite.
Cut a piece of baking paper double the size of the flowers you’re pressing and fold it in half.
Lay the flowers down and make sure they don’t overlap. If they do overlap they will get stuck to each other and you won’t be able to get them apart easily.
You may need to smoosh them down with your fingers to get them to lay the way you want them.
Fold the baking paper over the flowers so they are completely covered and press gently so the flowers lay nice and flat.
Transfer the baking paper into the middle of a book. I didn’t have any thick books so I just used a stack of thin ones with 1-2 layers of flower sinside.
Stack the books somewhere out of the way. If you don’t think they are heavy enough stack something on top, I used a subwoofer from the TV.
Leave them for at least a week. I was very impatient and kept peeking inside but it really did take a week for them to dry properly. Apparently you can speed it up by using your oven/microwave but I think it’s nicer to have something to look forward to!
So one week later…
Smooshed and lovely!
The small detailed flowers worked a lot better than the bigger ones.
So pretty!
Cherry blossoms:
And all kinds of others:
After gently removing them from the paper I put them in some tupperware and left them overnight to completely dry out.
This was a really fun project and really just the start because now you get to decide how to use the dried flowers 😀
After the amigurumi project I posted about earlier in the week, I was on the hunt to find a way to make using a thin crochet hook more comfortable for long periods of time. You can buy fancy special hooks which have thicker grips etc but I didn’t want to just throw out all the hooks I already had…
The edges on the grip part on the hook that came with the kit were razor sharp!
To begin with I wrapped it in some fabric tape which solved the sharp edges but not really the fact that it can be painful to hold over long periods of time because of the width.
Needle felting to the rescue! I wrapped the hook in some white roving starting around 4cm from the hook and needle felted it together to form a kind of sheath. It was a little tough to get the felting process started without stabbing myself so I wet the who thing and rolled it around between the palms of my hands then continued to poke at it with the felting needle.
What I ended up with was this, which was great but because of my colour choice… it looked quite a lot like a tampon hahaha!
The addition of a pink spiral of roving and some more needle felting helped with that problem!
Now it’s thick enough to grip easily and squishy so that I can work for hours without any pain. I love solving silly problems like this!
It’s a shame you couldn’t do the same thing with knitting needles really! Anyway, hope you found that useful, let me know if you have any other clever crafting tips!
So I needed to make a new, more robust pouch for my camera’s macro attachment. I’ve already managed to scratch it a tiny bit through it’s previous flimsy bag >_>
Why not Sailor Moon themed? Why not indeed. I have been rewatching the old cartoon from the 90’s but obviously I am completely impervious to marketing and influence…
My inspiration was the little red hair clips she has:
For this you need:
Red yarn
White yarn
Yellow yarn
3mm crochet hook
Scissors
Yarn needle
To begin, I measured out the lens I was making a case for. Hilariously I had to take half of these shots using the macro attachment I was trying to make a case for so I had to keep pulling it on and off to measure.
I used some red yarn I had left over from my first cardigan project. While it was the same ply as my other yarns, it was much thicker so I used this regularly and doubled the other yarns to match it. I’m using a nice small hook with puffy yarn so I can get a really tight stitch amigurumi style.
Pull it extra tight so the hole doesn’t show at all.
For the next round increase by doing 2 sc into every second stitch. So 1 sc, 2 sc, 1 sc, 2 sc etc until you reach the end of the round.
Continue spiralling outwards to form a flat circle.
To keep the spiral growing, do 2 sc into every third stitch. So 1 sc, 1 sc, 2 sc and repeat until you have a circle which is the size of your lens. Finish the circle by slip stitching in the next stitch and then tying off.
Next do another sc round of white and tie off. My yarn was thin so I doubled it for a really sturdy case.
Now to start the yellow part aka the hair.
You want to do another sc round in your light yellow colour but for this round only work your stitches into the back part of the white loop. This will leave a ridge of white so it looks like the edge of Sailor Moon’s hair ornament.
See how it creates a really sturdy border below?
Slip stitch into the next stitch to end the circle and then chain 2. We are now going to make the sides so you will probably want to flip the piece you’ve made so far over so you can work into the other side.
This row is also worked into just the back of the stitches to create a ridge.
Turn the work and sc in the opposite direction that you were doing the circle. Stop when you have gone around the edge of the circle 70%. At this point, make sure you can fit your lens comfortable through the gap between the sides.
Now chain 2 and go right back around the other way. You may need to continue going back and forth like this for a few more rows depending on how tall your lens is.
Once it’s high enough, put it aside and make the back piece.
The back piece is worked separately in yellow yarn as a big circle again. It’s basically the same thing as the front piece but in one colour. So create a magic loop and then spiral out increasing until it is the same size as your completed front piece.
You can either crochet it directly onto the front piece or just sew it on using a yarn needle. I found sewing gave a cleaner finish in this project so I went with that.
What you should have now is a nice big circle with a hole in the front that you can slip your lens into.
It wasn’t immediately obvious what it was so I decided to add a long hair wrist strap to mine. To do this, I chained as long as the strap needed to be (around 50 stitches) and then single crocheted into the chain. If you chain fairly loose and keep your tension tight when you do the sc it should spiral up nicely.
I then just stitched it onto the case at the opening.
Last double check to make sure the lens can get in and out easily!
To give it a little more depth I stitched on some white highlights to the red section so it would look a bit shiny.
I’m really happy with how this turned out, its been living in my bag happily for months now and my lens has been much more protected. I’ve even dropped it a few times accidentally but the cushion of the thick yarn has protected it! The wrist strap is very handy for when I don’t want to take a bag with me or have other stuff to carry.
Last year when I was decorating our house for Billy Idol Day, I made a little heart wreath thingy to replace our previous one. The previous one was actually really cute but we slammed the door a bit too hard one day and it fell and shattered *_*
So this was the result:
I used some styrofoam balls as well as some old baubles, roses and a LOT of glitter.
To begin with, I hot glued the larger styrofoam balls into a basic heart shape.
Then I filled in the gaps with smaller baubles and some roses.
I then took it into the bathroom and covered it with PVA glue and silver glitter. Even with paper laid down it still made a massive mess haha!
I didn’t have enough glitter for the back as well so it really only looks good from that one angle haha!
But there you go!
It looks quite cute! It certainly brightens up our ugly door a bit!
It probably represents us quite well, James is the heart and I’m the constant glitter ^_^
So after all of the work I’ve done on our apartment, there are only a few things left that I’m unhappy with. The TV area is definitely one of them. It’s like a back hole of suck.
Before I got to the actually organising and the shelving etc I wanted to do something a bit easier: make over the actual tv.
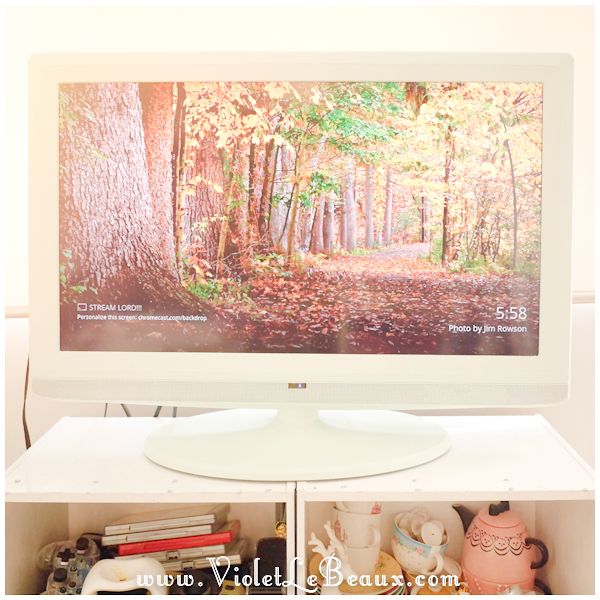
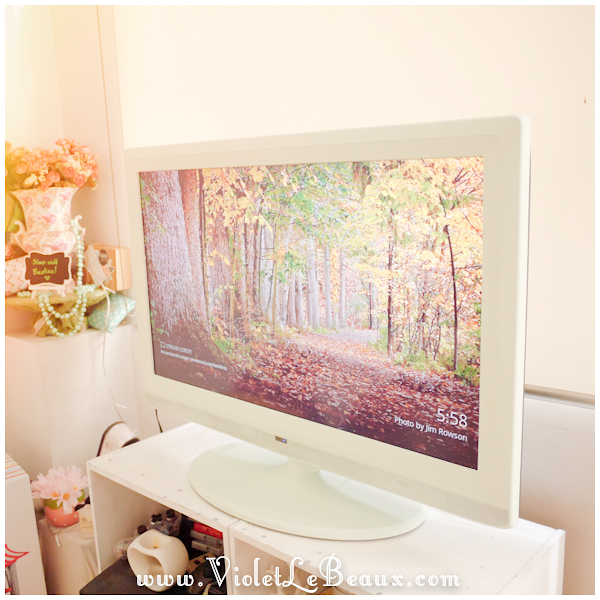
After:
Before:
Even the tv lights look like a sad face XD
So Daiso here has started stocking fabric and washi tape.
I bought a bunch of rolls so I could play around with things.
The fabric tape looked really happy and bright but it wasn’t cut perfectly straight so the patterns didn’t line up and that really bothered me… because I’m a crazy person like that.
NOT LINED UP!
But it was really easy to do, I just stuck it on.
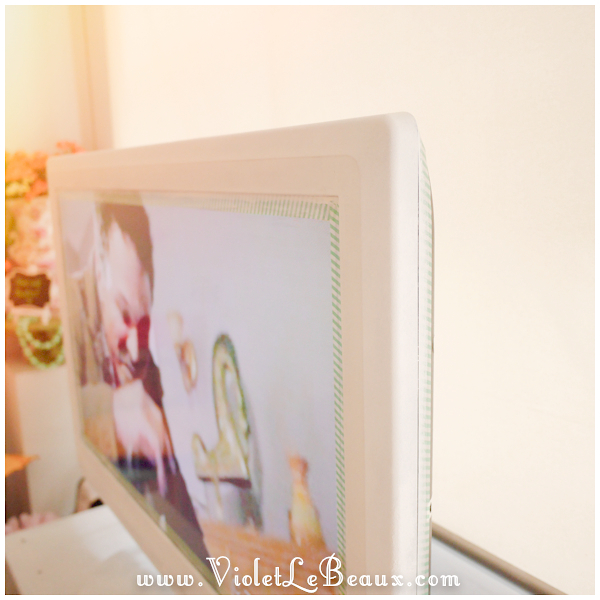
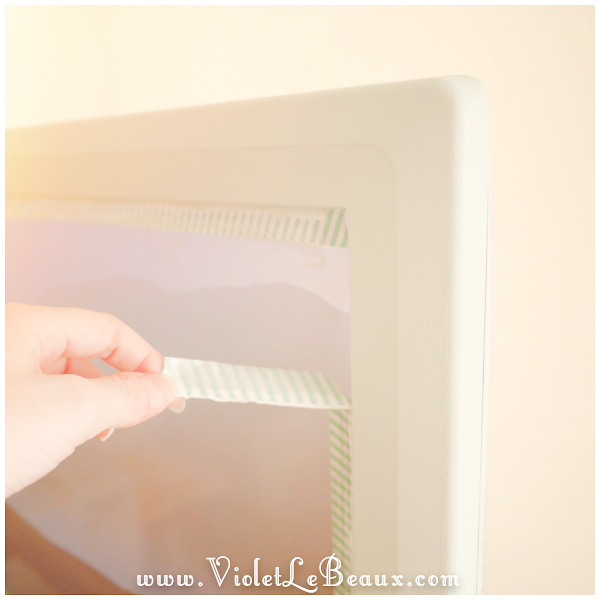
After that I bought some washi tape. It’s basically patterned Japanese masking tape. I liked the design a lot because it wasn’t too busy from far away but it was transparent so I had to do a layer of masking tape to make it opaque.
The masking tape from Daiso was terrible and kept peeling off but I made it work.
This also didn’t really line up perfectly but it was less obviously so I could forgive it slightly.
I still haven’t decided whether I love it or not. I love the idea and that my TV is no longer so black but I think I haven’t found the perfect way to have this. I might do some more experimentation with other styles of tape but I’m going to wait until the rest of the TV area is perfect and then see what looks best.
The hunt continues though, I will have the perfect light bright apartment if it kills me!
Illustrator. Strong tea, knitting, watercolours, and making a video game called Moonlight in Garland. Living with her adorable husband Jimmy, fluffy puppy Miss Lottie and Bergamot Bunny in Melbourne, Australia.
By continuing to use the site, you agree to the use of cookies. more information
The cookie settings on this website are set to "allow cookies" to give you the best browsing experience possible. If you continue to use this website without changing your cookie settings or you click "Accept" below then you are consenting to this.


.png)


