After we went to Bendigo to look for yarn and the not-so-pink cliffs last year, Celina and I discussed in great detail the need for mittens. I mean it’s Melbourne and they’re only needed like once a year… but can’t hurt to have nice ones for that once a year?
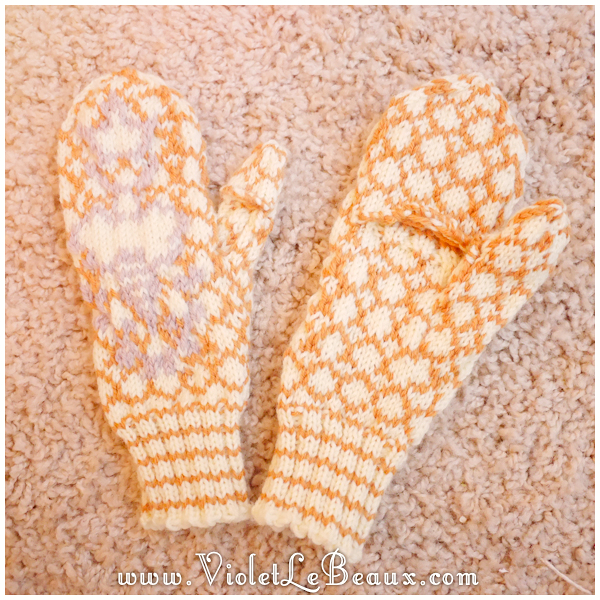
I decided for mine I wanted to practice some colour work so I drew up a basic flip top and flip thumb mitten shape and added a honey comb pattern with a bee/wheat/crown motif on the front. I loved doing the colour work but I didn’t consider my colours well enough so the bee pattern is too pale. I’m considering embroidering over it… but I guess I’ll think about it when I need mittens again that one time next year haha!
My love for my red entrelac hat required a matching scarf. I wanted to use up the rest of the yarn as well as continue the theme of Autumn leaves. It was kind of successful? I combined a few different knitted patterns for the leaves but nothing worked quite well enough so I decided to crochet it… and while I like the results of the leaves individually I didn’t really like the end result so much because it’s hard to tell they’re leaves >_< Oh well maybe I’ll reuse them as some kind of crochet leaf bunting or something? Who knows!
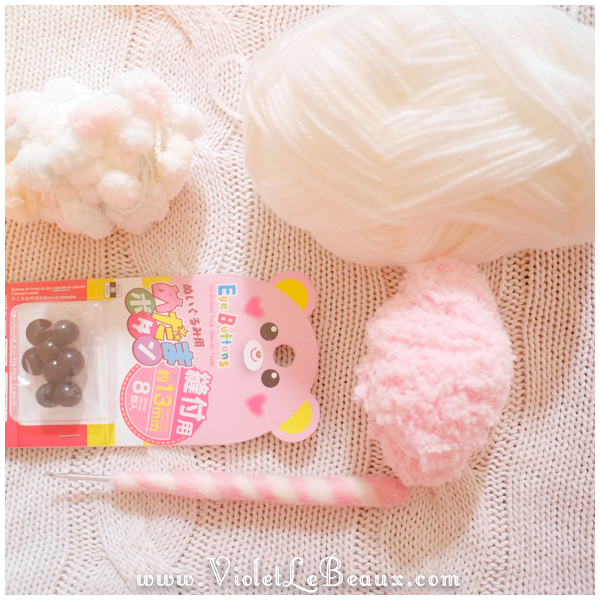
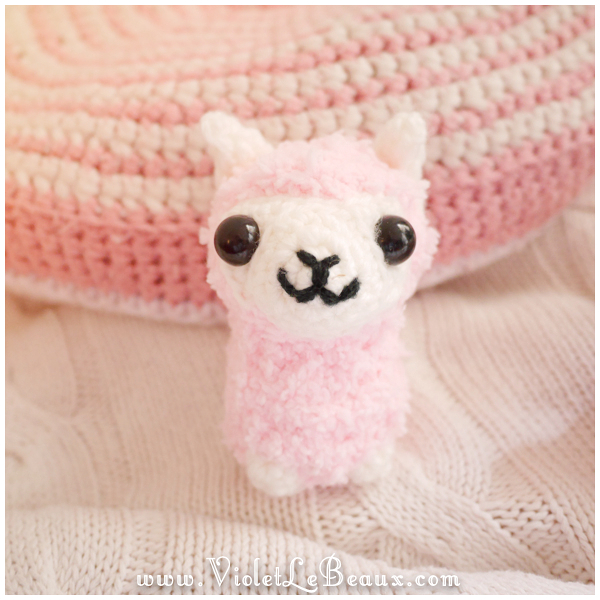
This little guy was a great project to use up some left over yarn and he made a lovely gift! I made it up as I went along so there aren’t really any instructions but enjoy the photos!
Last year I went on a mitten binge. I made like 4 pairs of flip top mittens in a month. The first pair I made was a going away present for Stef and I based them roughly off this pattern.
They were made using light pink from Bendigo Woollen Mills and the red from Fibra Natura Sensationals which was left over from my cardigan.
I changed the pattern to make the thumbs flip top as well so they could be used for texting but I wished I had ribbed the edges to make them a little longer too so they could cover up the hole more.
I really loved the yarn I used on these but I didn’t love the end shape. I just can’t seem to find the perfect mitten shape!
I can’t believe I haven’t done an nail art tutorial for this look before *_* I’ve worn it so often that I figured I had already done one… but I guess not?
This year I’ve been keeping my nails really short again but I’ve started to grow them again recently so I’m interested in making them pretty again 😀
So let’s get going with some chocolate nails!
Start off by doing a base coat in a pastel colour. I went with a matte peach this time which was a mistake because it chipped in about 3 seconds flat >_> I love matte polish but it’s so hard to maintain!
Pick a nice chocolatey colour and load up your brush so the bottom of it is round like a drop. Press the drop onto your nail and drag it up slightly to make a tear shape like this:
Use the same technique to make another drop which is lower than the first.
Join them by adding a drop between them. This polish has a shimmer in it so you can see the drops well.
Add another drop on either side so the whole nail is covered. You want the brown to take up about half of the nail.
Wait for it to dry and then use a toothpick or a nail art brush to paint on some sprinkles. I used some more pastel colours that came in the same set as the peach bottom coat.
Once the whole thing is dry, give it a top coat.
Rinse and repeat for all of your other nails! … Don’t actually rinse though because that would probably bump the nail polish!
This bear looks like how I feel >_> Over the weekend our horrible neighbours finally moved out and they had a loud blow out party and trashed their place as a final “suck it” to their landlord. It was loud and late at night and I just want to sleep for about a week now. I don’t really have a lot of energy lately to start with!
Instead let’s make a crochet bear coffee cosy 😀 I’m using a 3mm hook and crocheting with 2 strands of yarn at once to give it a mottled effect.
I measured the size off a Starbucks cup holder but I think the Aus sizes are smaller than the American ones so probably best to measure your cups locally!
Start by chaining 40 and joining in a circle.
Chain 2 and then start single crocheting around the chain. Continue going around in a spiral around and around. Make sure you mark where the beginning of the round is so you can count accurately.
I wanted a thin bear so I did 6 rounds then bound off.
Next, join on some yarn around the front where the first ear will start. Single crochet 4 stitches then turn, chain one, skip the first stitch and single crochet into the next 2 stitches. Slip stitch into the next stitch and bind off.
Repeat this for a second ear on the other side.
To finish the top and make the ears look nice and round, slip stitch all the way around the top.
Use some black yarn to sew on a face. You can choose to make it look a little happier and less sleep deprived if you like >_>
Of course, it’s much cuter if you add some blush too. I always used to use yarn or felt or something physical to make blush spots but lately I’ve been using actual blush and it’s so much softer and cuter!
Yay grumpy bear!
I hope you guys are well and having a good week. I will catch up on sleep and have enough energy soon to stop disappearing for weeks at a time I hope soon!
Illustrator. Strong tea, knitting, watercolours, and making a video game called Moonlight in Garland. Living with her adorable husband Jimmy, fluffy puppy Miss Lottie and Bergamot Bunny in Melbourne, Australia.
By continuing to use the site, you agree to the use of cookies. more information
The cookie settings on this website are set to "allow cookies" to give you the best browsing experience possible. If you continue to use this website without changing your cookie settings or you click "Accept" below then you are consenting to this.


 I hope you guys are well and having a good week. I will catch up on sleep and have enough energy soon to stop disappearing for weeks at a time I hope soon!